
Link to repo: https://github.com/jacobwicks/memeMaker
App on Heroku: https://my-meme-maker.herokuapp.com
This post on my dev blog: https://jacobwicks.github.io/2020/08/10/make-memes-with-express-and-canvas.html
Project Goals
We are going to make a web server that will let users create memes without uploading anything.
First, we'll make a route on the server that will generate an image containing the requested path as text
eg. server/text/hello world will return a jpg that contains the text "hello world"

Then we'll make another route that takes both text and a hosted image address and makes a meme.
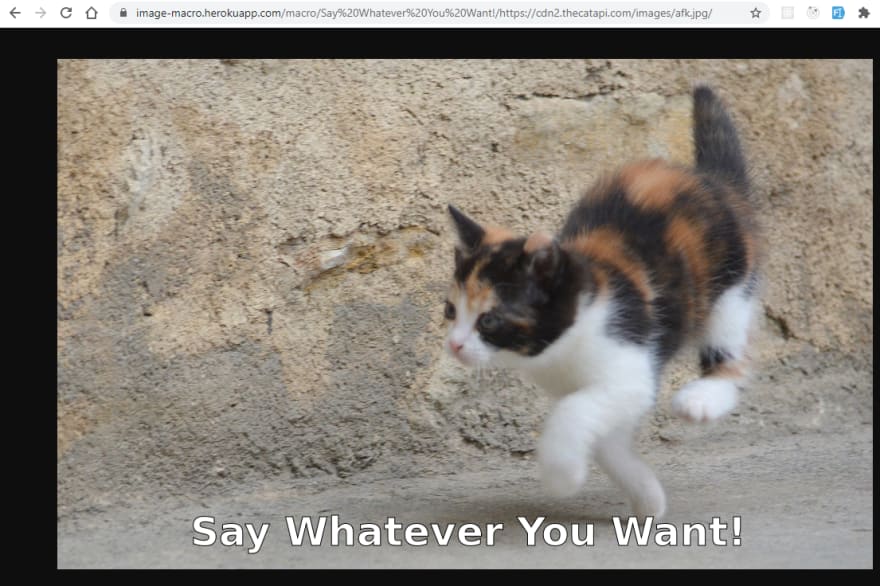
e.g. server/meme/hello world/https://cdn2.thecatapi.com/images/afk.jpg/ will return a picture of a kitten (hosted at https://cdn2.thecatapi.com/images/afk.jpg/) with the text "hello world" written on it.
We'll use JavaScript, express, and node-canvas to make the code work. We'll use GitHub and Heroku to put it online.
You'll need to have node and npm installed. The code uses some newer features of node, so make sure you have node v.14.3 or higher.
You should also have nodemon installed. Nodemon lets you run your code and refreshes it every time you save changes. You can skip installing nodemon and just use node instead, but you'll have to manually restart your code.
If you want to host your meme server online, you will also need a GitHub account and a Heroku account. You will also need the Git cli installed on your computer.
Get Started
Make a new folder. Name it whatever you want. I named my folder memeMaker. In your new folder, run npm init -y to initialize the project.
$ npm init -y
Install express.
express will let us make a web server.
$ npm i express
Install node-canvas. node-canvas is a version of the HTML canvas API that runs in node instead of in the browser.
$ npm i canvas
Ok, now we are ready to write some code.
Create a new file named index.js. Write this code in it.
//get the express library
const express = require("express");
//the web server
const app = express();
//the port that the server will listen on
const port = 8081;
//this is a 'route'
//it defines the response to an http 'get' request
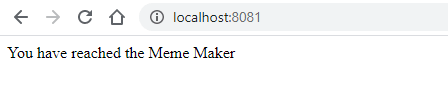
app.get("/", (req, res) =>
//this response will display text in the browser
res.send("You have reached the Meme Maker")
);
//start the web server listening
app.listen(port, () => {
console.log(`Meme Maker listening at on port ${port}`);
});
Start the server.
$ nodemon index
Now you can reach your server by going to http://localhost:8081/
Use Canvas to Make an Image From Text
Ok, now let's write the function that creates an image from an input string.
Put this code in at the top of the index.js file.
//createCanvas is the function that creates the canvas object
const { createCanvas } = require('canvas');

//accepts an input string
//returns an image of the input text as a buffer
const makeTextImage = (input) => {
  //creates the html canvas object
  //with a width of 200px
  //and a height of 200px
  const canvas = createCanvas(200, 200);

  //a reference to the 2d canvas rendering context
  //used for drawing shapes, text, and images
  const context = canvas.getContext("2d");

  //the font we are using
  const fontSetting = "bold 50px Impact";

  //set context to use the fontSetting
  context.font = fontSetting;

  //context.measureText is a function that measures the text
  //so we can adjust how wide the finished image is
  const textWidth = context.measureText(input).width;

  //change the canvas width to be wider than the text width
  canvas.width = textWidth + 100;

  //changing canvas width resets the canvas, so change the font again
  context.font = fontSetting;

  //fillStyle sets the color that you are drawing onto the canvas
  context.fillStyle = "white";

  //fillText draws text onto the canvas
  context.fillText(input, 50, 50, textWidth + 50);

  //set the color to black for the outline
  context.fillStyle = "black";

  //strokeText draws an outline of text on the canvas
  context.strokeText(input, 50, 50, textWidth + 50);

  //return a buffer (binary data) instead of the image itself
  return canvas.toBuffer();
};
Make a Route to Return a Text Image
Put this code in right under where you declare const port = 8081;
//text is the route
//:input designates a parameter of the route
app.get("/text/:input", (req, res) => {
  //the ? means optional chaining
  //input will be a string equal to whatever the user types after the route
  const input = req?.params?.input;

  //call the makeTextImage function
  //and wait for it to return the buffer object
  const image = makeTextImage(input);

  //create the headers for the response
  //200 is HTTTP status code 'ok'
  res.writeHead(
    200,
    //this is the headers object
    {
      //content-type: image/jpg tells the browser to expect an image
      "Content-Type": "image/jpg",
    }
  );

  //ending the response by sending the image buffer to the browser
  res.end(image);
});
If you still have your server running, nodemon should have refreshed it when you saved the changes to your code.
If not, start it again by running
nodemon index
Now you can get images by going to localhost:8081/text.
Try 'hello world' by going to localhost:8081/text/hello world.

Make a Meme: Put Text on an Image
Get the loadImage function from the canvas library.
//createCanvas is the function that creates the canvas object
//loadImage is the function that loads an image
const { createCanvas, loadImage } = require("canvas");
Write the makeMeme function.
Put the makeMeme function under the makeTextImage function but above the routes.
const makeMeme = async ({
  //the url of the image to put the text on
  url,
  //the text to put on the image
  input,
}) => {
  //if there's no image to work with
  //don't try anything
  if (!url) return undefined;

  const canvas = createCanvas(200, 200);
  const context = canvas.getContext("2d");

  const fontSetting = "bold 50px Impact";
  context.font = fontSetting;

  const text = context.measureText(input);
  const textWidth = text.width;

  //loadImage is a function from node-canvas that loads an image
  const image = await loadImage(url);

  //set the canvas to the same size as the image
  canvas.width = image.width;
  canvas.height = image.height;

  //changing the canvas size resets the font
  //so use the fontSetting again
  context.font = fontSetting;

  //do some math to figure out where to put the text
  //indent the text in by half of the extra space to center it
  const center = Math.floor((canvas.width - textWidth) / 2) | 5;
  //put the text 30 pixels up from the bottom of the canvas
  const bottom = canvas.height - 30;

  //put the image into the canvas first
  //x: 0, y: 0 is the upper left corner
  context.drawImage(image, 0, 0);

  //set the color to white
  context.fillStyle = "white";
  //draw the text in white
  //x uses the value we calculated to center the text
  //y is 30 pixels above the bottom of the image
  context.fillText(input, center, bottom);

  //set the color to black
  context.fillStyle = "black";
  //draw the outline in black
  context.strokeText(input, center, bottom);

  //return the buffer
  return canvas.toBuffer();
};
Add a Route That Returns a Meme
Add this route right under where you declare const port = 8081;
//this route has two parameters
//input is a string
//url* matches everything after input
app.get("/meme/:input/:url*", async (req, res) => {
  const { params } = req;
  //get the text input string from the request parameters
  const input = params?.input;


  //urls have '/' characters in them
  //but '/' is what express uses to divide up route parameters
  //so to match the whole url, we use an asterisk '*'
  //the asterisk matches everything after the first '/'
  //and assigns it to params[0]

  //so params.url will usually be http:
  const baseUrl = params?.url;
  //and params[0] will be www.myImageHost.com/image.jpg
  const restOfUrl = params?.[0];

  //put the baseUrl and restOfUrl together
  const url = baseUrl + restOfUrl;

  //get the image buffer
  const image = await makeMeme({ url, input });

  //create headers object
  const headers = { "Content-Type": "image/jpg" };

  //set status code and headers
  res.writeHead(200, headers);

  //end by sending image
  res.end(image);
});
Now you can get memes by going to localhost:8081/meme.
Try putting 'hello world' on this image of a kitten by going to http://localhost:8081/meme/hello%20world/https://cdn2.thecatapi.com/images/afk.jpg/.
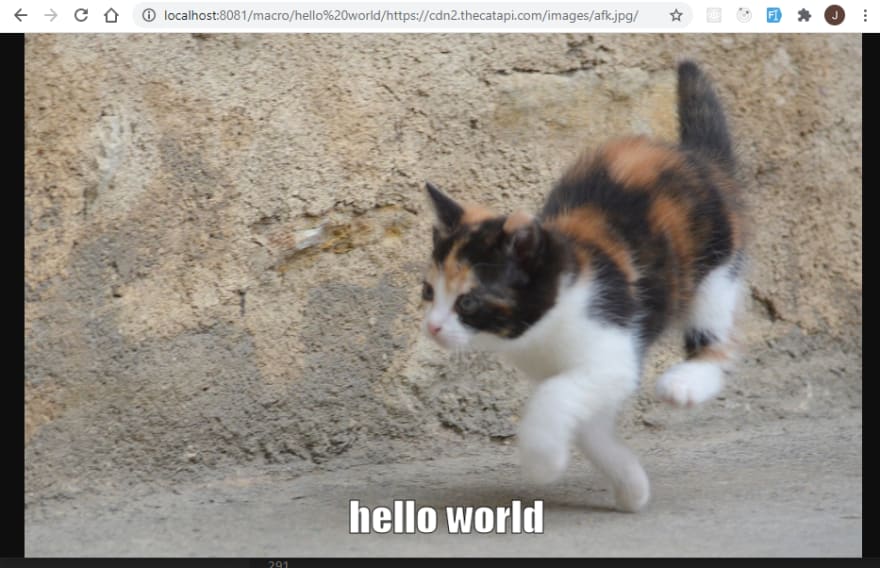
Great!
Host it online using GitHub and Heroku
You need to make some changes to your files before you can host them online. You need to
- Change the
portvariable in index.js - Edit the
package.jsonfile - Make a new file called
.gitignore
Change Port
When your app is running online, it won't be using port 8081. It will use whatever port the server assigns to it. The server will make the assigned port available in the environment variable PORT. You can access this at process.env.PORT.
in index.js change port = 8081 to:
//the port that the server will listen on
//use the process environment variable PORT
//and if PORT is undefined, use 8081
const port = process.env.PORT || 8081;
Edit package.json
When you ran npm init, package.json was one of the files that was created. The package.json is where npm keeps track of various things about your project. To make your project work on Heroku you need to edit your package.json file.
Here's an example of how your package.json should look when you are done.
Your package.json file has a property scripts that looks something like this:
  "scripts": {
    "test": "echo \"Error: no test specified\" && exit 1"
  },
Add the start script below. The start script is what tells the Heroku server to run your index file when you host your app on Heroku.
  "scripts": {
    "test": "echo \"Error: no test specified\" && exit 1",
    "start": "node index.js"
  }
Add a new property to package.json called engines.
This tells Heroku to use node 14.7. The code we wrote earlier uses features that were recently added to node. If you don't add this line then your app will crash when Heroku tries to run it using an older version of node.
  "engines": {
    "node": "14.7"
  }
Make the .gitignore file
We are about to add the code you have written to your repository. But you just want your own code to be in your repository, not all the node modules that you are using. In your project folder on your computer, the one where you have index.js, create a .gitignore file. This file is where you tell git not to include all the software libraries you are using in your repository. Just name the file .gitignore, there is nothing in front of the extension.
Put this in your .gitignore file.
/node_modules
That's it for the .gitignore!
GitHub
Now you need to put your code on GitHub. To put your code on GitHub you will
- Create a Git Repository
- Use the command line to add your code to the new repository
- Check the repository on GitHub and see your files
Create a Git Repository
If you don't have a GitHub account, make one here: https://github.com/join
Make a new repository. You can name it whatever you want. I suggest memeMaker.
Don't initialize the new repository with a readme.
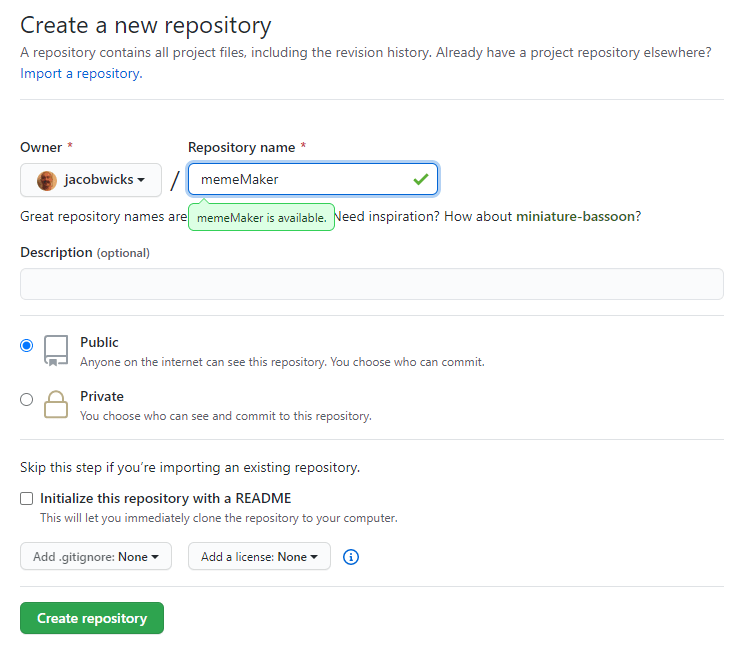
Click Create Repository. Then you will see this screen:

Copy the git url from this screen. The git url for my repo is https://github.com/jacobwicks/memeMaker.git. Yours will be different because you have a different GitHub username.
Add Your Code to your new Repository
Using the command line, go to the folder where you have index.js.
git initialize the directory
$ git init
Add all the files. This step is where .gitignore stops the Node Modules from being added!
$ git add .
Add a commit message.
$ git commit -m "memeMaker first commit"
This step is the most complicated step. You tell git to add a remote origin of your repository's url.
$ git remote add origin <repository git URL>
My git url was https://github.com/jacobwicks/memeMaker.git. That's because my git username is jacobwicks and my repository was named memeMaker.
You can copy your repository url from the screen that came up when you created your repository on git.
My full command looked like this:
$ git remote add origin https://github.com/jacobwicks/memeMaker.git
Yours will look different because your username is different than mine.
Finally, push your code to your git repository.
$ git push origin master
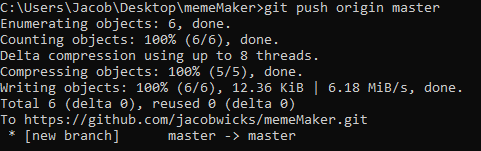
Check the Git Repo
Now check your repository on GitHub. You should see all the files you just wrote.

Great. Now we are ready to get your app running online!
Host using Heroku
One site that lets you host an express web server is Heroku.
To host on Heroku you will:
- Create a New Heroku App
- Connect the Heroku App to Your GitHub Repo
- Build the App
Create a New Heroku App
You need a Heroku Account, so if you don't have one yet go sign up.
Go to the Heroku dashboard. Start creating a new app by clicking the 'New' button then clicking 'create new app' in the dropdown menu.

Create a new app. You can name it whatever you want. I named mine my-meme-maker. You can take whatever name is available.

Deploy by Connecting the App to GitHub
Under the deployment method, Click the 'Connect to GitHub' button.

If this is your first time working with Heroku, you need to connect your GitHub account to Heroku.
Click the 'Connect to GitHub' button. This may connect your github account automatically, or there may be some more steps.

After your github account is connected you will be able to search for your repo. Type the name of your repo in the search field and click the search button. My repo was named 'memeMaker'. After the search completes, your repo will be shown below. Click the connect button.

Now your Heroku App is connected to your GitHub repo!

Build the App
Click the 'deploy branch' button in the Manual Deploy section.
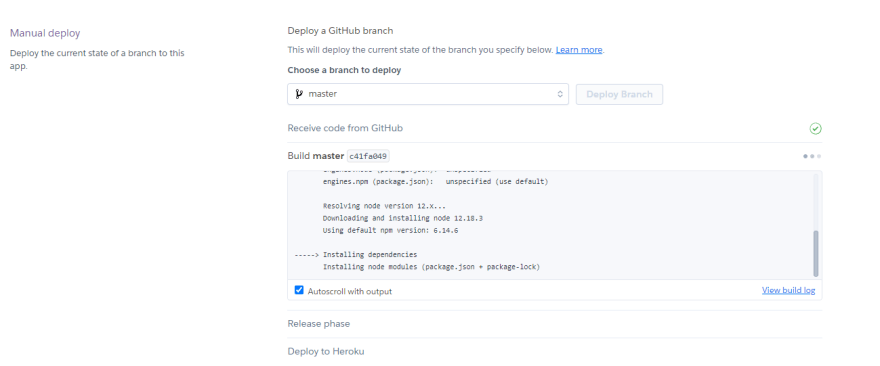
It should say "Your app was successfully deployed"

Click the view button and you'll see your '/' route working.

Use the App!
Now you can make memes that say whatever you want!
Next steps
- This code puts text at the bottom of the image. Make one that puts text at the top.
- Let the user put text at the top and bottom of the image using more path parameters
- The text gets cut off if it's too long. Make it write multiple lines instead
- Putting '?' in the meme text won't work. Make it work with question marks
- There's no error handling or checking for bad inputs. Add error handling and make sure the app won't crash if it gets bad input
What to do if deployment didn't work
That's too bad! But this is an opportunity to learn.
To figure out what went wrong with your app, you need to look at the Heroku logs.
First, Install the Heroku CLI.
Then, using the command line, look at the logs for your app.
The command is heroku logs -a followed by your app name
heroku logs -a <your-app-name>
I called my app 'my-meme-maker' so the command to see the logs for me is this:
heroku logs -a my-meme-maker
Yours will be different because your app will have a different name.
Use resources like Google, Stackoverflow, documentation and forums to find the answers. Keep poking around and you will get it working.


Top comments (0)