If I'm going to build a full-featured, AI-powered, totally-awesome personal assistant bot, I need to start off with a solid foundation. Here's a post that outlines all of the involved technologies and my initial flask app set up. If you would like to see how the project looked at different stages of the process, click on the Code Checkpoint link to head to the commit in Github.
Contents
- Tech Stack
- Initial Commit
- Deployment with Heroku
- Testing... 1, 2, 3
- Athena, Tell Me More about Yourself
Current Tech Stack
- Github Repo
- Heroku
- Python (Flask)
Initial Commit
Ahh, who doesn't love typing Initial Commit to get a project going? To kick things off, I started with a basic Hello World flask app with Swagger documentation via flask-restplus. Although restplus isn't a requirement for deploying flask app, I find it much simpler to have the service provide the documentation for me. Also, it allows for testing endpoints without having to use curl or an IDE.
Virtualenv
As with any Python project, I start off by adding a virtual environment. This step is crucial in making sure that what I see on my computer is the same thing I'll see when deployed (and so that people like you can copy my code with ease).
Flask Application Factory
Flask suggests to use the application factory for two main reasons:
- Easy Testing
- Having multiple instances of the same (or slightly tweaked) app
You can read more about this method here.
Folder Hierarchy and App Structure
To be honest, I'm still learning about the best organization method for flask so that projects are easy to follow and update. Here's the structure that I have at this point:
.
├── athena
| ├── init.py
| ├── app.py
| └── general
| ├── init.py
| └── general.py
├── env
| └── (insert all of the hidden magic of virtualenv)...
├── .gitignore
├── requirements.txt
└── run.py
Because Athena will have multiple components (because no one's life only pertains to one area), the api will have multiple namespaces (think folders) that will organize similar endpoints. I'm starting off with a "general" section to house all foundational api calls and activities..
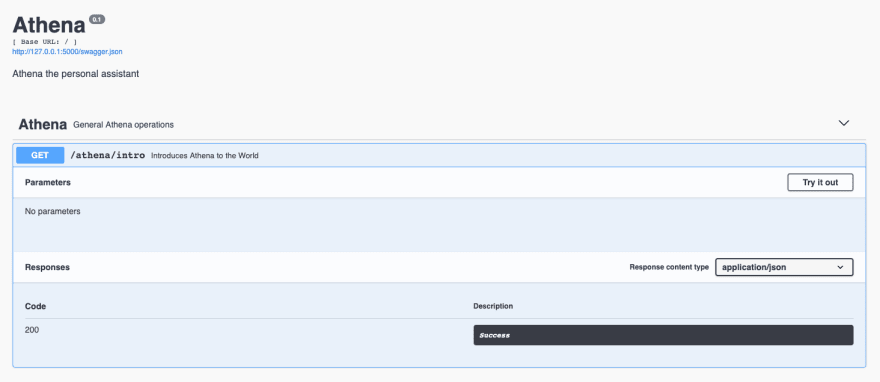
After getting the project set up, this is what the app looks like when deployed locally
python run.py
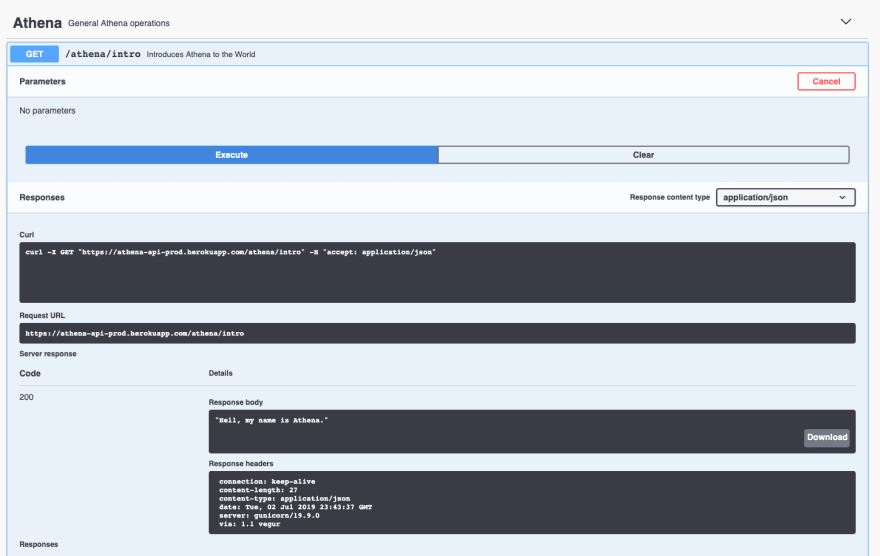
And heading to /athena/intro in the browser shows the following response

Deployment with Heroku
Alright, now it's time to push this out to the public. I'm using Heroku to host my app for the following reasons:
- I can connect a branch to my app so that whenever code is push to remote, a new app with the new changes is deployed
- Automated testing
- App pipelines
- The interface is amazingly user-friendly
- When there's a pull request, Heroku can automatically deploy a one-off version of the app with the code in the pr
- plus a million more reasons
Pipeline
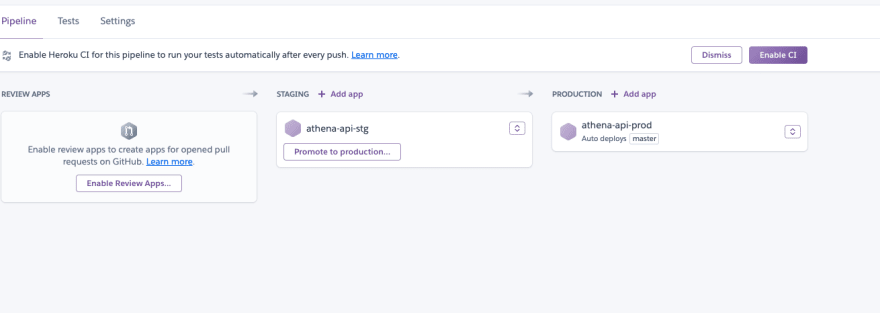
I went ahead and created a pipeline with two apps for my two development environments:
- production: this is what I'll interact with every day
- staging: this is where I'll deploy code that's finished with development but may not be 100% ready to go public (e.g. completed sub-features that need another sub-feature to be finished before the entire section is complete)
The entire pipeline is connected to my project repo, and my prod app is connected specifically to my master branch. Once the staging branch is created down the line, I'll go ahead and connect that branch to the staging app (don't want to get ahead of myself).
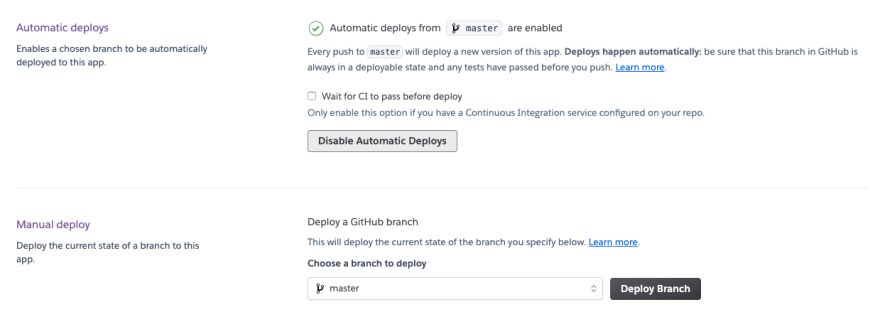
The prod app is set to automatically deploy with each push. However, before the first deployment, I need to add a few things to the app to make it Heroku-ready.
Changes
- Added Procfile (file)
- Installed gunicorn (package)
- Created app instance in run.py
After adding these changes, I ran heroku local in my terminal to make sure I had everything set up right.
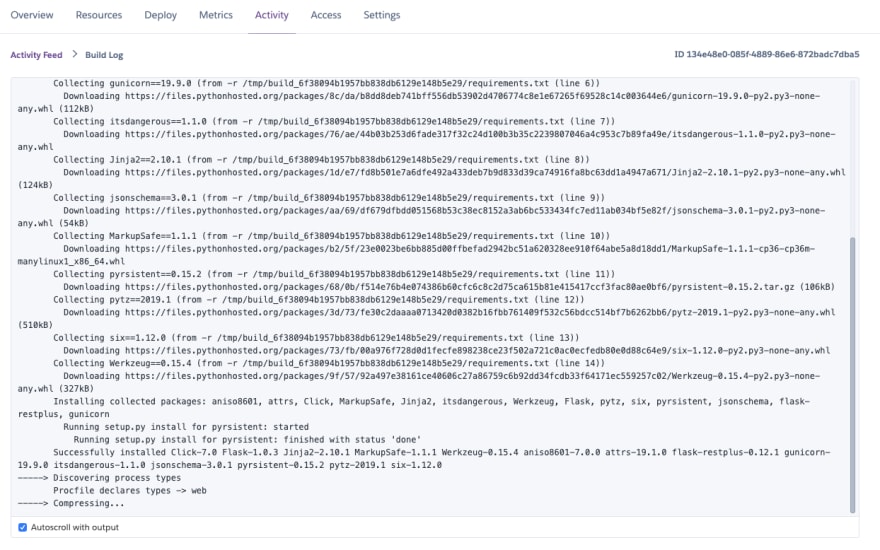
Within seconds of pushing my changes to Github, Heroku started to deploy my changes to the app.
And voila! Athena is public!
Testing... 1, 2, 3
One thing I've learned along my coding journey is that sooo much time can be saved by starting off a project with testing in mind. Heroku and pytest make it easy to make sure that each push is a fully functioning application.
First up, let's add a test to make sure that the app works.
Changes
- Installed pytest (package)
- Added test folder with test
- Enabled CI in pipeline
- Added app.json file for test configuration
- Added pytest.ini (file)
After getting pytest installed, I added a simple test to check to see if the app is running. One quick way to do this is to check to see if a GET request to '/' returns with a status code of 200.
test_app.py
from athena import create_app

import pytest

@pytest.fixture
def app():
    app = create_app()
    return app

def test_app(app):
    client = app.test_client()

    resp = client.get('/')
    assert resp.status_code == 200
Tip
If you've used pytest with a Python 3.# virtualenv before, you've probably seen the following error:
DeprecationWarning: Using or importing the ABCs from 'collections' instead of from 'collections.abc' is deprecated, and in 3.8 it will stop working
    from collections import Hashable
To make sure that DeprecationWarnings like this don't halt the entire app, you can add a pytest.ini file with the following:
[pytest]
filterwarnings = ignore::DeprecationWarning
After running pytest in the terminal, the following output is displayed.

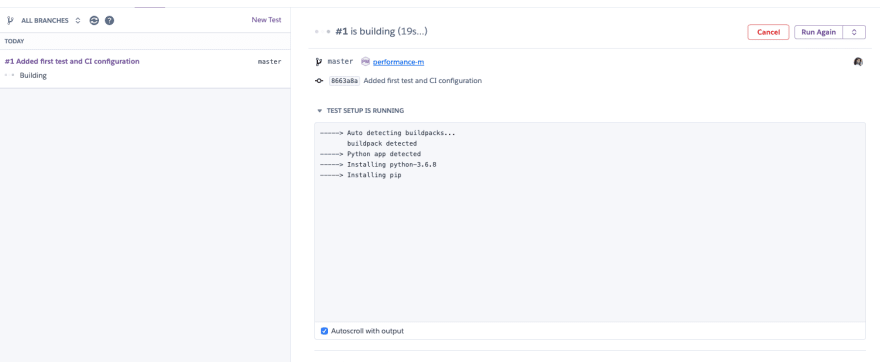
Next step is to add the app.json file so that Heroku knows how to test the app. Afterwards, I can enable CI on the pipeline and then deploy the changes for testing. Here's what's displayed on the screen after pushing to remote.
And here's what's displayed when all tests pass.

Athena, Tell Me More about Yourself
Code Checkpoint
Okay, the set up is basically done. We have automatic deployment and testing and a solid application organization structure. To finish things out, I'll go ahead and create a staging application for any future features. Also, just to add a little spice to this tutorial, let's try to commit the first feature change so that we can get a glimpse into the power of Heroku's Review Apps.
Changes
- Added staging branch
- Connected staging branch to staging app with automatic deployment
- Added more details to the GET /athena/intro request
After enabling Review Apps (inheriting config vars from the staging application), changing the response to the intro request, and submitting a pull request, an app was created and launched for me to see the changes in real time. The pull request page shows that all tests passed and gives a link to view the deployment (can also see from the heroku dashboard).
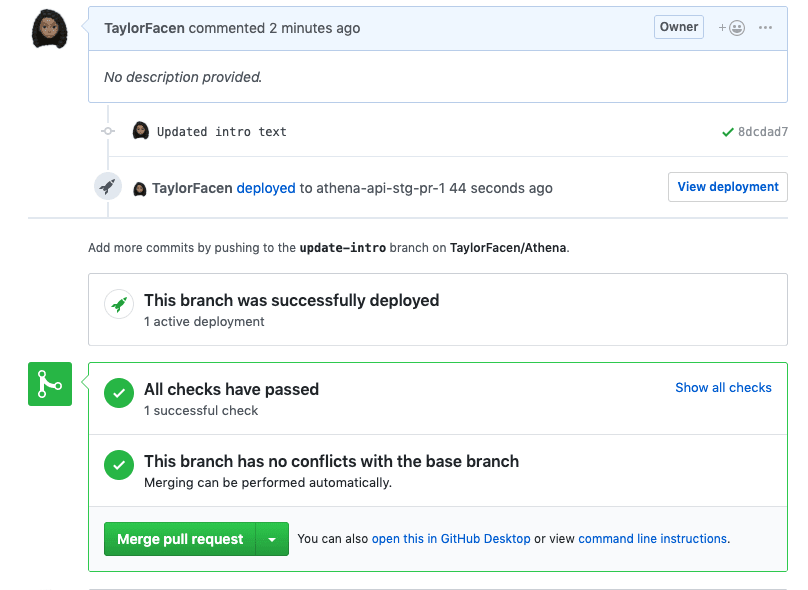
Wooh! All tests passed and my intro text was updated. Time to accept the pr, push the changes up to master, and release v0.1 of my app!
Thanks for reading along! Next, I'll program Athena to give me a wake up call every morning.



Top comments (0)