Here’s a quick example of connecting to Dataverse with MSAL using auth code flow. I have performed the following step,
1. Creation of Application Registration
As the name suggests Application Registration registers your application to talk to Dataverse. The details of how to register an application in azure can be found in Microsoft docs. However, I am listing the steps I have taken below,
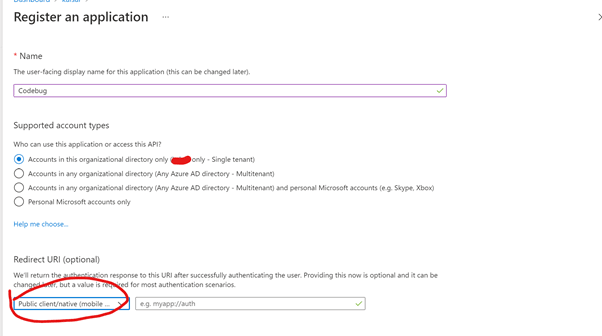
- In Azure Portal select Azure Active Directory and I have selected App Registrations. Then clicked on New Registrations.
- On the new pane I have set the name of my application. On the Redirect URI select Public Client/Native as I am building a class library. I have left everything else as default.
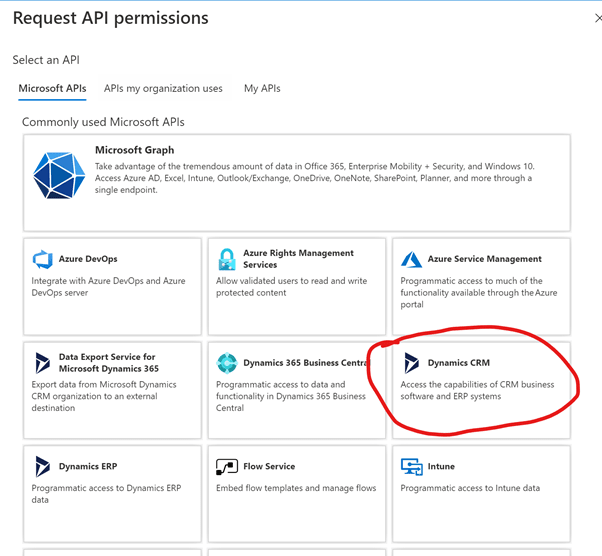
- After the application registration is created, click on the Api Permissions from the left-hand side. In the new blade under Configured Permission section click on Add Permission. In the new blade select Dynamics CRM option.
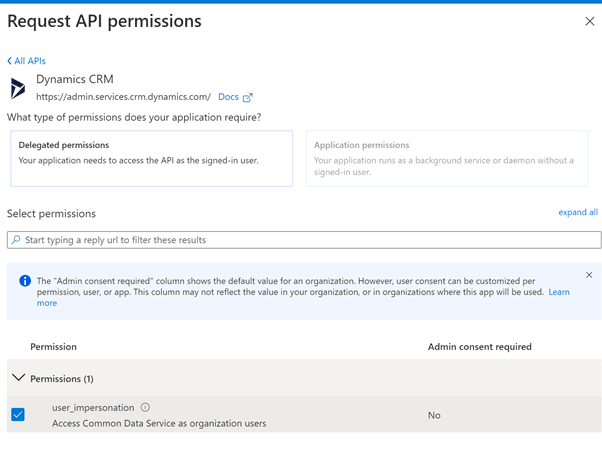
- There should be only user_impersonation option there. Select that option and press Ok. The name and placement of Dynamics CRM option has changed a few times. If you do not see the option, it is more likely that they have changed the name, placement, or both.
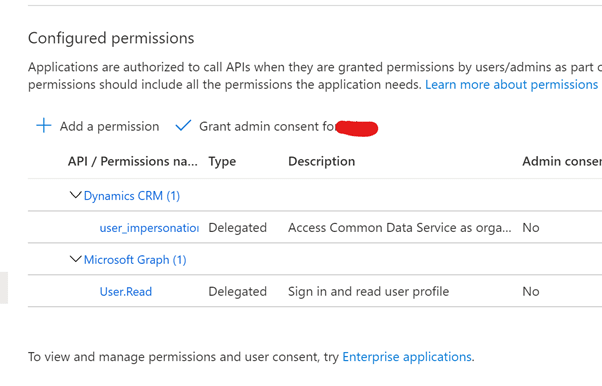
- Your Configured Permissions should look like below,
- Click on Certificates and Secrets node on the left and in the new blade click on new Client Secret button. On the pop window create a meaningful name and set the expiry and then select Add. In the next window make a note of the client secret.
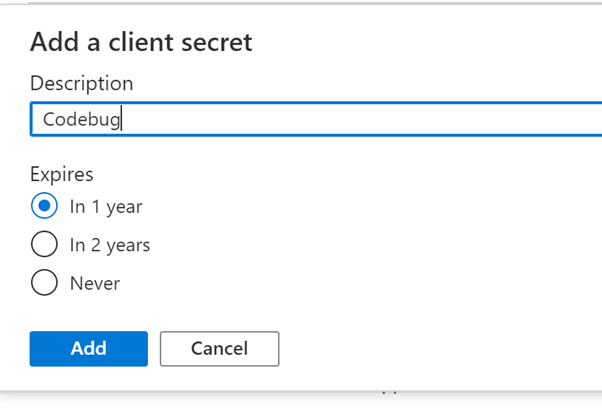
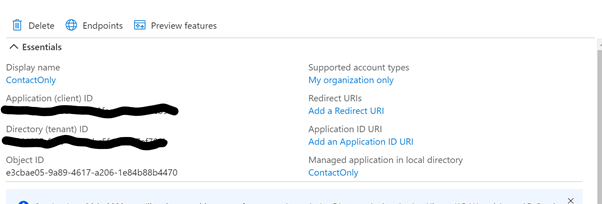
- Make a note of the following from the Overview section in the,
- Client Id
- Tenant Id
- App secret that has been generated in the step 6.
2. Create an application user in Dynamics 365
Create an application user in Dynamics 365 by going into Advanced Settings > Security > Users.
- In the screen change the view to Application Users.
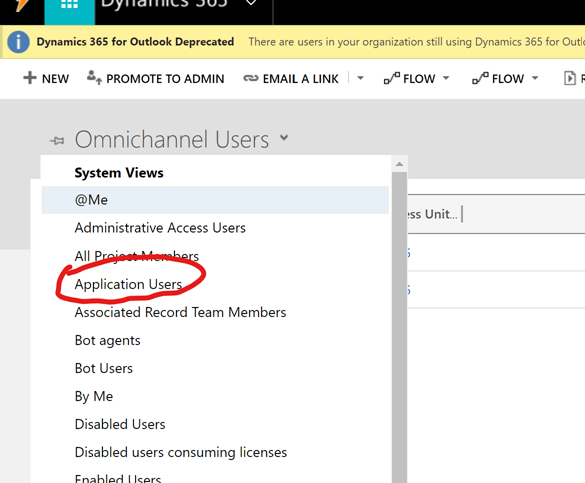
- Click on New.
- Put the client id (Step 1, 7) in the Application Id field of window. Then click on Save.
- Assign a security role by clicking on Manage Roles. For simplicity I have assigned mine to system admin.
3. Code
I created a class library with .NET 5 and then installed Microsoft.Identity.Client (MSAL) through Nuget. The trick here is to know the scope for Dynamics 365. It is,
Dynamics 365 URL + / + “.default”
You can see the scope for my example in line 18 in the following gist,
To understand what scope is in MSAL flows, you can read about them here.
If you want to see the whole project the code is found here,

Top comments (0)