I recently signed up for the HNG Internship 9 for the backend track. The internship starts on 27th October 2022.
The first task (ungraded) was to set up a web server and host a simple website that displays ‘Hello World'.
This is a step-by-step process of how I did the task.
What is Amazon EC2?
Amazon Elastic Compute Cloud (Amazon EC2) is a web service that provides secure and resizable compute capacity in the cloud. It is designed to make web-scale cloud computing easier for developers.
What is Nginx?
Nginx is a web server used as a reverse proxy, load balancer, mail proxy and HTTP cache.
Set Up an AWS Account and Configure a Security Group
- Create an AWS Account, sign up and get a 12 months free tier account.
- Open the Amazon EC2 console https://console.aws.amazon.com/ec2/

- On the EC2 Dashboard, select ‘Security Group’.
- Select ‘Create Security Group’.

- Enter a simple name that you will remember for future use. Leave VPC as it is.

- Add some inbound rules.
- Rule 1 - Type: HTTP, Source: Anywhere IPV4
- Rule 2 - Type: HTTPS, Source: Anywhere IPV4
- Rule 3 - Type: SSH, Source: MyIP

- Leave everything else as it is and click ‘Create Security Group’
Create a Key Pair
- Move back to the EC2 dashboard.
- Click on ‘Key Pairs’ and select ‘create key pair’.

- Assign a suitable name for your key pair and leave everything else as selected. Choose .ppk only if you intend to use PuTTY to connect to your instance.
- Click on ‘Create key pair’.

- A download dialogue box will pop up. Download the private key and store it on your computer. Note that if you do not download the key, you have to create a new key pair.
Launch an Instance
- Move back to the EC2 dashboard and choose instances.
- Choose ‘Launch Instance’. Give it an appropriate name.
- For Application and OS Images, select one of ‘Amazon Linux (HVM). Click on ‘Browse more AMIs’ for more options.

- For instance type, select t2.micro.
- For the key pair, select the one that you created earlier.
- Select 'existing security group' and select the one you created earlier.
- Leave everything else as it is and click on Launch instance. It will take a few minutes before the status check is complete. Once the status check indicates 2/2 checks passed, you can now connect to your EC2 instance.
Connect to your Instance
- Fire up your local terminal and cd into the folder where you stored your private key.
cd Downloadsin my case. - Run
chmod 400 <filename.pem>to change permission on the file to protect it against accidental overwriting. - Connect to the instance by running
ssh -i <privatekey.pem> username@publicipaddressIn my case:ssh -i keytest.pem ec2-user@3.86.234.246
- If you get a connect to host 3.86…. port 22: Connection timed out error, open the EC2 Console and choose security group. Select the security group you created or are using and edit inbound rules. Remove the IP on the SSH rule, choose MyIP and save the rules.
- Run the command in step 3. Everything should work well now. If you get more errors, check out more troubleshooting options from here.

- Gain root access to your server by running
sudo su -
- Install HTTPD package:
yum install -y httpd - Enable your server:
chkconfig httpd on
Install and Configure Nginx
- Install EPEL:
yum install -y epel-release - Update Yum:
yum update -y - Install Nginx:
sudo amazon-linux-extras install nginx1 - Check Nginx Version:
nginx -v - Start Nginx:
systemctl start nginx - Enable Nginx:
systemctl enable nginx - Check Nginx Status:
systemctl status nginx
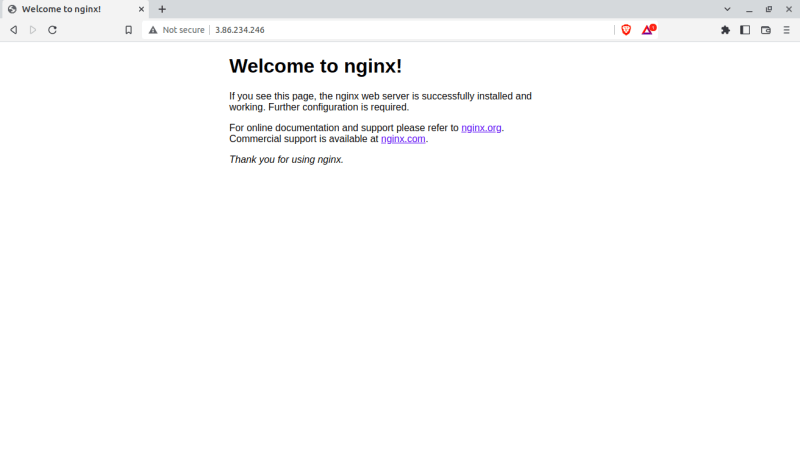
- Copy the Public IP to your web Browser to view the site's content.
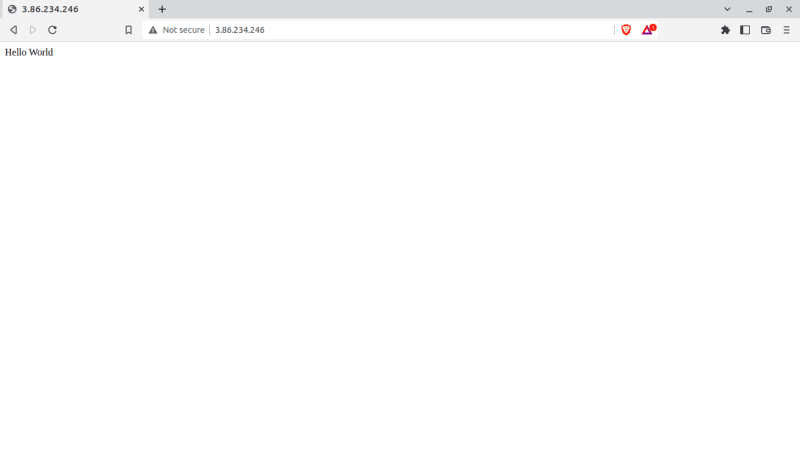
- Write to the index.html file Using cat:
cat > /usr/share/nginx/html/index.htmlHello World
- Refresh your site to see the changes.
Terminate Your Instance
- In the EC2 dashboard, choose Instances.
- In the list of instances, select the instance.
- Choose Instance state, Terminate instance.
- Choose Terminate when prompted for confirmation.


Oldest comments (0)