
Disclaimer: This post is sponsored by Editor X.
Table of Contents
Introduction
Adding Custom Code
1. SignIn to Editor X
2. Use Blank Canvas or Select a Template
3. Dev Mode
4. Element IDs
5. Default Values setup
6. Event Handlers
7. Code addition
Introduction
For the longest time, I was intrigued by how you could just make a fully functional website without using any code at all. Hence, in order to satiate my curiosity, I've finally joined the low-code/no-code gang as well (not permanently though).
The tool that caught my interest was Editor X. I already wrote an article explaining what it is and why should you bother with it. If you want to read it, you can do that here.
But if you've already read it, then you might remember that I mentioned how you could add custom code to your Editor X websites. Well, today I'll teach you how to do it so that you can spice up your websites ;)
Adding Custom Code
Now, let's get to the main topic. We can divide this in steps so that it will be easy for you guys to understand!
1. SignIn to Editor X
First of all, you gotta register or login to EditorX. You can do that here:
www.editorx.com/editor-x/ayesha
Once you login, you'll see this screen:
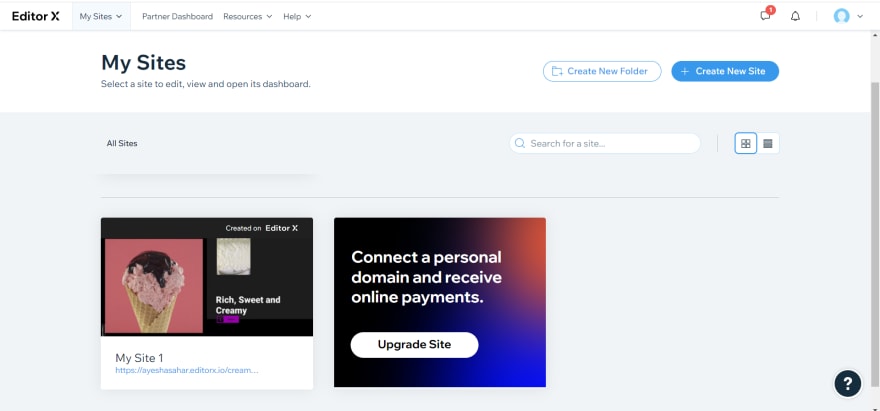
But, right after signing up or clicking on the "create new site" button, you'll see this screen:
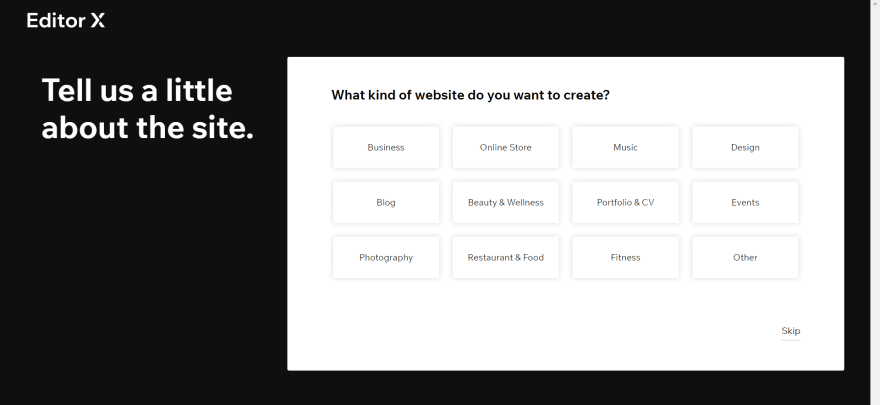
2. Use Blank Canvas or Select a Template
Now, as shown in the picture shared in the last section, select what type of site you want to make.
I ended up selecting "Restaurant and Food" since it's no secret I'm a big foodie ;)
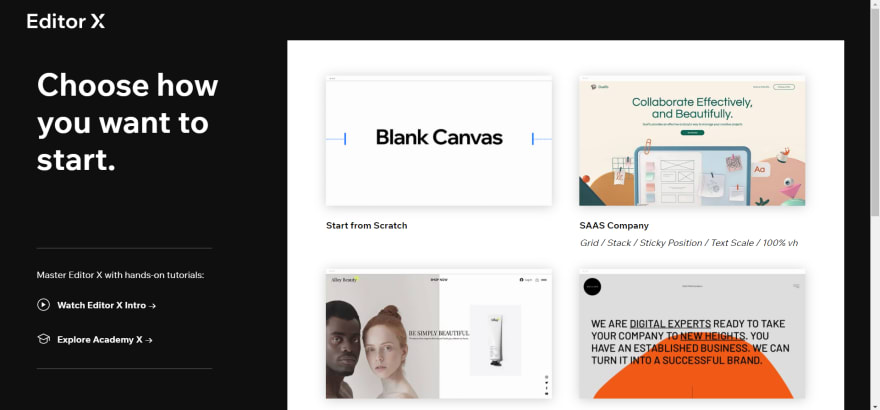
You have two options. Either choose a blank canvas and work from scratch or select a template. Since your truly is truly busy these days, I chose a template.
If you are here from twitter, you might know that I already made a pretty website for my favourite food 😆
Here it is:
https://ayeshasahar.editorx.io/creamyland
For conveniance purposes, rather than creating a new one, I'll be showing you how to add code to this one. If you are a beginner and wanna practice along, just choose any template as all are really beautiful!
3. Dev Mode
So let's talk business. I'll keep this really simple.
There are two modes you can work with. One is the simple mode and one is dev mode. The main difference between these two is that in simple mode you can't add any code but in dev mode, you can!
I'd recommend that you choose your working mode based on your occupation.
You should choose simple mode if you are a:
✅ Designer who wants to make their designs come to life
✅ Developer who loves/prefers no-code
✅ Developer who is working on multiple projects
✅ person who hasn't coded or designed anything in their entire life
You should choose dev mode if you are a:
✅ Developer who wants to spice up their website
✅ Developer who loves/prefers low-code
✅ Developer who wants to build complex web applications
The dev mode is official called "Velo Dev Mode". It is a full-stack development solution that allows you to extend the functionality of your Editor X sites by adding code.
You can add custom functionality using JavaScript and Velo APIs in both the frontend and backend.
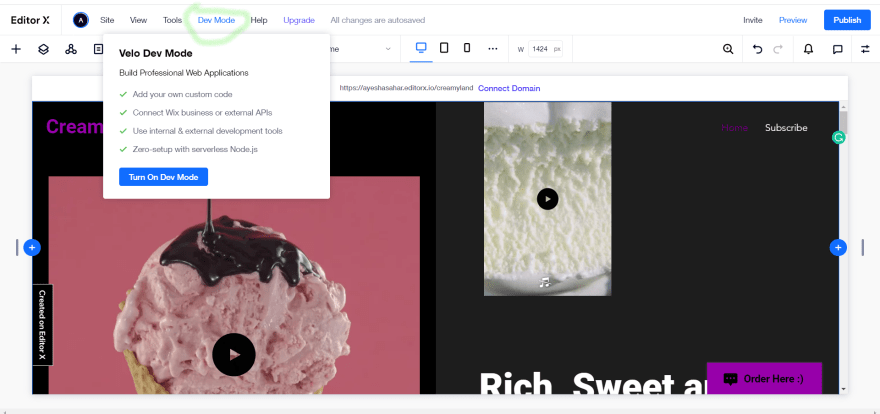
Anyways, returning to the topic. Since we want to add code, we will choose dev mode.
After selecting your site, you will be taken to this page. Just select dev mode as I've marked in this pic.
Here's what dev mode looks like:
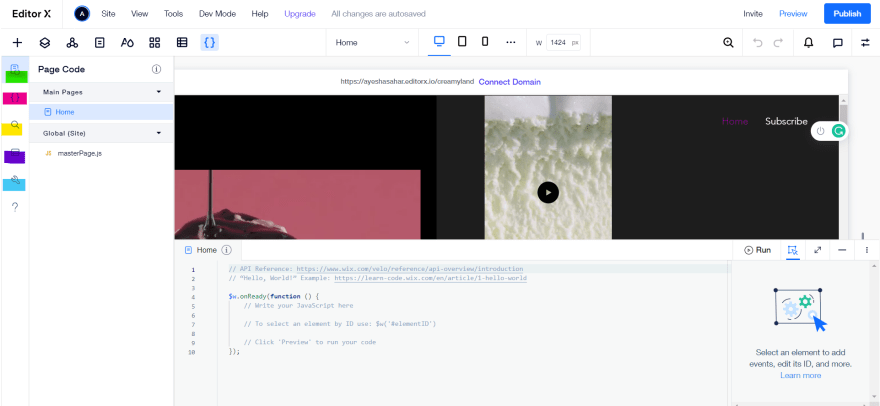
I color coded the side panel to let you guys know what each icon is for.
👉 The green one shows the UI or what the user deals with.
👉 The pink one lets you work on the backend. If you are not a backend dev, I'd suggest not to make changes here.
👉 The yellow one lets you search your code.
👉 The purple one is for managing databases.
👉 The blue one shows develeloper tools.
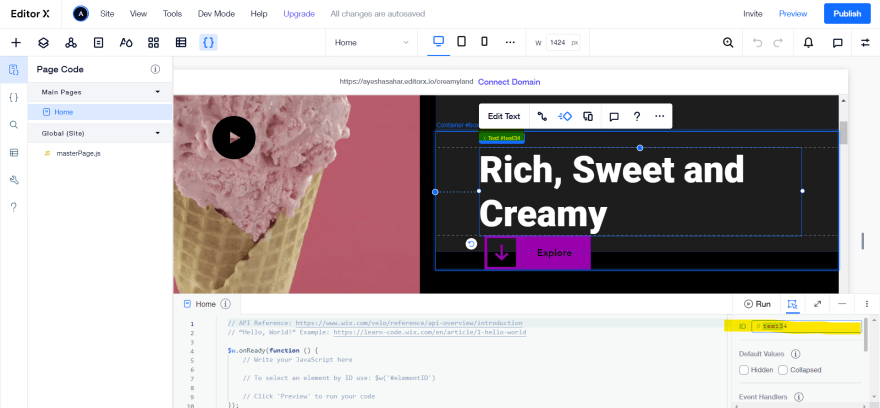
4. Element IDs
Once you select anything, you'll find out that it has a unique id. This id can be changed too. Iyt can be done from the box I've highlighted yellow.
5. Default Values setup
You can even set the default state of the element selected. The default state is how you want that element to behave once the page loads.

6. Event Handlers
Right below the default values option is the event handlers option. The event handlers are quite similar to the ones in JavaScript.

You can add these to create custom interactions based on your visitor's behaviors.
We'll use the "onClick()" event handler to just change some text once a button is clicked.
7. Code addition
Now, what I wanna do is to change the "Eat Ice-Cream, Eat Cakes, Be Happy!" text when I click the "click me" button. So, to do that, first of all I will select the click me button and then select the "onClick()" event handler.

A function will be added in the code panel just like shown in the picture above. You can type your javascript inside this function.
Since I wanna be able to change to change text when clicked on this button, here's what I'll add:
export function button3_click(event) {
    // This function was added from the Properties & Events panel. To learn more, visit http://wix.to/UcBnC-4
    // Add your code for this event here:
    $w('#text30').text ="Let me tell you a secret, Ice Cream Solves Everything!"
}
"# text30" is the unique of "Eat Ice-Cream, Eat Cakes, Be Happy!" text. The code here means that once this button is clicked, just set the text equal to "Let me tell you a secret, Ice Cream Solves Everything!".
Here's how it works:

P.S: Sorry for the bad gif quality, you can get the real experience here ;)
https://ayeshasahar.editorx.io/creamyland
Conclusion
Hope you understood how it works! I just gave you a simple example so that everyone can understand and try it out. You guys can do so much more than this.
After working with Editor X, I realized how convenient low-code/no-code tools are. Everyone should try at least one such tool. It was a good experience for me and I hope that it would be the same for you guys as well :)
Let's connect!
✨ Github

Top comments (0)