
This guide will show you how to add comments to your blog or website with single sign-on using Hyvor Talk and Auth0.
Hyvor Talk is a fully customizable commenting platform with all moderation tools you need. It supports two single sign-on (SSO) methods: Stateless and OpenID Connect-based. In this article, we are going to use OpenID Connect-based SSO with Auth0.
Auth0 is an identity provider, and it is compatible with the OpenID Connect protocol.
(If you are using any other identity provider that is compatible with OpenID Connect than Auth0, the process is almost the same.)
Use Case
Your product (main website) uses Auth0 as the identity provider. And, you also have a WordPress-powered or any other blog. Your clients have to either create a WordPress account or an account in a third-party commenting provider to comment on the blog. That's not what your users love. They love to use their account on your main system. Hyvor Talk is here for your help. With our SSO, you can connect the Hyvor Talk commenting system with your account system with a few clicks.
Prerequisites
In this guide, I assume that you are familiar with Auth0 and using it with your system. So, I assume that you have created a tenant with Auth0. If not, I suggest you reading Auth0's getting started guide.
Single Sign-on is only available on our business plan. You can test everything with the 4 days trial that we offer. Learn more about Hyvor Talk plans here.
Setting up Hyvor Talk
- Visit the Hyvor Talk console (https://talk.hyvor.com/console). It will redirect you to create a Hyvor account. After verifying the account, you'll be redirected back to the console.
- You are now in the Add Website section of the console. Simply, add a name and your domain here and click ADD.
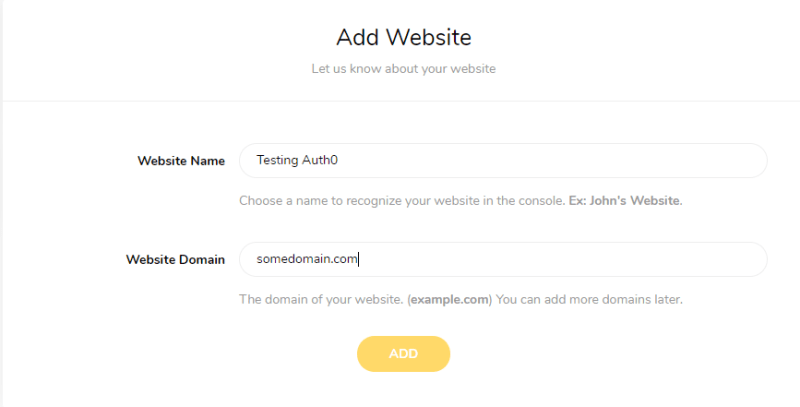
Adding your website
- Next, follow the instructions in the Install section based on your platform.

Choose your platform
You have just installed Hyvor Talk on your website! By default, users are required to log in with a Hyvor account to comment. Let's set up SSO now.
Setting up Single Sign-on
1. Setting up a new Auth0 Application
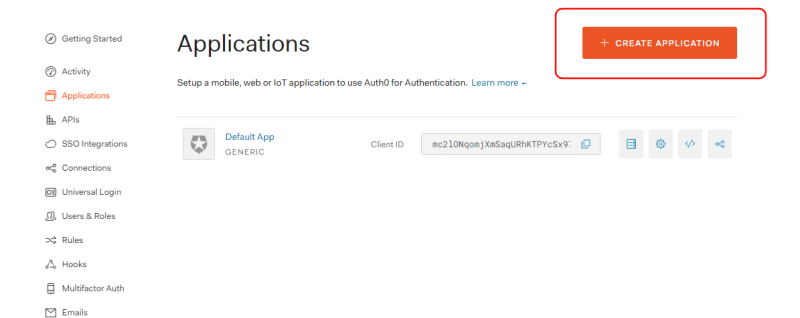
- Go to the Auth0 dashboard and create a new application.
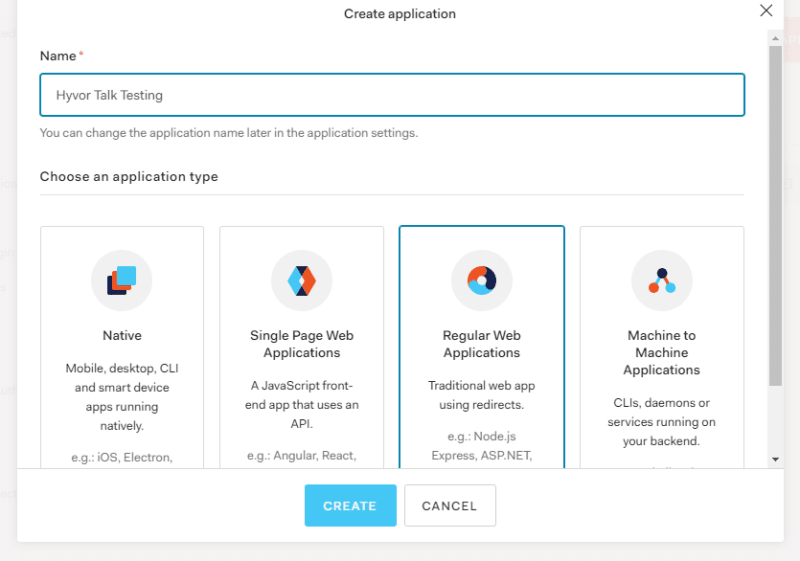
- Add a Name, choose Regular Web Application, and click Create.
- The Settings tab includes all the data that we need in the next step.

2. Setting up SSO on Hyvor Talk
- Go to Account -> SSO section in the console.

- Next, create a new SSO ID.
- Type -- Select OpenID Connect
- Issuer URL -- Domain in Auth0 (Settings tab) -- Make sure to prepend
https://to the domain. - Client ID -- Client ID in Auth0
- Client Secret -- Client Secret in Auth0

- After clicking Create, simply click Assign websites and assign your website to the current SSO ID.
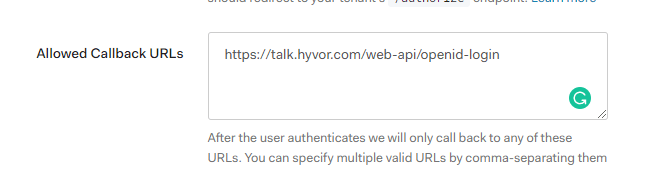
- Final Step: Add the following URL to Allowed Callback URLs in the Auth0 application settings tab and save changes.\
https://talk.hyvor.com/web-api/openid-login
Now, when you load Hyvor Talk on your website, you'll see the magical log in button which will redirect you to your issuer's login page.
Yay! Now your users don't have to create another account on Hyvor Talk, WordPress, or any other system to comment on your website. They can just use their account on your application. They are now so happy!

Conclusion
As you saw, it's just a work of a few minutes to set up Single Sign-on with Hyvor Talk when you are using an OpenID Connect-compatible identity provider like Auth0.
You can learn more about how SSO works and how to moderate SSO websites from our documentation. Start from the Single Sign-on introduction.
If you have any questions, feel free to comments below.
Originally published on Hyvor Talk Blog

Top comments (0)