
Part One
This post for whom ?

if your are a developer and you got tired from spending much money for vps and shared hosting and you need a fast way for previewing your work for clients and even for production then this post made for you!

Before i make this post i used to buy vps & shared hosting for deploying my projects but this was costing me much money
so what can i do for make my own server ?!
-like any developer you always need a server for deployment your app like laravel , wordpress , Django , Nodjs or even using it for Deep learning like Tensorflow

so keep reading for achive that for free !!

Requiremnts:
1- Any laptop or pc you are not using ( Note: you can use your personal laptop)
2- Linux os ( ubuntu or any Linux distribution you are like)
3- MobaXterm
4- Ability to access to your router admin page
Step one:
Install your os on your laptop/pc follow this guid show you how to install it.
I will consider you are using ubuntu os.
visit: How to Install Ubuntu Linux in the Simplest Possible Way
Step Two:
Install Apache or nginx on your machine.
How to install Apache
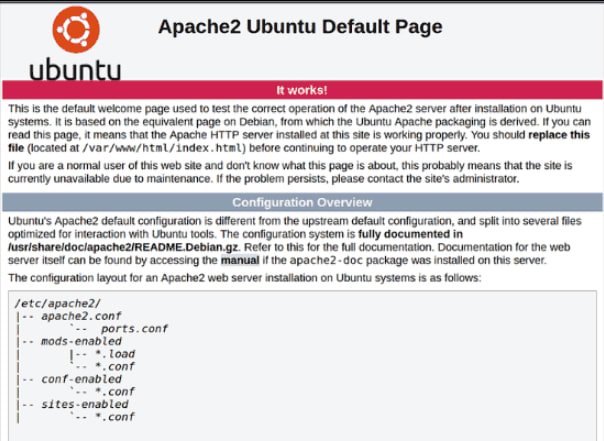
After This step run your apache server
now you have a server but this server work localy only.
That means you can't connect to your server from anywhere.
in next steps we are going to make it available publicly so keep reading
Step Three:
In this Step we will need to open the port for our Server to be able connect it from outside the LAN.
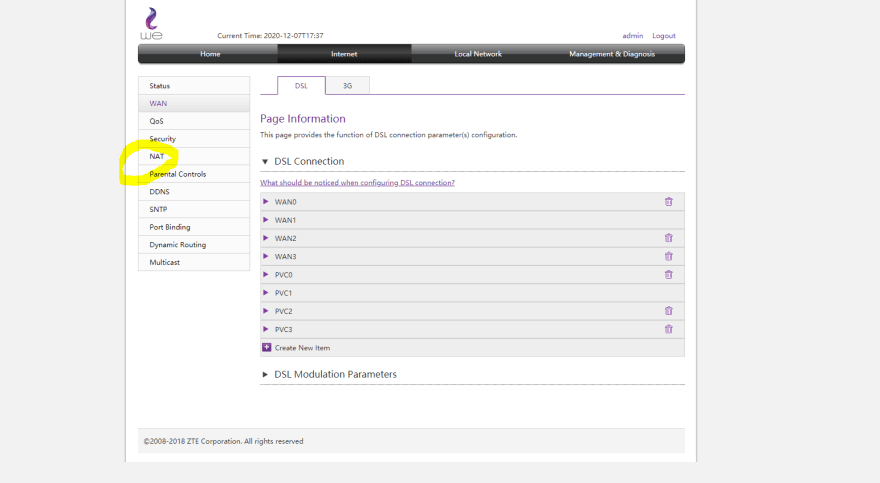
keep your os connected with wifi or Ethernet cable and open your router admin page this can be done by opening browser and visit 192.168.1.1 usually this is router address for most people.
will be someting like that
Then go to WAN Setting

Then open Nat Tab
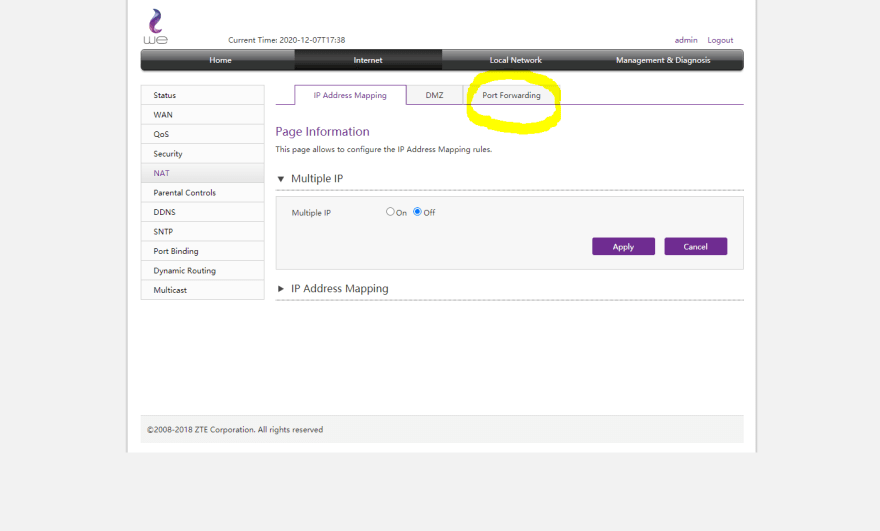
Open Port Forwarding Tab
Then Enter The Port you need to open (port 80 for http protocol)
Name: in this field enter any name
Protocol: this filed is TCP by default but you can choose both TCP And UDP
WAN Connection: leave its default
WAN Host IP Address: leave its default
LAN Host: in this field enter the MAC address of your laptop/pc that you want make it server
WAN Port: Enter the port we need to open for me i opened 80/tcp
LAN Host Port: same port we entered in WAN Port
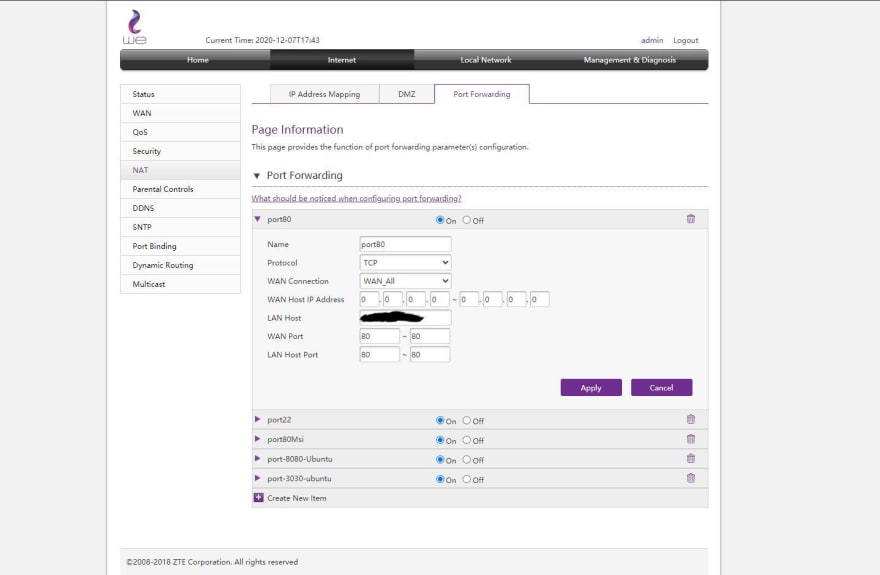
Then save changes.
Now Visit this website to check our port visit

Enter your public IP on browser and press Enter and see the Magic !! find your public IP
Congratulation !! now your server is public for the world.
Next part we will learn how to connect our server with a free domain Name and will learn how to auto Deploy any project like herokuapp in a few seconds!!


Top comments (2)
You should check all your images with IPs 😅😅
i didn't notic but anayway its a dynamic ip so it changes always. 😂