
Introduction:
So, in my previous post, I had talked about developing GUI applications with the help of Tkinter framework of Python. In this post, I am gonna tell you about widgets present in Tkinter that provide the UI and the interactivity to our GUI application. Let's begin😃
What are widgets🤔?
Normally, we consider a widget as an element of Graphical User Interface of a device that either displays some important information, or let's user interact with the OS easily.
For a user, this description is perfect, but for us developers, there is a different meaning of a widget, especially in Tkinter. Here, a widget is an object of the Tkinter framework that can render graphical elements and have special functions to manipulate the look and functionality of the widget.
We have already used one of the widgets to make our window object, this is how we did it:
import tkinter

# Here, the Tk is a widget that will
# render the window of the GUI application.
window = tkinter.Tk()

window.mainloop()
The Tk() is a widget that would render a window and this is the way we are suppose to call and implement the widgets:- variable = tkinter.widget() if we have named imported tkinter.
How many widgets are there in Tkinter🤔?
For number's sake, there are 19 widgets present in the Tkinter framework. Each of them have different use case and when used together, can create a robust and good-looking UI for any desktop application. Here is a list of all the widgets present in Tkinter.
Button, Canvas, CheckButton, Entry, Frame, Label, Listbox, Menu, Menubutton, Message, Radiobutton, Scale, Text, Toplevel, SpinBox, PanedWindow, LabelFrame, MessageBox
In this post, I am gonna use two of the widgets from the massive list that I mentioned above. The two would be Text and Button. I am also gonna show you how can a widget be styled in any way you want by changing the background color, text color, and the font of the widgets. Let's get started with the code now😉.
# This line imports everything from the module.
from tkinter import *

window = Tk()

# This line sets the title of the GUI Application
window.title("NotePad")

# This line make the window acquire the fullscreen mode by default.
window.state("zoomed")

# This is the implementation of a button that can close a window.
button = Button(
         text="Close",
         command=window.destroy,
         foreground = "white",
         background="red",
         font=("Times", 20, "bold")
         )

# This line creates a textbox in the window.
text = Text(
     # This line is manipulates the font and text of the textbox
    font = ("Times", 20, "italic"),
    )

button.pack()
text.pack()

window.mainloop()
Explanation of the above mentioned codebase:
I know that it can be overwhelming to see all that code at once without any proper explanation but now the explanation would be much easier to understand. Here it is then:
Button widget:
button = Button(
         text="Close",
         command=window.destroy,
         foreground = "white",
         background="red",
         font=("Times", 20, "bold")
         )
Although this explanation is about the button widget, but this pattern is true for every widget in tkinter.
The Button widget as the name suggests, renders a clickable button in the GUI that can be assigned any function.
Here is a breakdown of the arguments taken by the widget:
The first argument it took is the text that is to be shown inside the widget, in this case, Close.
The second argument is the function that the button has to perform. We have to assign the command to the function that is to be perform, in this case, I want to close the window, which can be achieved with window.destroy method.
Third and fourth arguments set the text-color with foreground and the background color with the background.
The fourth one is the argument that can manipulate the font of the widget. It takes a tuple in which, the first value is a string that is the font that is to be used. Second value is the text size and the third value is the font weight.
That's it folks. This was the entire breakdown of the Button widget, now let's make the textbox that I promised we would and that is present in the codebase above.
Text Widget:
text = Text(
     # This line is manipulates the font and text of the textbox
    font = ("Times", 20, "italic"),
    )
Since I already explained everything above, I am not gonna waste any more of your time reading nonsense online.
The text widget creates a textarea in which the user can type plain text as long as he want and it can be saved in the form of paragraphs, instead of long strings without newline character. You can consider it similar to the notepad that comes with Windows OS.
Finished Product:
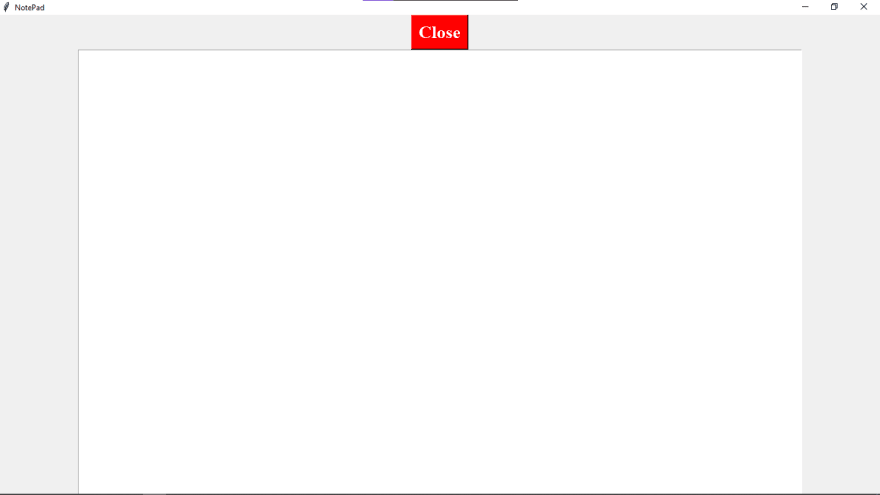
One last thing, you would have to pack the variable in which you made the widget in the window. This is done with the pack() function. This is how you can do it button.pack(). Without this, you would not be able to see the widget on the window.
Hope you enjoyed the post about widget's in Tkinter framework. Follow me if you like my work and subscribe to the newsletter so that you would always get the article in your inbox. Hope you have a great day😉.


Top comments (0)