
PostgreSQL is an open-source object–relational database system that is robust, reliable, and highly performant. It uses and extends SQL with features that can handle complicated workload data.
In this article, we will use AWS CloudFront functions to query a Postgres database using Neon serverless driver. Let’s get started!
GitHub
Check out the source code here.
Prerequisites
To follow along with this tutorial, you’ll need the following:
New to Neon?
Neon is serverless Postgres. If you’re a developer, Neon handles all your Postgres database needs, allowing you to focus on building their applications. Neon separates storage and computing, and this offers certain benefits. Some of these include:
Pay for only what you use: When there is a lot of data to be stored, you’ll only pay for storage and not for computing, which helps save costs.
Flexible scaling: Storage and compute can be scaled independently. When more storage and fewer compute resources are needed, we can scale up storage resources and scale down compute resources independently.
Better utilization of resources: The separation of compute and storage helps to utilize resources better. When more storage and fewer compute resources are required, you can opt for a less expensive subscription option and use the resources for something else.
What is Neon serverless driver?
Before going into what Neon serverless driver is, let’s briefly cover two terms: Serverless and Edge computing.
Serverless computing is a model that provides backend services to users so the users can focus on building their user-facing applications. It abstracts all the server infrastructure for the user.
Edge computing is a model that provides low latency and high-performant applications by placing cloud resources at the network's edge close to where they are needed.
Neon serverless driver is a Postgres driver that enables the query of data from serverless and edge environments over HTTP or WebSockets. It is designed for JavaScript and TypeScript-enabled serverless and edge environments.
This tutorial will use Amazon CloudFront with Neon’s serverless driver. The following section introduces Amazon CloudFront.
What is Amazon CloudFront?
Amazon CloudFront is a web service that delivers web content to users through a broadly distributed network of data centers known as edge locations. When users request content via CloudFront, they are redirected to the edge location with the lowest latency (in terms of time) and provide the content with the best performance.
For example, when a user requests data not served via CloudFront, there is a lot of network routing before the data gets to the user. There is a high latency and possibly some data loss. However, with CloudFront, data delivery is more efficient. The request is routed to an edge location that will provide the data quickly and with high performance and reliability.
CloudFront functions are lightweight functions in JavaScript for high-scale, latency-sensitive Content Delivery Network (CDN) customizations. They modify the requests and responses made to a CloudFront distribution. CloudFront functions can be built, tested, and deployed entirely within CloudFront.
Getting started with Neon
If there is an existing Neon account and project, skip this section and proceed to the next section.
We must create a Neon project and database to use Neon's serverless driver. To sign up on Neon, navigate to Neon’s website and click the Signup button. After clicking the Signup button, it directs us to the signup page with options for signing up either with Email, GitHub, or Google accounts.

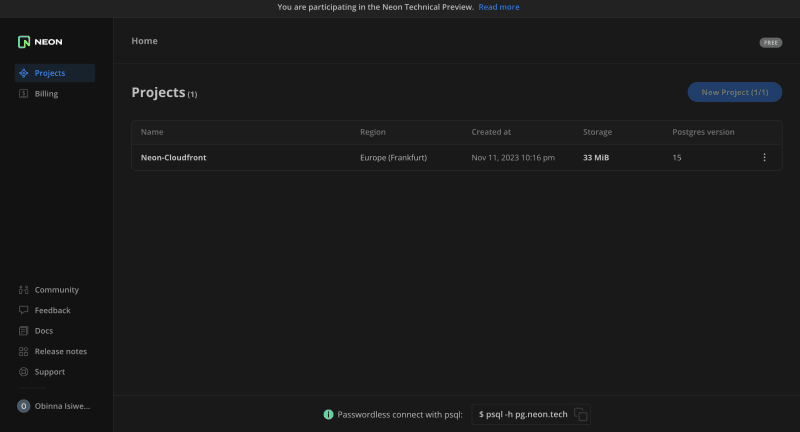
After signing up, we are redirected to the Getting started page, where we will enter the project and database names. For this tutorial, our project name is Neon-Cloudfront, and the database name is neonCloudfront.
After creating the project, we are redirected to the project console.
Creating a table in our database
In this section, we will create a table in our neonCloudfront database. We will create a students table and insert data into it. To do these, we will run the commands below in the SQL Editor in our Neon project and click the Run button.
CREATE TABLE students (
  id SERIAL PRIMARY KEY,
  firstname TEXT NOT NULL,
   lastname TEXT NOT NULL
  );

INSERT INTO students (firstname, lastname)
  VALUES
   ('Obinna', 'Hilary'),
   ('Bob', 'Marley'),
   ('Charles', 'Darwin'),
   ('David', 'Beckham');

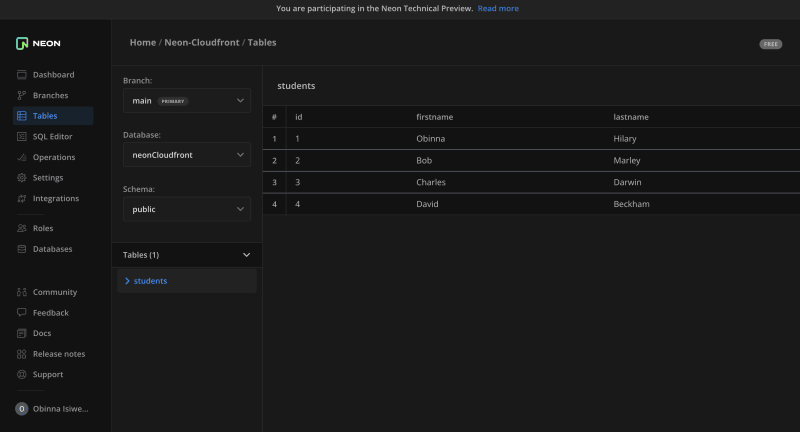
After clicking the Run button and the operation is successful, we can confirm by clicking the
Tables menu on the left. There, we will find the students table with the data.
Creating an AWS Lambda function using Neon serverless driver
AWS Lambda is a serverless computing service that allows us to run code without managing or provisioning servers. AWS Lambda runs our code on highly-available compute infrastructure and handles all the compute resources, including server and operating system maintenance, scaling, and logging. The code is organized in AWS Lambda via Lambda functions. The functions run when needed.
Using the Neon serverless driver, we will create a Lambda function that queries our database. We will use the serverless framework to create our Lambda function. Navigate to the serverless framework’s website and click the Sign up button.
npm install -g serverless
- Create a
neon-lambdaproject directory and navigate to it using the commands below.
mkdir neon-lambda
cd neon-lambda
- Next, run the command below in the terminal to create a serverless project.
serverless
You’ll encounter a series of prompts. Follow the prompts as shown below! Note that you’ll be required to enter our AWS credentials.

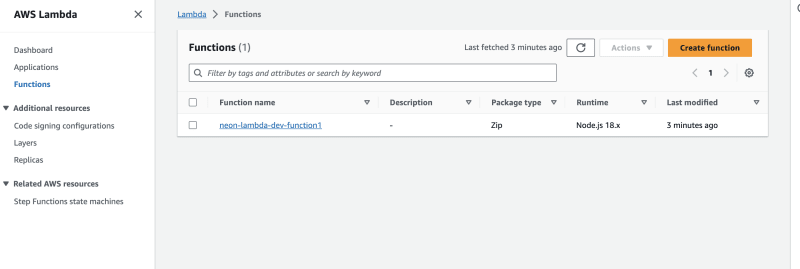
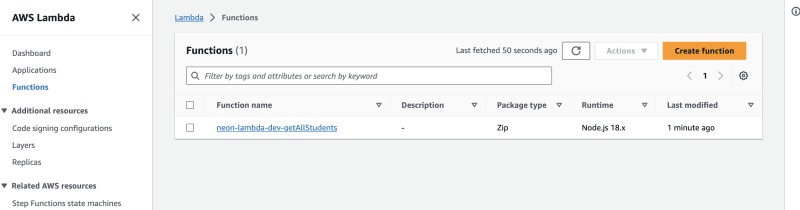
We can now verify that our Lambda function has been deployed by checking our AWS console.
- Install the necessary dependencies needed for our Lambda function. The first one is the
Neon serverless driver. To install, we will run the command below.
npm install @neondatabase/serverless
Then, install dotenv to enable us to read environment variables. To do this, run the command below in the terminal.
npm install dotenv
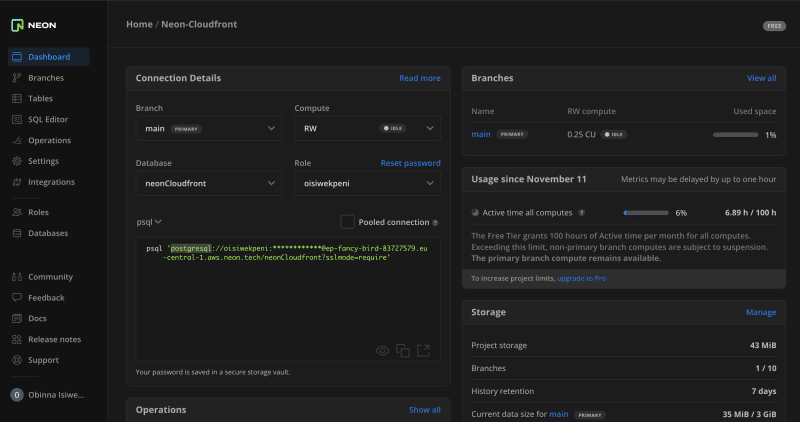
Then, we will create a
.envfile in our project root to store our environment variables. The file will have only one variableDATABASE_URL,which is the connection to our NeonneonCloudfrontdatabase. We will click the Dashboard menu in our Neon project to get the URL.
Next, we will create our Lambda function to fetch all
studentsdata from our database table. To do this, we will update theindex.jsfile in ourneon-lambdaproject we created in the previous step. The file should look like this at this point.
'use strict';

const { neon } = require('@neondatabase/serverless');
require('dotenv').config();

module.exports.getAllStudents = async () => {
  var sql = neon(process.env.DATABASE_URL);
  var rows = await sql('SELECT * from students');
  return {
    statusCode: 200,
    body: JSON.stringify(rows),
  };
};
The code above does the following:
Lines 3 - 4: we imported the necessary functions, i.e.,
neonfrom theNeon serverless driveranddotnev.Line 7: we called the
neonfunction with theDATABASE_URLenvironment variable as a parameter, and it returned a result namedsql.Line 8: we used the returned result, a function that takes an SQL query as a parameter. In this case, we query all the data from the
studentstable in our database.Lines 9-13: we returned the result to the caller.
Next, we will update the
serverless.yamlfile. The file should look like this:
org: obinna
app: neon-lambda
service: neon-lambda
frameworkVersion: '3'
provider:
  name: aws
  runtime: nodejs18.x
  environment:
    DATABASE_URL: '<Database_url>'
functions:
  getAllStudents:
    handler: index.getAllStudents
    events:
      - httpApi:
          path: /students
          method: get
The server.yaml file specifies the configuration of our Lambda functions to be deployed. We specified the getAllStudents function we implemented in the previous step. We also specified the HTTP API to make the data available via an endpoint.
- Run the command below in the terminal to deploy the Lambda function.
serverless deploy
We can confirm that the Lambda function deployed successfully by checking the AWS console.
Creating a CloudFront distribution
In this section, we will create a CloudFront distribution. To do this, we will go through the following steps.
- In our AWS console, enter CloudFront in the services search bar and click on the CloudFront result.
On the CloudFront page, click the Create distribution button to create a new CloudFront distribution.

After clicking the Create distribution button, you’ll get redirected to the Create distribution page. We will select the
dev-neon-lambdain the Origin domain field. We can use the defaults of the other fields. Then, click on Create distribution button at the bottom of the page.

After creating the distribution, we will see our CloudFront distribution on the CloudFront homepage. On the last modified column, we will see it
Deploying. After it has been deployed, the status of the column changes to the date and time it was successfully deployed.

Querying the database using a CloudFront Function
In this section, we’ll create a CloudFront function to query the students table in the database. To create a CloudFront function, click the Functions menu on the CloudFront page.

Next, we will click the Create function button to create a function. Let’s name the function queryStudentData and click the Create function button.

After creating the function, paste this code into the code editor on the CloudFront function page and click the Save changes button.
function handler(event) {
  var request = event.request;
  request.uri += '/students';
  return request;
}
he code above manipulates the request made to our CloudFront distribution and appends /students to the URL to query our students data.
Next, let’s publish our function. Click on the Publish tab and click the Publish function button.

After clicking the Publish function, we will associate our function with our CloudFront distribution. In the Associated distributions card, we click the Add association button, and it opens a dialog where we select and associate our distribution. Since we are modifying the request, choose Viewer request and “Default” for cache behavior in the Event type field.

After associating with our CloudFront distribution, we will wait for our function to update for some time. After it has been successfully updated, we will enter our CloudFront distribution domain name and use it in Postman to make a query. To get the domain name of our CloudFront distribution, click on the Distributions menu on the CloudFront home page.

The student data is successfully returned from our database. We can confirm that our CloudFront function successfully connected to our Neon Postgres database using the Neon serverless driver.
Conclusion
This tutorial showed how to use Neon serverless driver with AWS CloudFront function. We provided some details about CloudFront distribution and functions. We also delved into AWS Lambda and created a Lambda function. Finally, we used the Neon serverless driver to connect our function to our Neon database and queried the database successfully.
Neon serverless driver can be used with other serverless and edge environments over HTTP or Websockets. Some of these edge environments include Vercel Edge functions and Cloudfare workers.

Top comments (0)