
The cloud: a beautiful firmament containing "a visible mass of condensed water vapor floating in the atmosphere, typically high above the general level of the ground." Well, that’s what the Oxford Dictionary said, but the cloud is also a beautiful thing for developers. The cloud is a place of infinite possibilities and boundless opportunities, containing a global network of servers, all with a unique function.
That brings us to Appwrite. Isn't it great to have all the backend capabilities pushed to the web? With the Appwrite cloud, one can access all the standard backend features without installing anything. This tutorial demonstrates how to create and deploy an Appwrite function to email PDF results with Mailgun and Flutter.
-
What we are going to cover:
- How to create an Appwrite function
- How to deploy the function to the cloud and locally (Appwrite cloud is still in private beta)
- How to execute the function from the client side using the client SDK
Prerequisites
To folllow along with this tutorial, the following are required:
- Xcode (with developer account for Mac users).
- iOS Simulator, Android Studio, or Chrome web browser to run the application.
- Appwrite CLI installed.
- Appwrite cloud access. It is currently in beta testing.
- Mailgun account access. Here is a link to sign up.
- An Appwrite instance running on either Docker, DigitalOcean droplet, or Gitpod. You’ll need this because we will also show how to deploy the function locally.
Account and project setup
In this section, we’ll cover how to set up the following:
- Mailgun account
- Appwrite cloud account
- Appwrite project
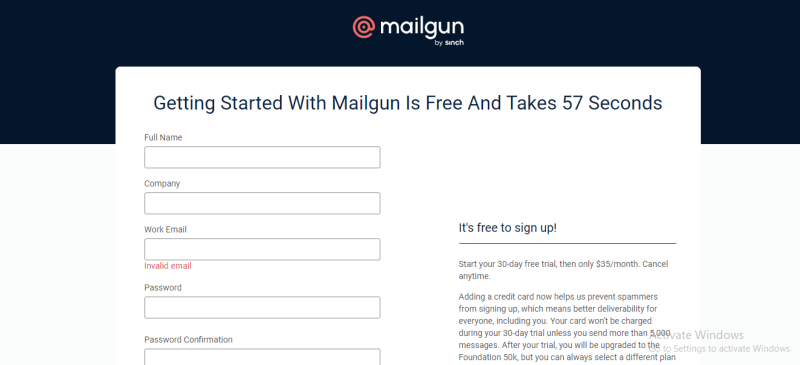
Setting up a Mailgun account
To sign up for Mailgun, follow these steps:
- Start by signing up for a new account
- Fill out the signup form (name, email address, password) and add the credit card information required
- Click on the
Create Accountbutton to submit the form Check your email inbox for a confirmation message from Mailgun
Follow the instructions in the email to verify the account and complete the signup process.
After completing the signing up and verification processes, we must add and verify our domain to send emails. Here are some places to purchase a domain:
Next, follow the steps below to verify the DNS settings.
- After adding the domain or subdomain, open your DNS provider and add the two TXT DNS records provided.
- Next, add the CNAME record to allow Mailgun to track clicks and opens.
- Finally, add the MX records.
Once we’ve added the records, our domain will be verified.
Setting up an Appwrite cloud account
To sign up for Appwrite, follow these steps:
- After registering for the Appwrite cloud beta, you will receive an invite via email.
- Click on the invite link and follow the registration process. That’s it!
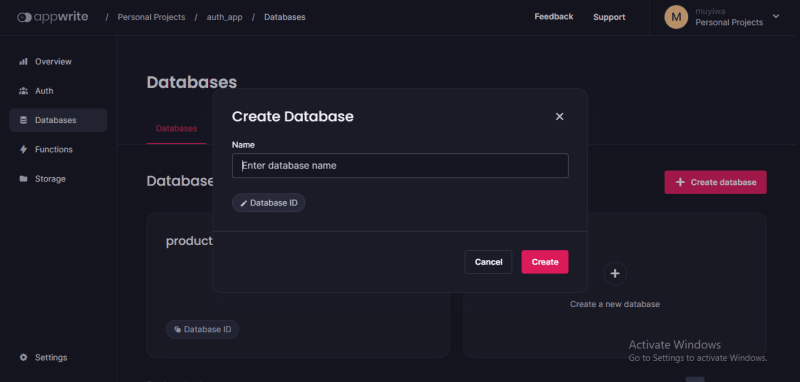
Setting up the Appwrite project
After creating a cloud account, we'll create a platform and an Appwrite project. Let's start by doing the following:
Note: This process is the same both locally and on the cloud
- For the Appwrite cloud, you’ll be redirected to the
Create projectpage after successful sign-in, but locally, we will need to load up the Appwrite console. Thus, open your browser and enter theIP address or hostname. Next, choose the
Create Projectoption and fill in thename and ID(ID can be automatically generated).
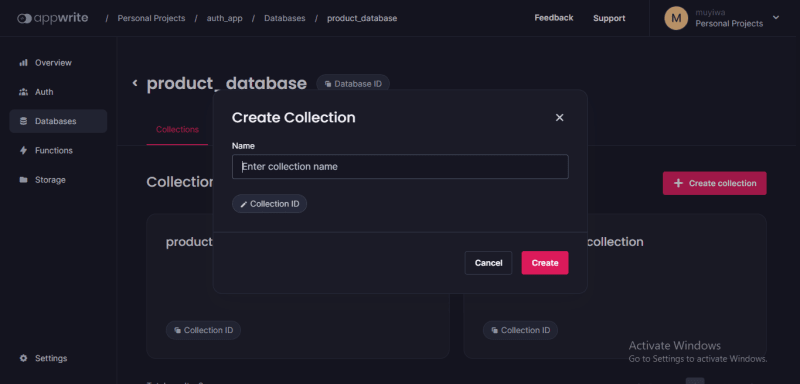
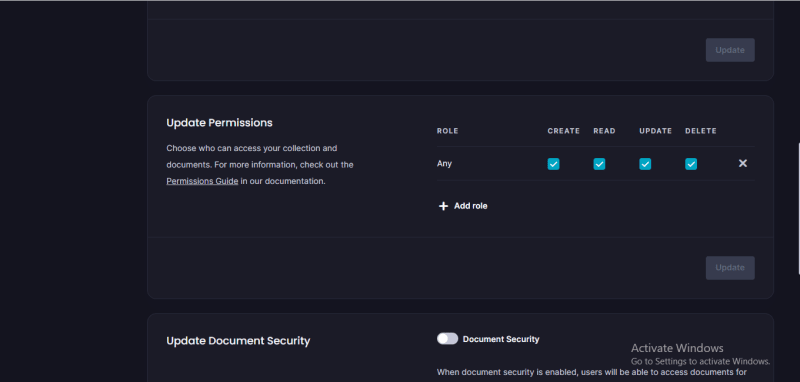
Next, we will create a collection to hold the URL string to an online PDF file. Thus, we will create one string attribute called
url.
- Finally, set the collection-level
CRUDpermission for both collections toAnyand select all the options.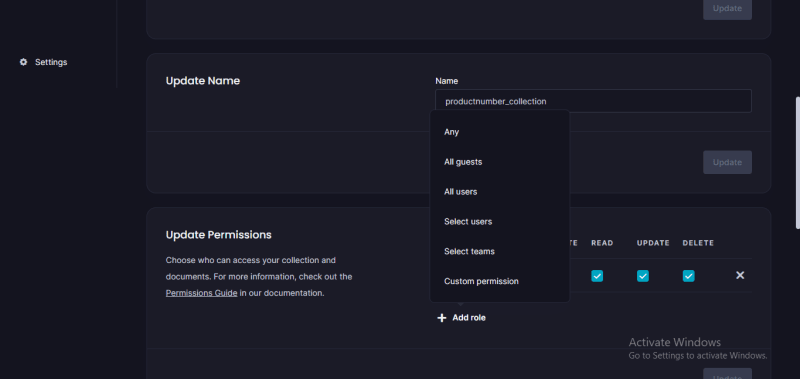
Creating an Appwrite project
Next, we’ll create two projects to achieve our desired result. For the first project, we will create an Appwrite function using the Appwrite CLI (command line interface). The second project will be a Flutter project to communicate with the function created earlier after deployment.
Thus, run the command below to create two directories for the projects, respectively:
mkdir mailgun_function && mkdir mailgun_flutter_app
Project one (Creating a dart Appwrite function)
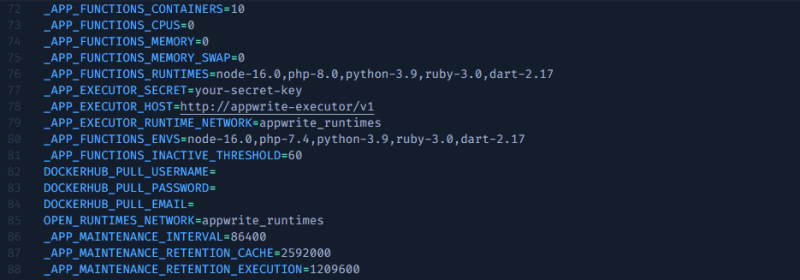
We will start by enabling the Dart runtime in Appwrite, as it is not naturally included. Head to the default Appwrite directory (when installing locally) and make some edits to the .env file. Add dart 2-17 to the _APP_FUNCTIONS_RUNTIMES and _APP_FUNCTIONS_ENVS variables like this:
_APP_FUNCTIONS_RUNTIMES=node-16.0,php-8.0,python-3.9,ruby-3.0,dart-2.17
_APP_FUNCTIONS_ENVS=node-16.0,php-7.4,python-3.9,ruby-3.0,dart-2.17
After making the changes, we will run the command below from the default Appwrite directory in our terminal:
docker compose up -d --force-recreate
Note: Make sure Docker is running before inputing the command above.
Next, we will head to the mailgun_function folder and log into the Appwrite server using its CLI.
appwrite login
You will receive a prompt to add the email and password you used when registering the local instance. Next, create a new project or specify an existing one. We can do that using the following command:
appwrite init project
We will then follow the prompt on how to set the project up.
Next, we must create an Appwrite function. Therefore, we will do that by running the command:
appwrite init function
Similarly to the previous commands, you will receive a prompt directing you on how to set this up. Once done setting the function up, the command creates a starter project.
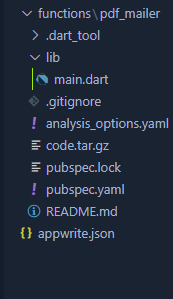
Now, head to the pubspec.yaml file and add the http package.
http: ^0.13.3

In the main.dart file, replace the existing code with the one below:
The snippet above does the following:
- Imports the required dependencies
- Requests custom payload data when executing the function
- Passes the payload using
Uri.parse(), converts it back to a file, and stores it in temporary storage - Configures
httpmail client by specifying the API Key, and parses the domain URL, to emails, from emails, email content, and email subject - Sends the email using the configured client
Deploy the function
For this tutorial, we will show how to deploy the functions both locally and on the cloud.
- Cloud
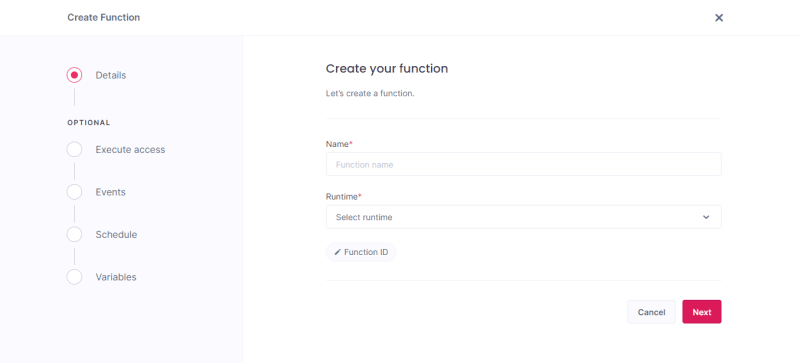
We need to create a function on the Appwrite cloud console to deploy on the cloud. Thus, head to the function section, click Create Function, fill in the name and ID, and select the preferred runtime (dart — 2.17).
Next, select Create Deployment and head to the manual deployment. In the manual deployment, we will need to add a tar.gz fileand specify the entrypoint for our project. So, head to the folder containing the pubspec.lock file and run the command below:
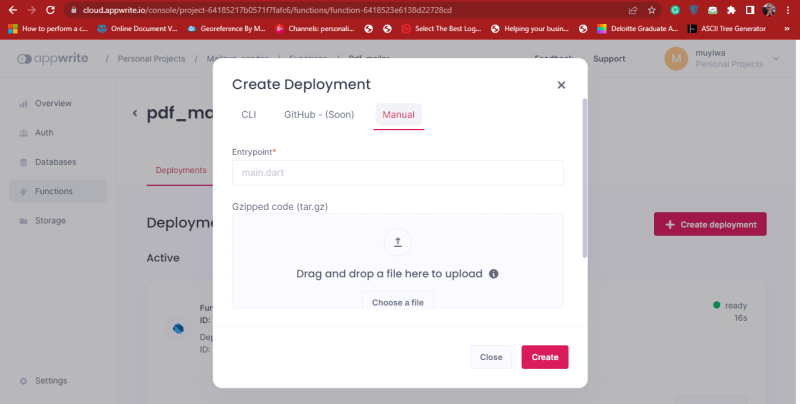
tar -czf code.tar.gz --exclude code.tar.gz .
This command will create a tar.gz file that can be uploaded to Appwrite. So we will head back to the cloud console, specify the entry point as lib/main.dart, then add the tar.gz file and click create.
- Locally
We can do this by navigating to the folder containing the appwrite.json file and then running the command below:
appwrite deploy function

Note: Within the function section, head to the settings section and specify
Execute Accesstoany.
Project two (Creating a Flutter application)
Head to the second folder we created earlier and run the following command
git clone https://github.com/muyiwexy/Appwrite_Cloud_MailGun.git && cd Appwrite_Cloud_MailGun
This command will clone a flutter template within the current directory and change it to the Appwrite_Cloud_MailGun directory.
The template above contains the following:
- The
main.dartfile, which contains:- A button widget to execute the function on the client side
- A
snackbarto indicate success or failure
- The
utils.dartfile, which contains ajsonserialize to map theJSONobject received from the database to a model class
Next, we must install and connect our Flutter application to Appwrite.
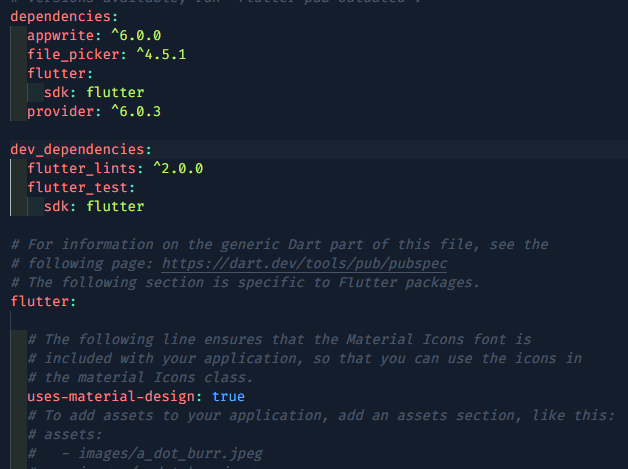
First, add Appwrite to the dependencies section of the pubspec.yaml file, like the image below:
Alternatively, we can use a terminal by typing the command below:
flutter pub add appwrite
Here’s how to connect a Flutter project to Appwrite for Android and iOS devices.
- iOS
First, obtain the bundle ID by navigating to the project.pbxproj file (ios > Runner.xcodeproj > project.pbxproj) and searching for the PRODUCT_BUNDLE_IDENTIFIER.
Next, head to the Runner.xcworkspace folder in the application’s iOS folder in the project directory on Xcode. To select the runner target, choose the Runner project in the Xcode project navigator and find the Runner target. Next, select General and IOS 11.0 in the deployment info section as the target.

- Android
For Android, copy the XML script below and paste it below the activity tag in the Androidmanifest.xml file (to find this file, head to android > app > src > main).
Note: change [PROJECT-ID] to the ID you used when creating the Appwrite project.
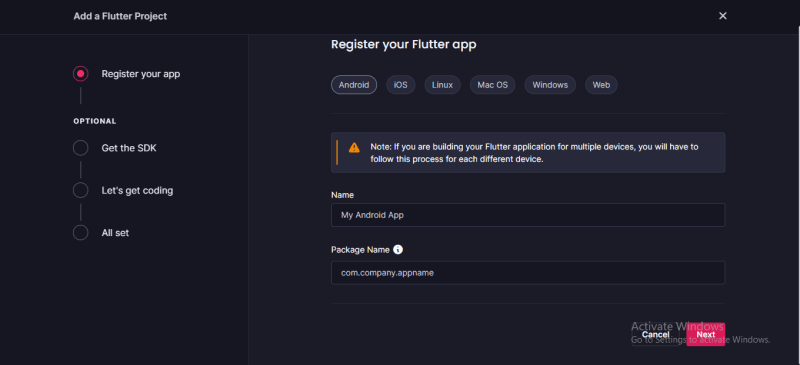
We will also need to set up a platform within the Appwrite console. Follow the steps below to do so.
- Within the Appwrite console, select
Create Platformand chooseFlutterfor the platform type. - Specify the operating system: in this case, Android.
- Finally, provide the application and package names (found in the app-level
build.gradlefile).

Running the Flutter project
Once we are done with the above, run the following command:
flutter pub get
This command obtains all the dependencies in the pubspec.yaml file. Next, run the flutter run command to run the project on any desired platform.
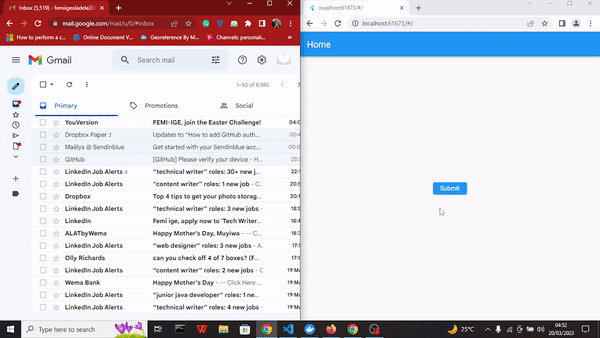
Here is the result of the code:
Conclusion
In conclusion, emailing PDF results with Appwrite Cloud, Mailgun, and Flutter is a straightforward process that can be accomplished with simple steps. By using Appwrite Cloud to generate and retrieve PDF results, Mailgun to send email notifications, and Flutter to handle the user interface and app logic, developers can easily create a robust and efficient system for emailing PDF results to users.

Top comments (0)