
As a technical writer or product owner, you might want to know or measure the impact of documentation quality, as this affects countless products, even those with well-detailed product documentation.
So how do we know whether our documentations are good? The first response people usually give is that documentation quality is measured through user feedback.
Collecting user feedback on documentation can be a great way to learn about user perspectives and improve a product or service. It helps to know how a product performs and where to improve.
This article demonstrates how to use Appwrite’s out-of-box functionalities to collect and store data through feedback.
The complete source code of this project is on GitHub. Fork it to get started quickly.
Prerequisite
To comfortably follow along in this article, it would be helpful to have the following:
- Docker Desktop installed on your computer; run the
docker -vcommand to verify that we have Docker Desktop installed. If not, install it from the Get Docker documentation. - A basic understanding of JavaScript and Docusaurus.
- An Appwrite instance; check out this article on how to set up an instance. Appwrite also supports one-click install on DigitalOcean or Gitpod.
- Node and its package manager,
npm. Run the commandnode -v && npm -vto verify that you have them installed, or install them from here.
Getting Started
Project setup and installation
Run the following command in the terminal to create a new Docusaurus site:
npx create-docusaurus@latest <project-name> classic
Then, navigate into the project directory cd <project-name> and run npm run start to start a development server at https://localhost:3000/ in our browser.
NOTE:
<project-name>above stands for the name of your app. Call it whatever name you want.
Setting up an Appwrite project
Appwrite is a development platform that provides a powerful API and management console for building backend servers for web and mobile applications.
To use Appwrite in our Docusaurus application, install the Appwrite client-side SDK (Software Development Kit) for web applications.
npm install appwrite
Then, we’ll set up a new Appwrite project by starting an Appwrite instance and navigating to the specified hostname and port http://localhost:80.
NOTE: To set up an Appwrite instance, follow the steps in the article located in Prerequisites.
Next, we need to log into our account or create an account if we don’t have one.

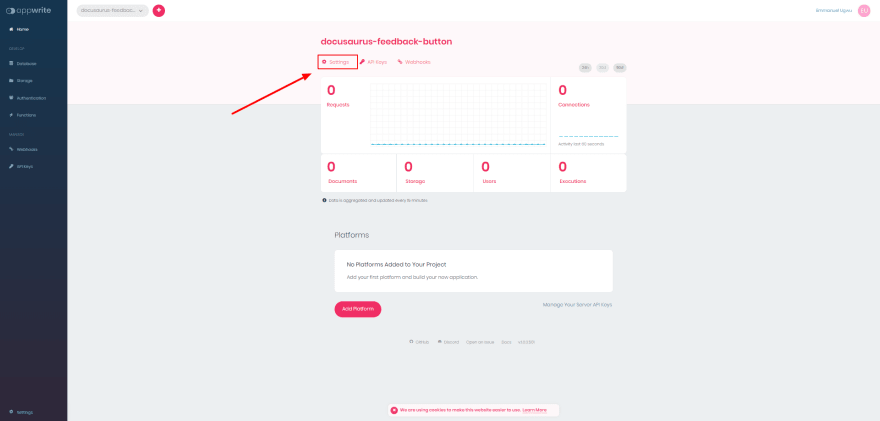
On Appwrite’s console, click the Create Project button, input docusaurus-feedback as the project name, and click Create.

The project dashboard will appear on the console. Next, click on the Settings tab and copy the Project ID and API Endpoint. We’ll use this to set up our Docusaurus application.

Creating a collection and attribute
On the left side of the Appwrite Console dashboard, click on the Database tab. Click on the Add Database button to create a new database. Creating a new database will lead us to the Collection page.


Next, we’ll create a collection in our database tab by clicking the Add Collection button. After creating a Collection, go to the Permissions section on the Settings page. We want to assign a Read Access and Write Access with a role: all value. We can customize these roles later to specify who has access to read or write to our database.
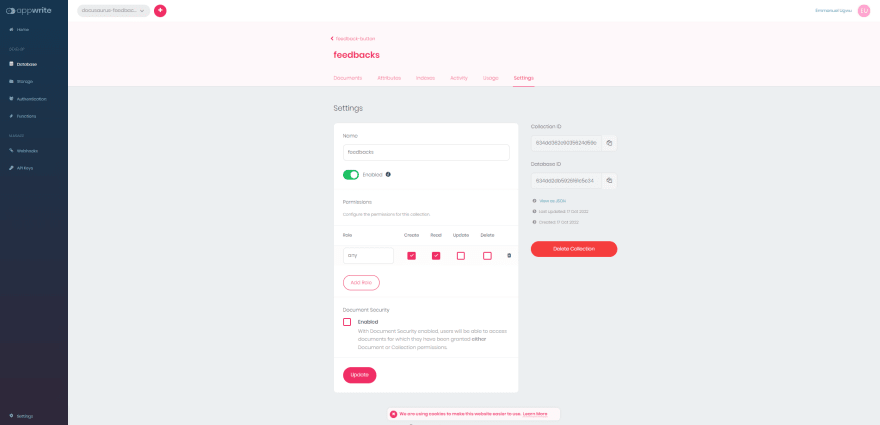
On the right side of the Settings page, copy the Collection ID; we’ll need to perform operations on the collection’s documents.
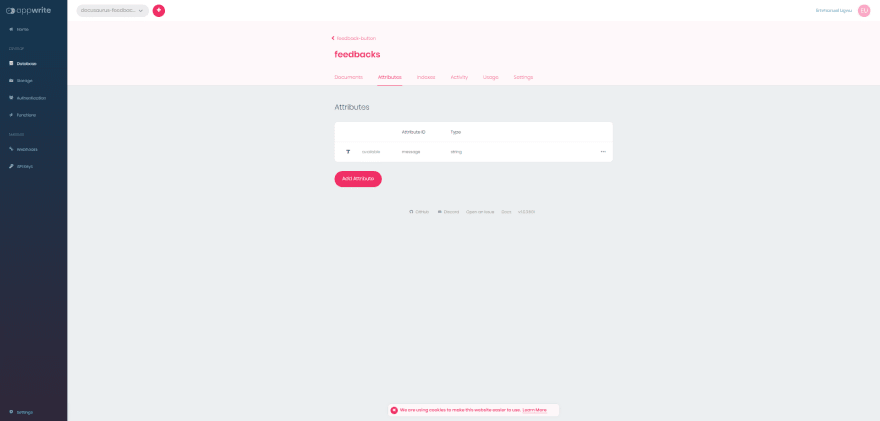
Next, go to the Attributes tab to create the properties we want a document to have.

Let’s create a string attribute of message with a size of 256 bits.
Building a component with Docusaurus
This article section uses Docusaurus to build a modal that provides and ships user feedback to Appwrite.
What is Docusaurus?
Docusaurus is a static-site generator that leverages the full potential of React to create an interactive single-page application with quick client-side navigation. It also provides out-of-the-box documentation features to build any website (personal website, product, blog, marketing landing pages, etc.).
Let’s create a new folder called FormPage in the src\components folder in our app. We will create an index.js file in this folder with the code snippet below.
    // Formpage\index.js
    export default function Form() {
      const [formData, setFormData] = useState({ name: "", message: "" });

      const handleChange = (e) => {
        e.preventDefault();
        setFormData({ ...formData, [e.target.name]: e.target.value });
      };
       return (
        <div className={styles.features}>
          <div className={styles.feed}>
            <h1>Was this documentation helpful?</h1>
            <button>give a feedback</button>
          </div>
            <form>
              <div className={styles.App}>
                <div className={styles.label}>
                  <label>Name</label>
                  <input type="text" name="name" value={formData.name}
                    onChange={handleChange}/>
                </div>
                <div className={styles.label}>
                  <label>Review</label>
                  <textarea className={styles.textarea} type="text" name="message"
                    placeholder="type here" value={formData.message}
                    onChange={handleChange} />
                  <button>send feedback</button>
                </div>
              </div>
            </form>
        </div>
    )}
The code snippet above does the following:
- Creates a form needed for collecting feedback from users.
- Sets a
useStatevariable,formData, for storing the user feedback. - Creates a function,
handleChange, to assign values from our input elements to theformDatavariable.
Next, we’ll import the Formpage\index.js file in our pages\index.js file, as shown below.
    export default function Home() {
    const {siteConfig} = useDocusaurusContext();
      return (
        <Layout
          title={`Hello from ${siteConfig.title}`}
          description="Description will go into a meta tag in <head />">
          <HomepageHeader />
          <main>
            <HomepageFeatures />
    +        <Form />
          </main>
        </Layout>
      );
    }
Our demo application will look like this after applying the necessary configurations:

Next, we’ll want the form to appear only when a user wants to give a feedback. We’ll use a useState variable and conditional rendering to achieve this functionality, where the useState variable, isOpen, is assigned to a button to display or hide our form.
    // Formpage\index.js
    const React = require("react");
    const { useState } = React;

    export default function Form() {
    const [formData, setFormData] = useState({ name: "", message: "" });
    const [isOpen, setIsOpen] = useState(false);

      const handleChange = (e) => {
      ...
      };
      const toggle = (e) => {
        e.preventDefault();
        setIsOpen(!isOpen);
      };
    return(
        <div className={styles.features}>
          <div className={styles.feed}>
            <h1>Was this documentation helpful?</h1>
            <button onClick={toggle}>give a feedback</button>
          </div>
    {isOpen ? (
            <form>
              ...
            </form>) : ( "" )
    }
        </div>
      )}
Our application should look like this after hiding the form:

Integrating Appwrite
Using Appwrite Database SDK, we’ll integrate Appwrite into our form, where we’ll make a request to create a document in the format of a database with a value called message as the user feedback. Appwrite will create a new document with new user feedback every time the form is submitted.
    // Formpage\index.js
    import { Client, Databases } from "appwrite";

    export default function Form() {
    const [formData, setFormData] = useState({ name: "", message: "" });
    const client = new Client();
    const databases = new Databases(client);

    client
        .setEndpoint('https://OUR-HOSTNAME_OR_IP/v1') // Your API Endpoint
        .setProject('OUR-PROJECT-ID') // Your project ID
    ;

    const updateData = () => {
    const promise = databases.createDocument('OUR-DATABASE_ID', 'OUR-COLLECTION_ID', 'OUR-DOCUMENT_ID', {message: `${formData.name} - ${formData.message}`});

    promise.then(function (response) {
        console.log(response); // Success
    }, function (error) {
        console.log(error); // Failure
    });
    return(
    ...
    )
    }
NOTE: Get your
API Endpoint,Project ID,[DATABASE_ID],
[COLLECTION_ID],[DOCUMENT_ID]from Appwrite’s console.
Next, we need to push the user’s feedback to Appwrite and reset our input elements whenever our form is submitted. To do this, we’ll create a function called handleSubmit to reset our form, then update our Appwrite database with our new user feedback.
      const handleSubmit = (e) => {
        e.preventDefault();
        setFormData({ name: "", message: "" });
        updateData();
      };
After applying the configurations, our demo application will look like this:

Conclusion
This article discussed how to use Appwrite’s storage functionality and, more importantly, how to integrate Appwrite into web applications built with Docusaurus.


Top comments (1)
How can I make this feedback button appear in each and every page of my docs site?