Vue CLI is an all in one solution for getting started with a Vuejs app. Newbies and experts alike can jump straight into the framework and hit the ground running with CLI and have a working app straight away. I myself started using it at the tail end of last year and it is now my go-to when I set up a new project of any type. I spin up a Vue CLI instance and crack a lumen API and off I go. So how do we get set-up? I'm going to assume you are using a Mac and for this exercise, I will be using NPM.
Step 1
We need to make sure we have NPM installed. But what is NPM? Ok, so I grabbed this from the npm website - 'npm makes it easy for JavaScript developers to share and reuse code, and makes it easy to update the code that you’re sharing, so you can build amazing things.'
So we need to get that installed if you head over to https://nodejs.org/en/ and download the version of your choice and follow the installer.
Step 2
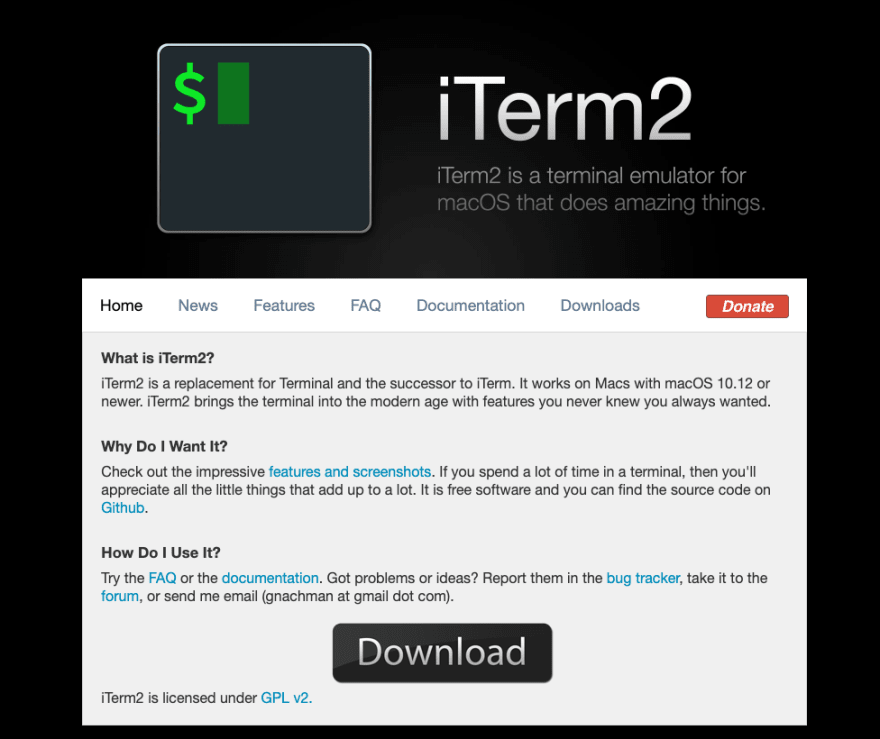
So next we need to load up our terminal, I myself use ITerm2 on Mac as I find it a really nice alternative to the terminal on macOS. You can get a download here https://iterm2.com/
Once we have that loaded run the following command
npm install -g @vue/cli
Step 3
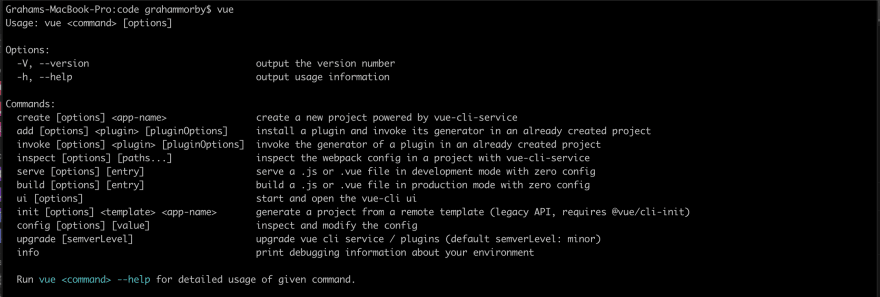
Once we are installed we can now type 'Vue' into the command line which should give us a list of the available commands that CLI offers.
For this exercise, we want to use the create command as follows
vue create testingapp
So we are saying Vue please use the create command and name the app, in this case, testing app, please feel free to use any name you like.
Step 4
Once we run the command we are given some options
We have a default version and we can manually select some features which will work with how we are building our app. The default features are Babel and ESlint. Babel is a JavaScript compiler and ESlint will find and fix problems in your JavaScript code. My main build is always using vue-router, Vuex, babel, and ESlint.
So we have a clue what the last two do but what is Vue router and Vuex?
Ok so Vue-router is really what it says it is, it's a way for us to build routes to new pages and components in our app, I will explain this more in a future post. - https://router.vuejs.org/
Vuex is state management and over on their website they explain it as follows - 'Vuex is a state management pattern + library for Vue.js applications. It serves as a centralized store for all the components in an application, with rules ensuring that the state can only be mutated in a predictable fashion.' - https://vuex.vuejs.org/
So for this series and exercise, this is what I will use. So select those options from the option that asked you to manually select features and go ahead and create your app.
Step 5
Ok so we are all done and the CLI is built. So what we do now? Well, there are the 2 commands at the bottom of our dialog in the terminal which are as follows:
cd testingapp
npm run serve
The first command will move us into our new directory for the app we just spun up and once inside, we run the last command, we are then given a localhost address which npm has kindly generated which we can use in our browser. So go ahead and pop that into your browser and hey presto you should now be greeted with the Vue CLI home page and our new app is built.
And you have just set up the Vue CLI and we are ready to get to developing, In my next post on this exercise we will explore the file system and what we have to work with and create our first page and route.
This is my first real attempt at an exercise tutorial and would welcome any feedback or tips to help me write this whole feature moving forward


Top comments (0)