Alrighty, been a busy few weeks so if you've been waiting for part 2 in my auth series I thank you for your patience! Today's goals will be to verify the identity of a user and issue signed tokens to logged in users.
Step by step for verifying a user's identity in Rails will be to create a Login route, generate an authentication_controller, create a login action, look up the user, authenticate that user, create a token, then sign it, and lastly send that signed token to the user.

Above I added line 3 of code which created the Login route that basically says any post request to the login path should go to the authentication_controller's login action. Next we'll create the authentication_controller with the following command in our terminal:
rails g controller authentication
Now inside the authentication_controller we can create the login action
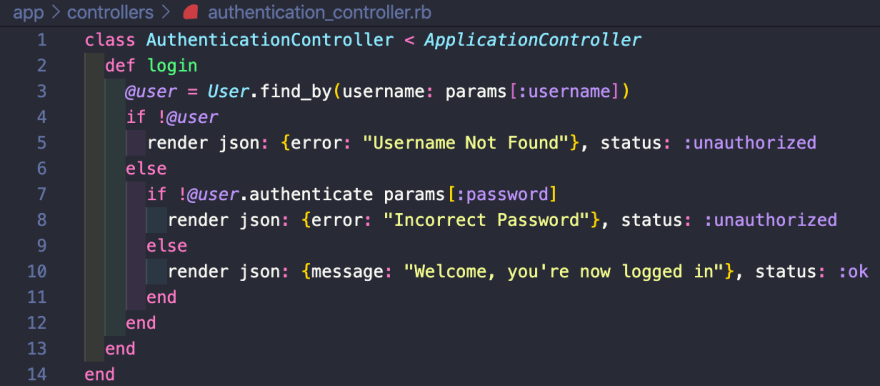
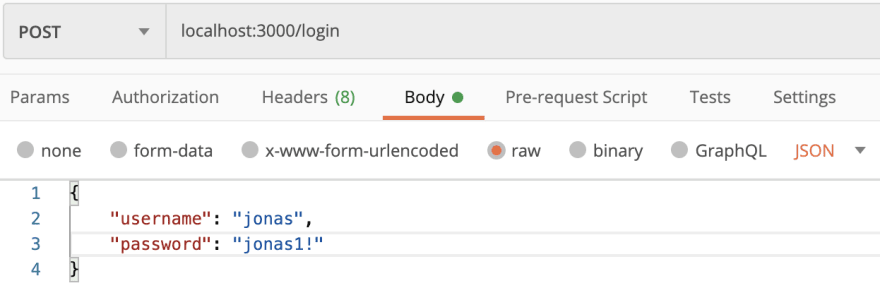
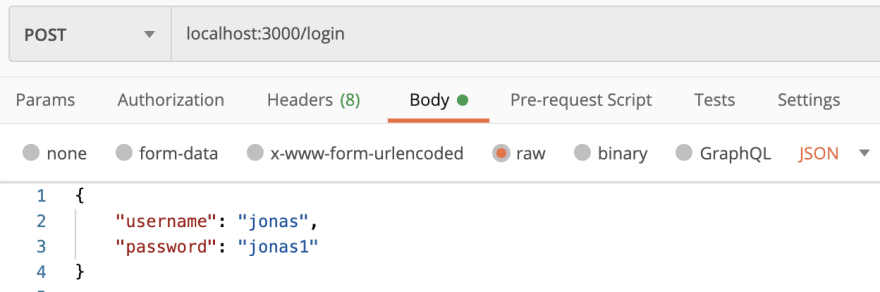
This is essentially saying if the username exists and the password is correct you will be successfully logged in and receive a 200 OK status with a success message; otherwise you will receive an error message for what is incorrect and a 401 unauthorized status. Here it is in Postman:
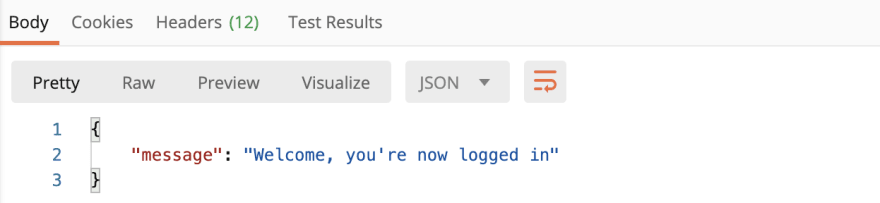
Correct Username and Password (Status 200 OK):
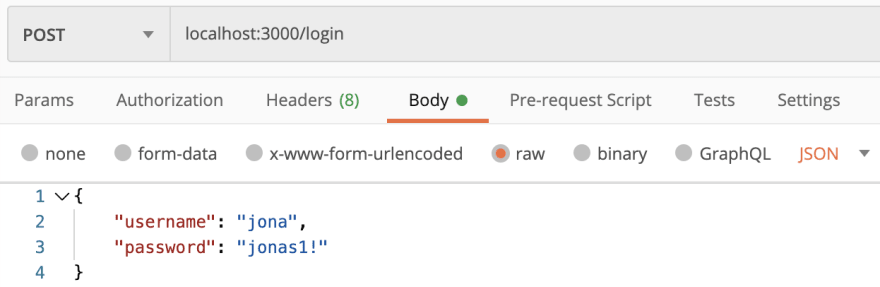
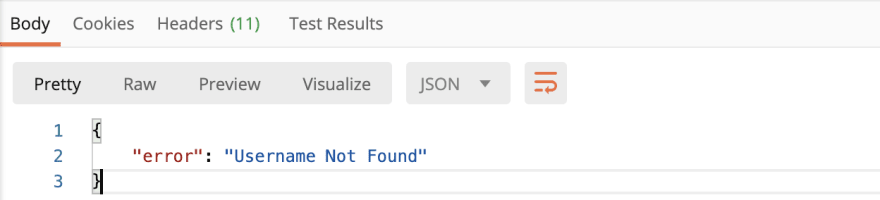
Incorrect Username (Status: 401 Unauthorized):
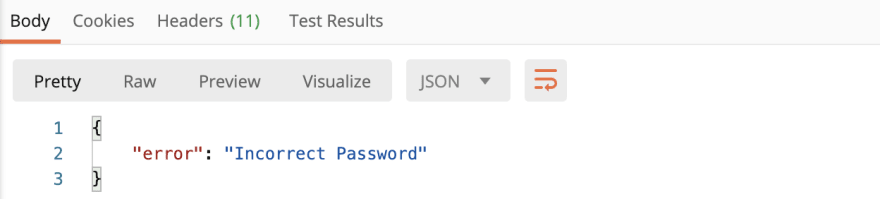
Incorrect Password (Status: 401 Unauthorized):
Now we've made it to the step where we are going to create a token. There are a few different ways to handle login and today we'll be handling login with token based authentication. How this works is the client gives the username and password to the server and in return for a correct username and password the server sends back a token. Now the token will be sent with all future requests instead of asking for login info. One way to think about this is when entering an event you show your ID (username) and pay a cover charge (password) in exchange for a wristband (token) so you can come and go as you please without having to show ID and pay (login) again. For this token based authentication we need token encoding and this will be handled by a gem called JWT (JSON Web Token, pronounced jot). The token consists of 3 parts: a header, a payload and a signature. The header and payload are encoded which means they can be reversed easily therefore the signature is the header and payload hashed which cannot be easily reversed. Now a signed token is created that cannot be tampered with or used to impersonate another user. Now let's install the JWT gem (which is the specific token encoding we'll be using) in the Gemfile.
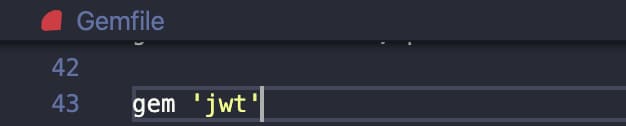
Simple as that and now in your terminal run bundle install
Now let's set it up and call it a day! In the authentication_controller we'll be replacing the last else statement (line 10) that had the success message about being logged in. That wasn't actually doing anything so let's change that.
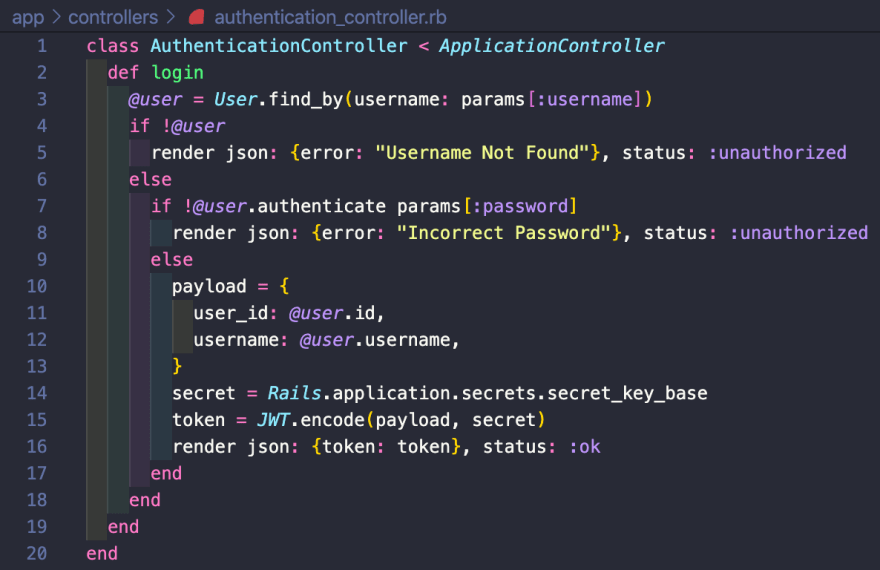
So, now instead of a congratulatory message we receive a signed token. We setup a payload which is some sort of evidence, it is what the server looks up the user by to prove they're who they say they are and have permission to do what they're trying to do. Later, you'll see why it isn't a good idea to include the password as part of the payload. Then, we also setup the secret, which can be any string. I used the method that is supplied by Rails, but again could literally be any string you want. Then encode the token and lastly send it back (render it) with a signature on it.
Alright, now let's see what this gives us in Postman

We got the token! So let's see what it decodes to on JWT.io

Great now we see that is indeed the correct user_id and username so we know this signed token is doing exactly what it should be. Also, you can see if we included the password as part of the payload it could easily be exposed right here. Thanks for reading and as always please let me know if you have any questions, comments, suggestions, etc. because as a developer I'm always learning so there's always more to know!


Top comments (0)