
Hi friends. Yesterday Fedora 34 Beta was released with the newest desktop interface GNOME 40. I would like to show you how you can easily install this beautiful and developer-friendly GNU/Linux distribution.
I assume that you have already downloaded the latest iso image file from here https://getfedora.org/en/workstation/download
Regardless of whether you would like just to test it out in Virtualbox or you want to install it on the real hardware, the installation process is the same. The only difference is that in the first case, you have to prepare a virtual machine in VirtualBox and in the latter case you have to burn the iso image onto a USB flash drive.
The whole installation process happens in two stages. The first stage is the actual installation on the hard drive, and the second is the post-installation setup.
First, we should boot the Fedora 34 iso image and we will be greeted with an option to try the distribution 
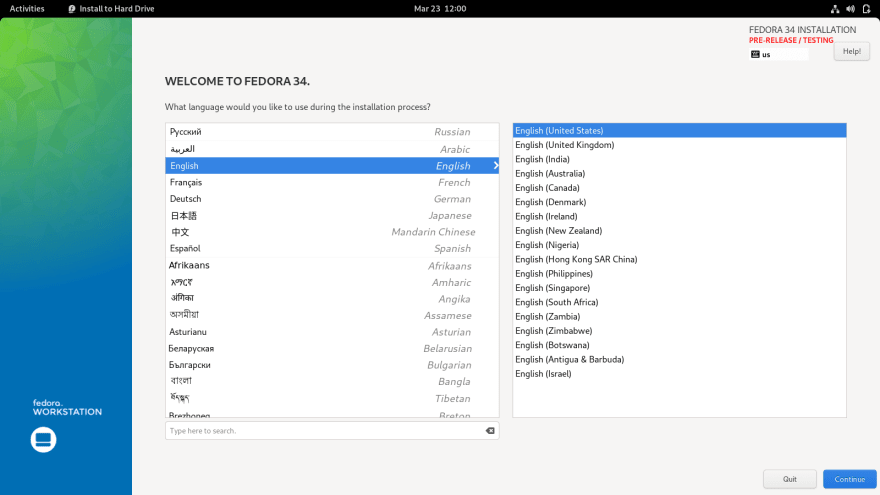
Let's go ahead and click on Install to Hard Drive Be advised though, that if you are installing on real hardware, make sure you have backed-up all your personal data beforehand. After doing that you will be greeted with a language selection. Pick the language and click Continue button on the bottom right
After that, you will be warned with a pop-up that tells that the software is "unstable". This pop-up happens only with Beta releases. When the actual release will happen there won't be any warning.
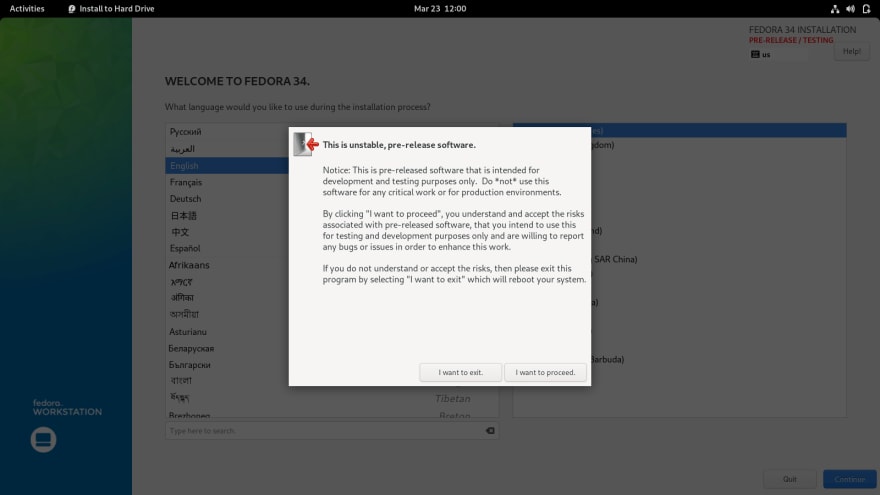
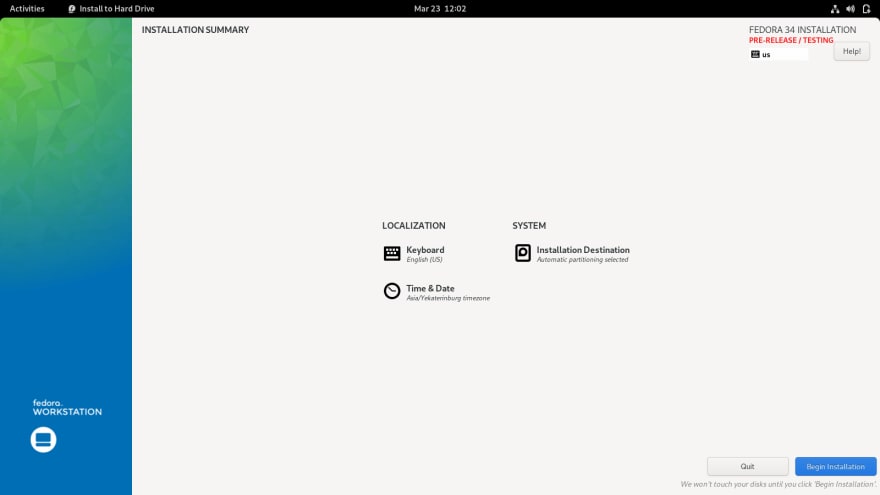
Once clicking the I want to proceed button you'll be shown the main installation summary window.
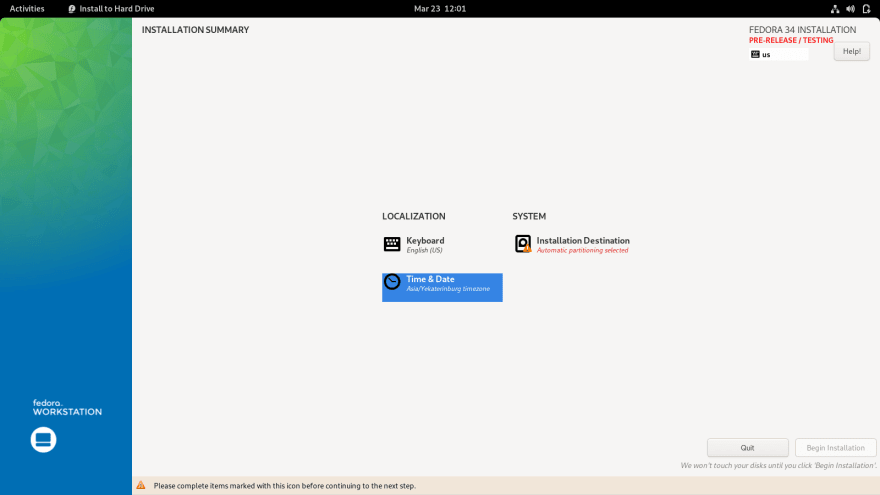
As you can see the only thing left is the Installation destination under SYSTEM settings. Once we click that we can see that Fedora picked the disk automatically
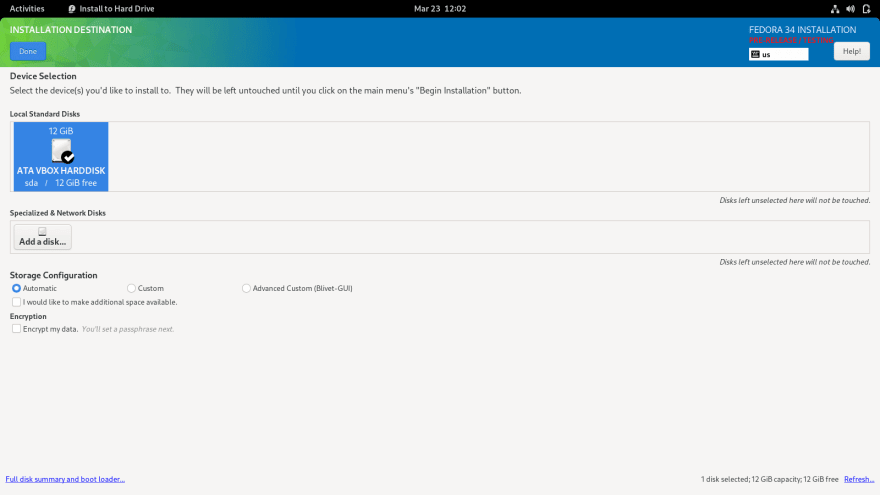
We hit Done in the top left corner to get back to the installation summary.
Once everything is set up we are ready to proceed with the installation
Click Beggin Installation and the installation process will start.
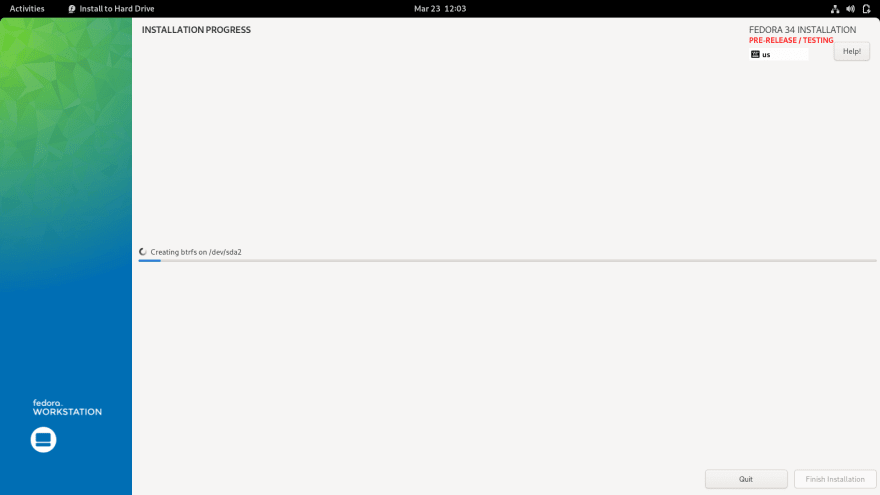
After some time the installation will finish

Go ahead and click in the bottom right corner Finish Installation The first stage of installation is complete.
Now you have probably noticed that the installer didn't ask us to create a user and set a password. This is because all the Fedora installations now are OEM installations. This means that the user set up happens on the next bootup. This simple solution saves lot's of headache for those who wanted to install Fedora in OEM mode before. For example, five years ago, I made a Reddit post asking how to do it properly https://www.reddit.com/r/Fedora/comments/4bvgoy/how_to_install_oem_fedora_workstation/ All the solutions proposed where involved and required editing files. I'm not against it but this seems to be much more straightforward. Thanks, Fedora team!
Now let's reboot to begin the second stage
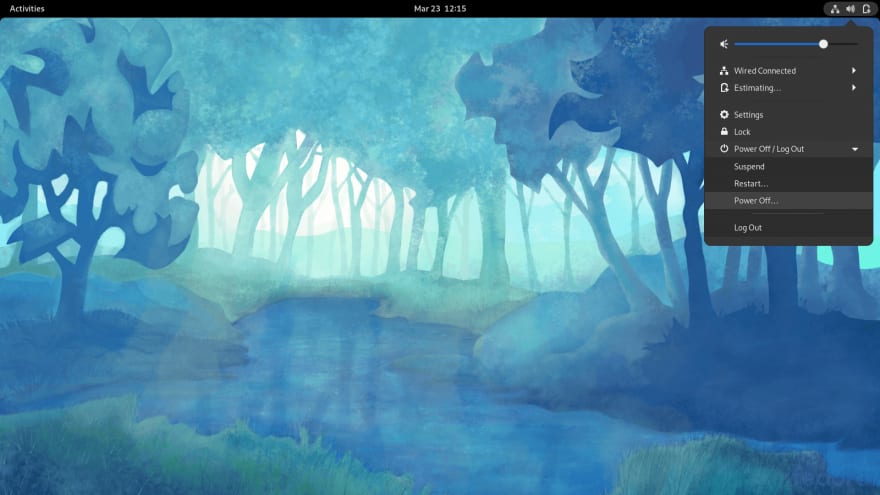
After bootup, we will be greeted with a friendly Setup window

Hit Start Setup to begin. The first step is the Privacy settings.

Set them to your liking and hit Next in the top right corner. The next set up is for Online Accounts You could set them now or do it anytime later.

Now on this step, we should set the username

After you're done, clock Next in the right top corner
And finally, the last step is the setting of the password.
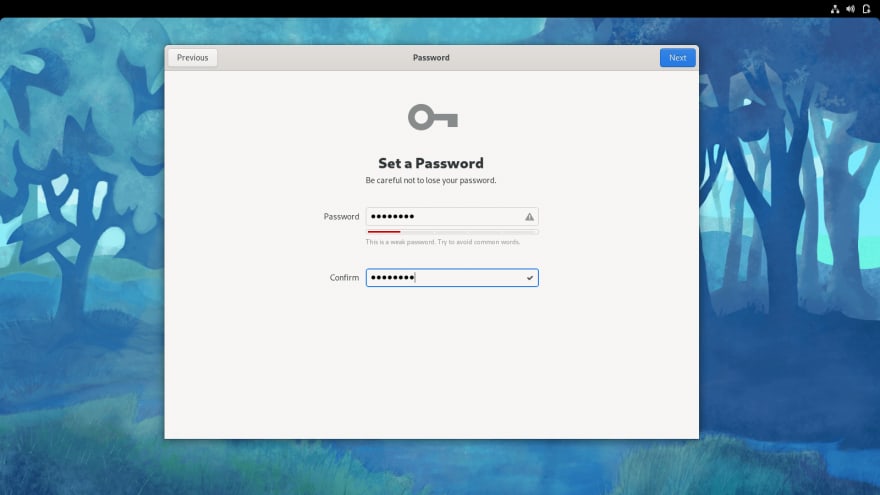
And we are done!

With every release, Fedora pushes the envelope for quality and ease of use. It looks modern and less intimidating than other distributions. Totally recommend trying it.
Enjoy Fedora and make some awesome stuff with it!


Top comments (0)