
Forms are a major way to retrieve user data in most applications today. A form consists of many input fields together that take in a user’s response or request. Also, developers might want users to make certain decisions based on their interactions, and then save this data to a server. This form data can also be used later on in the application, thus calling for the creation of a more complex form that is referred to as a dynamic form.
In this article, we’ll be looking at how we can create our own dynamic form, and also retrieve its data.
What is a Dynamic Form?
Dynamic forms are auto-generated forms that are fully controlled by the user’s actions and decisions, thus giving a real-time experience to the user.
Differences Between Static and Dynamic Forms
Static forms are forms with a fixed number of text fields in which updates are made only to the text input value. On the contrary, dynamic forms are forms that change the number of text fields dynamically based on the user’s actions. They help in decision-making, and they accumulate an indefinite list of data or input.
Why Choose Dynamic Forms?
Making certain decisions for users based on their input might overcrowd the user interface and data based in a static form due to the creation of multiple forms. However, in most cases, multiple forms are not needed.
A dynamic form helps in organizing the user interface and database. It also helps in decision making for both users and developers, and gives us the flexibility to create an indefinite number of forms when retrieving a list of items from the user.
Prerequisites
To follow along with this tutorial, you’ll need a basic understanding of Dart and Flutter.
Scaffolding Flutter Application
First, let’s run the command below to scaffold a Flutter application:
flutter create flutter_dynamic_forms
Building a Form Screen
In this section, we’ll be building our form screen and its components.
Now, let’s create a home.dart file and paste the code block below into it:
class HomeScreen extends StatefulWidget {
  const HomeScreen({super.key});
 @override
 State<HomeScreen> createState() => _HomeScreenState();
}

class _HomeScreenState extends State<HomeScreen> {
 @override
 Widget build(BuildContext context) {
 return Container();
  }
}
In the code block above, we’re adding the Stateful Widget to our home.dart file.
Next, we’ll replace the entire code in the src/main.dart file with the code below:
import 'package:flutter/material.dart';
import 'package:flutter_dynamic_forms/home.dart';

void main() {
  runApp(const MyApp());
}

class MyApp extends StatelessWidget {
 const MyApp({super.key});
  @override
  Widget build(BuildContext context) {
  return MaterialApp(
      title: 'Flutter Dynamic Form',
      theme: ThemeData(
        primarySwatch: Colors.teal,
        useMaterial3: true,
        inputDecorationTheme: const InputDecorationTheme(
          contentPadding: EdgeInsets.symmetric(
            vertical: 15,
            horizontal: 20,
          ),
          border: OutlineInputBorder(
            gapPadding: 10,
          ),
        ),
      ),
      home: const HomeScreen(),
    );
  }
}
The code block above is the entry code to our application. With this, we’re setting the initial route to our HomeScreen widget created earlier, and also customizing our input field.
Creating a Form Widget
Let’s start developing our home screen by populating it with a dynamic form. To do this, let’s head over to the home.dart file and add the following private variables below to the _HomeScreenState:
class _HomeScreenState extends State<HomeScreen> {
  int _formCount = 0;                                  //add this
  final List<Map<String, dynamic>> _dataArray = [];    //add this
  String? _data = '';                                  //add this

 @override
 ...        // other code blocks here
}
In the code block above, we’re initializing some private variables that will help manage our app state internally and store some state data.
Next, let’s build our form widget. We’ll add the code block below at the end of the override build widget before the _HomeScreenState closing braces:
class _HomeScreenState extends State<HomeScreen> {

  . . .      // other code blocks here

  Widget form(int key) => Padding(
        padding: const EdgeInsets.only(bottom: 10.0),
        child: TextFormField(
          decoration: InputDecoration(hintText: 'Form ${key + 1}'),
        ),
      );

}   // closing curly braces for _HomeScreenState
In the code block above, we’re creating our TextFormField widget with a hintText of one plus the key parameter to know the form’s number. We’re also giving our TextFormField some padding at the bottom.
Creating Buttons
Let’s make our form dynamic by giving users the flexibility of adding and removing forms manually. To do this, we’ll copy and paste the code below directly under the form() created in the previous section:
Widget buttonRow() => Row(
 mainAxisAlignment: MainAxisAlignment.spaceBetween,
        crossAxisAlignment: CrossAxisAlignment.center,
        children: [
          Visibility(
            visible: _formCount > 0,
            child: IconButton(
              onPressed: () {
                  if (_dataArray.isNotEmpty) {
                    _dataArray.removeAt(_dataArray.length - 1);
                  }
                  setState(() {
                    _data = _dataArray.toString();
                    _formCount--;
                  });
                },
                icon: const CircleAvatar(
                  backgroundColor: Colors.red,
                  child: Icon(
                    Icons.remove,
                  ),
                )),
          ),
          IconButton(
              onPressed: () {
                setState(() => _formCount++);
              },
              icon: const CircleAvatar(
                  backgroundColor: Colors.teal,
                child: Icon(
                  Icons.add,
                ),
              )),
        ],
      );
Based on the code block above, we’ve created two icon buttons to add and remove the _formCount. We’ve achieved this by incrementing the _formCount in the add button and decrementing it in the remove button. We’re also controlling the button’s visibility by checking and making sure it only displays when the _formCount is more than zero (0).
In the remove button, we’re also removing the last input object from the _dataArray whenever the remove button is clicked, and setting the remaining values of the _dataArray to the _data string.
Lastly, let’s add all of our components together to see what we’ve achieved so far. We’ll update the build context with the code below:
class _HomeScreenState extends State<HomeScreen> {
  ...    // other code blocks here

  @override
 Widget build(BuildContext context) {
    return Scaffold(
      appBar: AppBar(title: const Text('Home')),
      body: SingleChildScrollView(
      child: Padding(
          padding: const EdgeInsets.symmetric(horizontal: 25.0),
          child: Column(
          crossAxisAlignment: CrossAxisAlignment.center,
          children: <Widget>[
              const SizedBox(height: 19),
              const Text('Names of Programming Languages',
                style: TextStyle(
                fontWeight: FontWeight.bold,
                color: Colors.teal,
                fontSize: 22)),
              const SizedBox(height: 20),
              ...List.generate(_formCount, (index) => form(index)),
              buttonRow(),
              const SizedBox(height: 10),
              Visibility(visible: _dataArray.isNotEmpty, child: Text(_data!)),
              const SizedBox(height: 30),
            ],
          ),
        ),
      ),
    );
  }

  ...   // other code blocks here
}
In the code block above, we’re generating our form() widget using the number of _formCounts we have. We’re also making our _data string only visible when the _dataArray has a value.
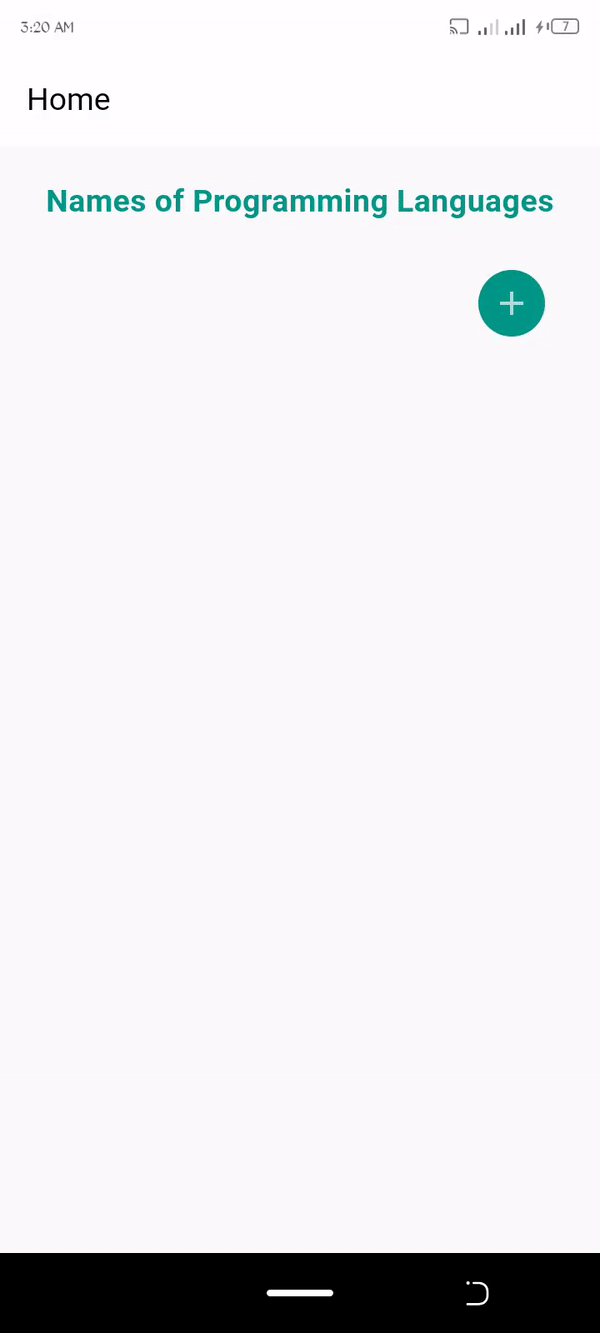
With our progress so far, we should be able to achieve the result below:
Retrieving Data From Forms
The trickiest part of creating a dynamic form is retrieving its real-time data. In this section, we’ll be creating our logic for retrieving real-time data from our dynamic form. Now, let’s add the function below to the base of the _HomeScreenState below the buttonRow() widget created earlier:
void _onUpdate(int key, String val) {

 void addData() {
      Map<String, dynamic> json = {'id': key, 'value': val};
      _dataArray.add(json);
      setState(() {
        _data = _dataArray.toString();
      });
    }

 if (_dataArray.isEmpty) {
      addData();
    } else {
     for (var map in _dataArray) {
        if (map["id"] == key) {
          _dataArray[key]['value'] = val;
          setState(() {
            _data = _dataArray.toString();
          });
        break;
        }
      }

 for (var map in _dataArray) {
 if (map["id"] == key) {
 return;
          }
        }
        addData();
      }
    }
  }
In the code block above, we're adding our JSON object, which contains the key and value of our TextFormField to the _dataArray if it's empty. However, if the _dataArray isn't empty, we're updating the value of our object to the value from the TextFormField. We're also doing a check by looping through our _dataArray to see if a particular key doesn't match an id, and then we're creating a new JSON object for it.
Lastly, let’s call the function in our TextFormForm. We’ll add the code block below to the form’s TextFormField() widget:
Widget form(int key) => Padding(
 padding: const EdgeInsets.only(bottom: 10.0),
        child: TextFormField(
        decoration: InputDecoration(hintText: 'Form ${key + 1}'),
          onChanged: (val) => _onUpdate(key, val),       // add this
        ),
      );
In the code block above, we’re passing the key (passed into the form widget) and the value from the onChanged property. The value contains the input typed into the TextFormField as we type.
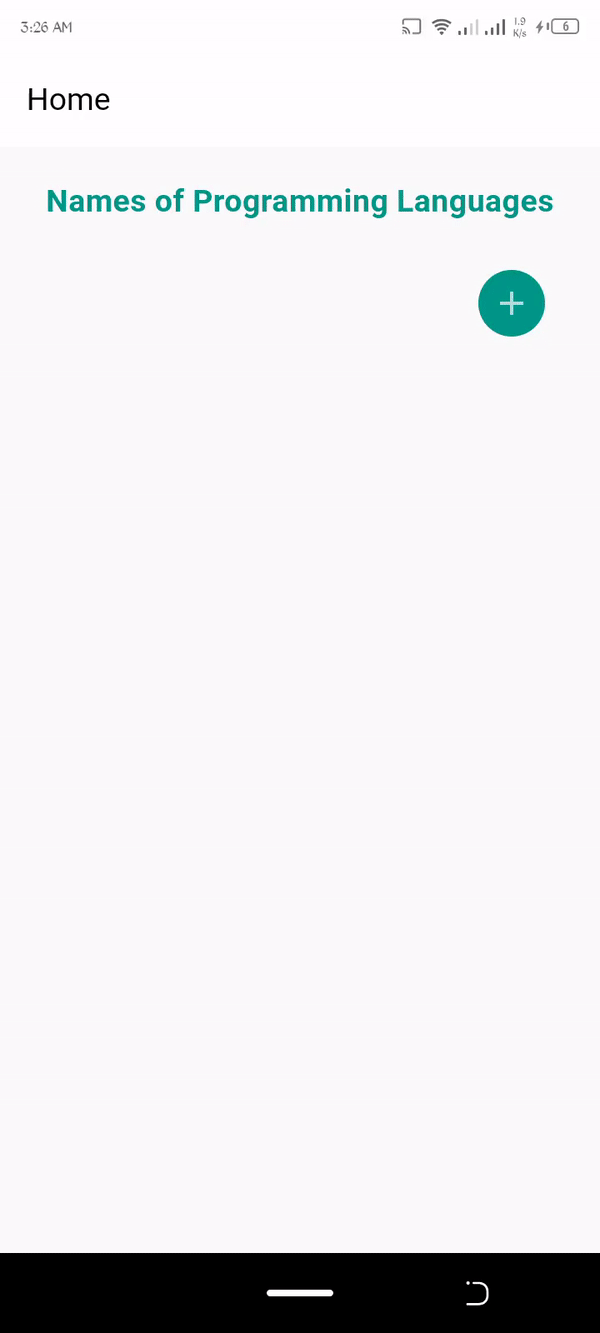
Finally, let’s see our fully built dynamic form app:
Conclusion
Dynamic forms are a very important tool in our development cycle. In this article, we’ve looked at the dynamic form, its uses, and why we should use it in our applications. We’ve also looked at how we can retrieve data from a real-time dynamic form.
Here is the full source code for the completed project on Github.

Top comments (0)