
Recently with the rise of digital wallet, transactions your-text-here are really hard to track as we use different accounts for different transaction purposes. Personally I have several bank savings accounts, credit cards and a couple of e-wallet services but all of them aren't connected.
Problem Statements
- Most of the Malaysian bank or e-wallet doesnt support public API service.
- Service doesn't come with recurring monthly statement eg. email
- Service provide recurring monthly statement but with different format or delivery methods
- Records of transaction only available for 90 days
Hence, I came across wave accounting software which provides free personal accounting management with GraphQl Api support. Hence, the idea is straightforward: whenever the bank sends you an email statement, we are going to build an event trigger script to help us update all the statements to wave through the provided api.
Design and Plan

The whole idea of this project will be create a event listener that will trigger a bot to process the file when:
- We receive an email from the bank to the bot email
- We send it manually to the bot email
But we will cover only the worker to wave accounting part in this post only.
1. Create a Wave Account and a API Token
Go to website Wave official website and register an account. After registring an account, go to the dashboard and familiarize the tools, accounting terms which I am not going to discuss much here. If you are a business owner, is a great tool for you to record down your statement by creating a business account, but for personal use , a personal account will be sufficient.
Then go to Wave Developer to create an application

Insert your desire application name and description (optional)
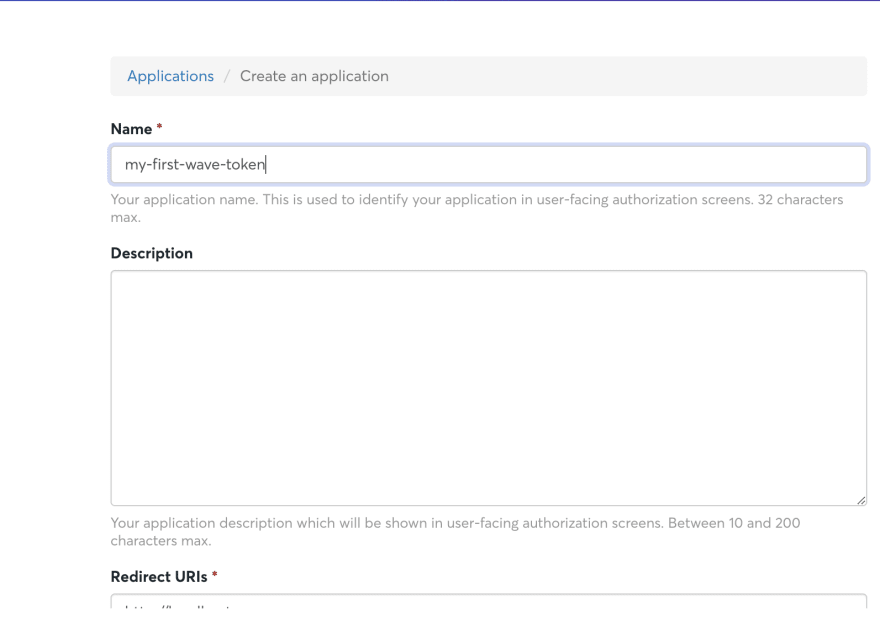
Click agree and create.
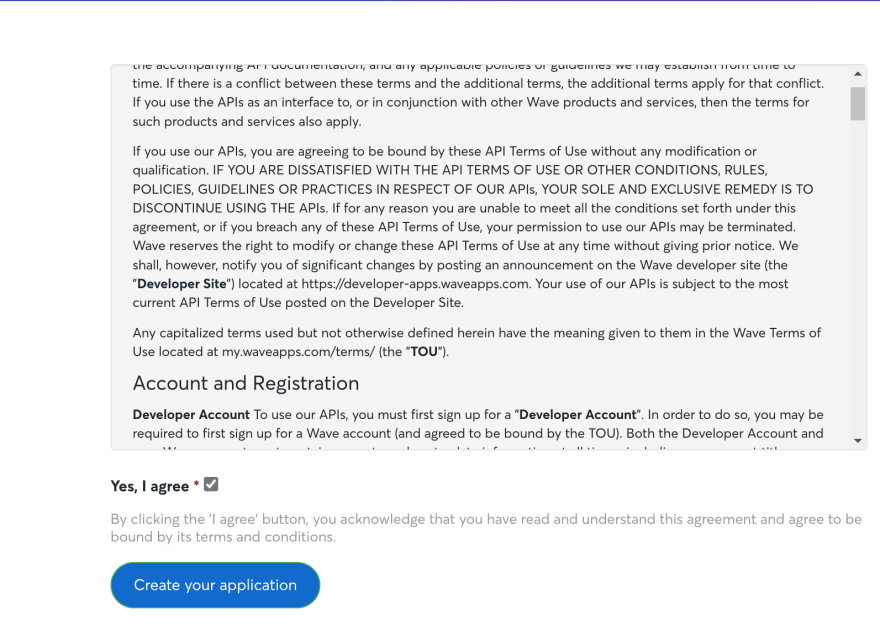
Once redirected back to the application page. click the application name that you just created.

Click the create token and you should be able to generate a token, save the token somewhere secretly and we will use it during our API integration.

2. Create Your API Module
Wave is using graphql and kindly go through Wave API Documentation for more info. You may test your api using postman.
Test Your API
Eg
POST https://gql.waveapps.com/graphql/public
Set your header with Authorization = Bearer YOUR_AUTH_TOKEN
query {
  businesses {
    edges {
      node {
        id
        name
      }
    }
  }
}
And you should be getting a response like below
{
  "data": {
    "businesses": {
      "edges": [
        {
          "node": {
            "id": "XXXXXXXXXXXX",
            "name": "YOUR ACCOUNT NAME"
          }
        }
      ]
    }
  }
}
Making a call to Wave API
Here are a simple script that I wrote to communicate with the wave module using axios
Creating Transaction function
Next is create a function to read from your desire file such as PDF, excel, csv. I will discuss further for statement reader in the next post to guide you through how to read the pdf statement.
Extract info from your bank statement
// Get pdf file
const  mbbPdfBuffer  =  fs.readFileSync("data/april-jun-2022.pdf");

// Get transaction list
const  mbbTransactionList  = await MBBPdfModule.convertMbbPdfBufferToTransactionList(mbbPdfBuffer);
Pass Information To Wave Module
const transactionPromises = [];
// Loop transaction list
for (let i = 0; i < mbbTransactionList.length; i++) {
  const transaction = mbbTransactionList[i];
  // * Create Transaction
  transactionPromises.push(
    createTransaction({
      externalId: transaction.externalRefId,
      date: transaction.date,
      description: transaction.description,
      anchor: {
        accountId: WAVE_ACCOUNT_ID.MAYBANK_SAVING,
        amount: transaction.amount,
        direction:
          transaction.transactionDirection == TRANSACTION_DIRECTION.INCOME
            ? WAVE_TRANSACTION_DIRECTION.DEPOSIT
            : WAVE_TRANSACTION_DIRECTION.WITHDRAWAL,
      },
      lineItems: [
        {
          accountId: transaction.target.id,
          amount: transaction.amount,
          balance: WAVE_BALANCE_TYPE.INCREASE,
        },
      ],
    })
      .then((result) => {
        return { transactionId: transaction.externalRefId, ...result };
      })
      .catch((err) => {
        throw {
          transactionId: transaction.externalRefId,
          error: err.message,
        };
      })
  );
}
Post the result
await Promise.allSettled(transactionPromises).then((results) => {
  for (const result of results) {
    if (result.status == "rejected") {
      report.errors.push(result.reason);
      continue;
    }

    report.success++;
  }
});
Final Outcome

The transaction is well grouped by your own custom category with the date and time of the transaction.
What comes after is the juicy report graph which helps you under stand your transaction better.

Conclusion
We have cover how we can use wave to act as the data storage for all of your transaction but it this blog post doesnt show you how to read the data from your pdf, the details of the module etc.
Things to cover in the upcoming post:
- Statement Reader code walk through
- Automate Bot base on event
- Deploy application to AWS
Follow me on:
Website - https://garrick.monster/
Linkedin - https://www.linkedin.com/in/garrickng724/
Github - https://github.com/GarrickBee

Latest comments (0)