
Walk through the integration process of the new Vue CLI 3 with Kendo UI, and start developing eye-catching Vue.js applications with zero hassle!
Original Post on The Telerik Blog. October 2018
Kendo UI is an awesome UI component library made by Progress. It can be used with multiple frameworks/tools (jQuery, React, Angular), but let's talk about using it with Vue.js.
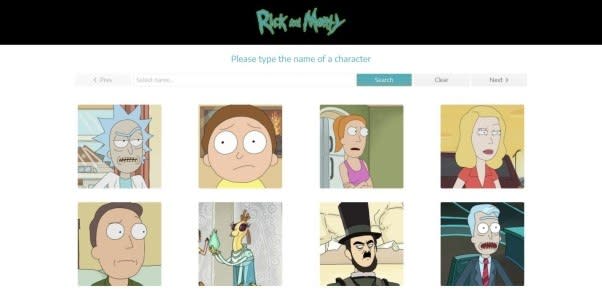
We will go through the integration process explaining it step by step and solving a few issues that may occur while integrating Kendo UI with Vue CLI 3. For this, we're going to use our "Vuetiful" Rick & Morty app as an example.
For those who haven't updated to Vue CLI 3 yet, you can check out this blog post on what you need to know, and I recommend reading the official documentation to learn the proper usage of this awesome tool.
Assuming we have previously installed Vue CLI 3 let's create our project and enter its root folder:
vue create ricknmorty-vue
cd /ricknmorty-vue
Install Kendo UI Using npm
Installing:
npm install --save @progress/kendo-ui
npm install --save @progress/kendo-theme-default
For our app, we used the default theme, but among the many possibilities to get your apps rocking and looking like a million bucks, you can build your own theme, or use the default, bootstrap or material theme. Check out the Theme Builder!.
For example, for our Vuetiful Rick & Morty we used buttons:
npm install --save @progress/kendo-buttons-vue-wrapper
You can head over to the Kendo UI for Vue site for more details on themes and components.
Once we have installed all necessary packages, we shall proceed with the integration:
- Open main.js
- Let's import our magic adding the following to our code:
import '@progress/kendo-ui'
import '@progress/kendo-theme-default/dist/all.css'
- Add the minimum base pack to our project and, for this particular case, adding buttons:
import { ButtonsInstaller } from '@progress/kendo-buttons-vue-wrapper'

Vue.use (ButtonsInstaller)
So now we can create our component using Kendo UI's buttons!
- In our component:
import { Button } from '@progress/kendo-buttons-vue-wrapper'
- Let's add it to our component list:
components: {
  Button
}
And we can now use: <kendo-button></kendo-button>. For example:
<kendo-button class="button" icon="arrow-right" @click="position++"></kendo-button>
You can get more information about buttons here.
Once we have finished our development, let's go to our terminal and use npm to run our project, just as shown in the Vue CLI 3 documentation:
- To run our project type:
npm run serve
- And this will trigger the following warning:
[Vue warn]: You are using the runtime-only build of Vue where the template compiler is not available. Either pre-compile the templates into render functions, or use the compiler-included build.
What just happened?!
Don't sweat it! This can happen often with some Vue.js components and it can be fixed by adding a simple line of code inside of: webpack.config.js
But wait a minute!... Where is
webpack.config.jsin the new CLI?Now it's inside of
node_modulesBut thou shall not ever modify
node_modules!!!That's actually true, because if you update your project, all the changes you make in
node_moduleswill be lost.Sooo??? I am lost!. How do I sort this out?
In the new Vue CLI 3, any new configs for webpack.config.js are applied in a single file we can create in our project root and it should be called vue.config.js.
Once we create the file, just add the following code:
const path = require('path');

function resolve (dir) {
  return path.join(__dirname, dir)
}

module.exports = {
  lintOnSave: true,
  chainWebpack: (config) => {
    config.resolve.alias.set('vue$', 'vue/dist/vue.esm.js')
  }
}
And voila!!!! It's all running smoothly!!

Top comments (2)
For anyone that is following along with the home game, the source for the "Vuetiful" Rick & Morty app is here.
Cheers! Totally forgot to post that!!