
It’s said that the trend of skeuomorphism which Apple had made extensive use of until the release of iOS 7, is now celebrating its comeback and renamed itself to neumorphism or neo-skeuomorphism. Skeuomorphism denotes a UI-Design pattern in which virtual elements are created in way that they mimic the look and feel of their real-life relatives.
Let’s implement something as simple as a sticky note to see how easy it can be to create realistic looking UI-elements.
The goal
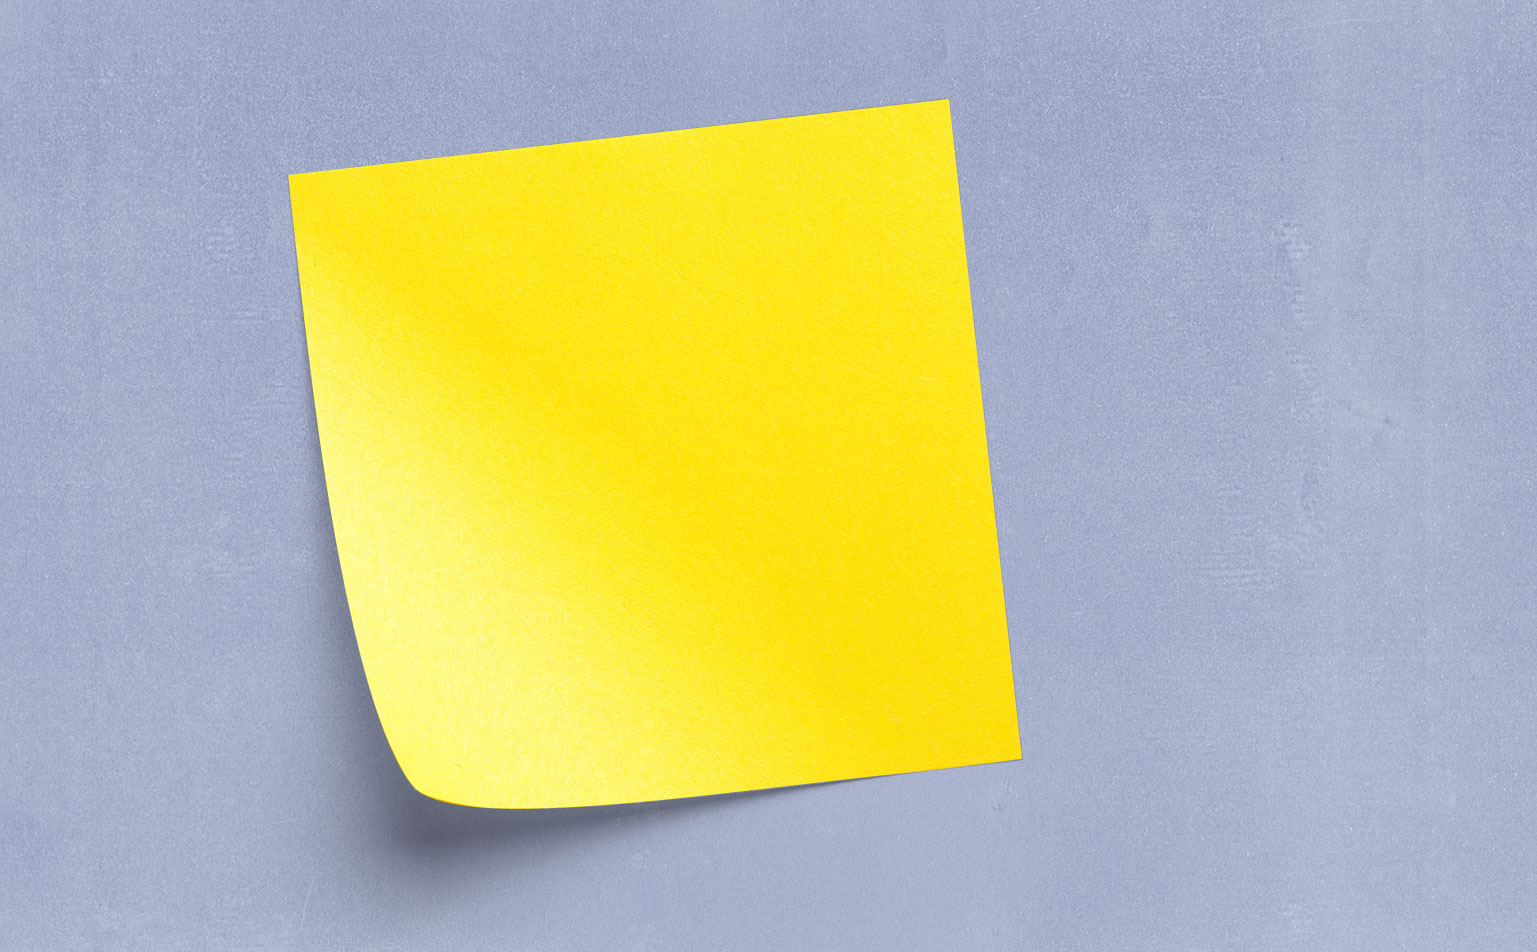
Let’s talk about what makes this sticky note look like a sticky note and not just like a plain rectangle containing text. In order to find that out, we have a look at a real image. A quick Google search brought me here. A summary of the important details:
- The note has a dog-ear on the bottom left, indicating that it only sticks to the background at the top
- The dog-ear changes the reflection of light making the part around it slightly brighter
- There is a shadow underneath the note indicating that there is space between the note and the underlying surface
- The shadow exceeds the usual boundaries of the note a little bit
- The note is rotated because in the real world we rarely manage to stick it totally straight to the surface
The implementation
Let’s start with the basic setup by creating a StatelessWidget that does nothing but rendering our CustomPainter we will be creating afterwards.
import 'package:flutter/material.dart';
class StickyNote extends StatelessWidget {
  @override
  Widget build(BuildContext context) {
    return CustomPaint(
      painter: StickyNotePainter()
    );
  }
}
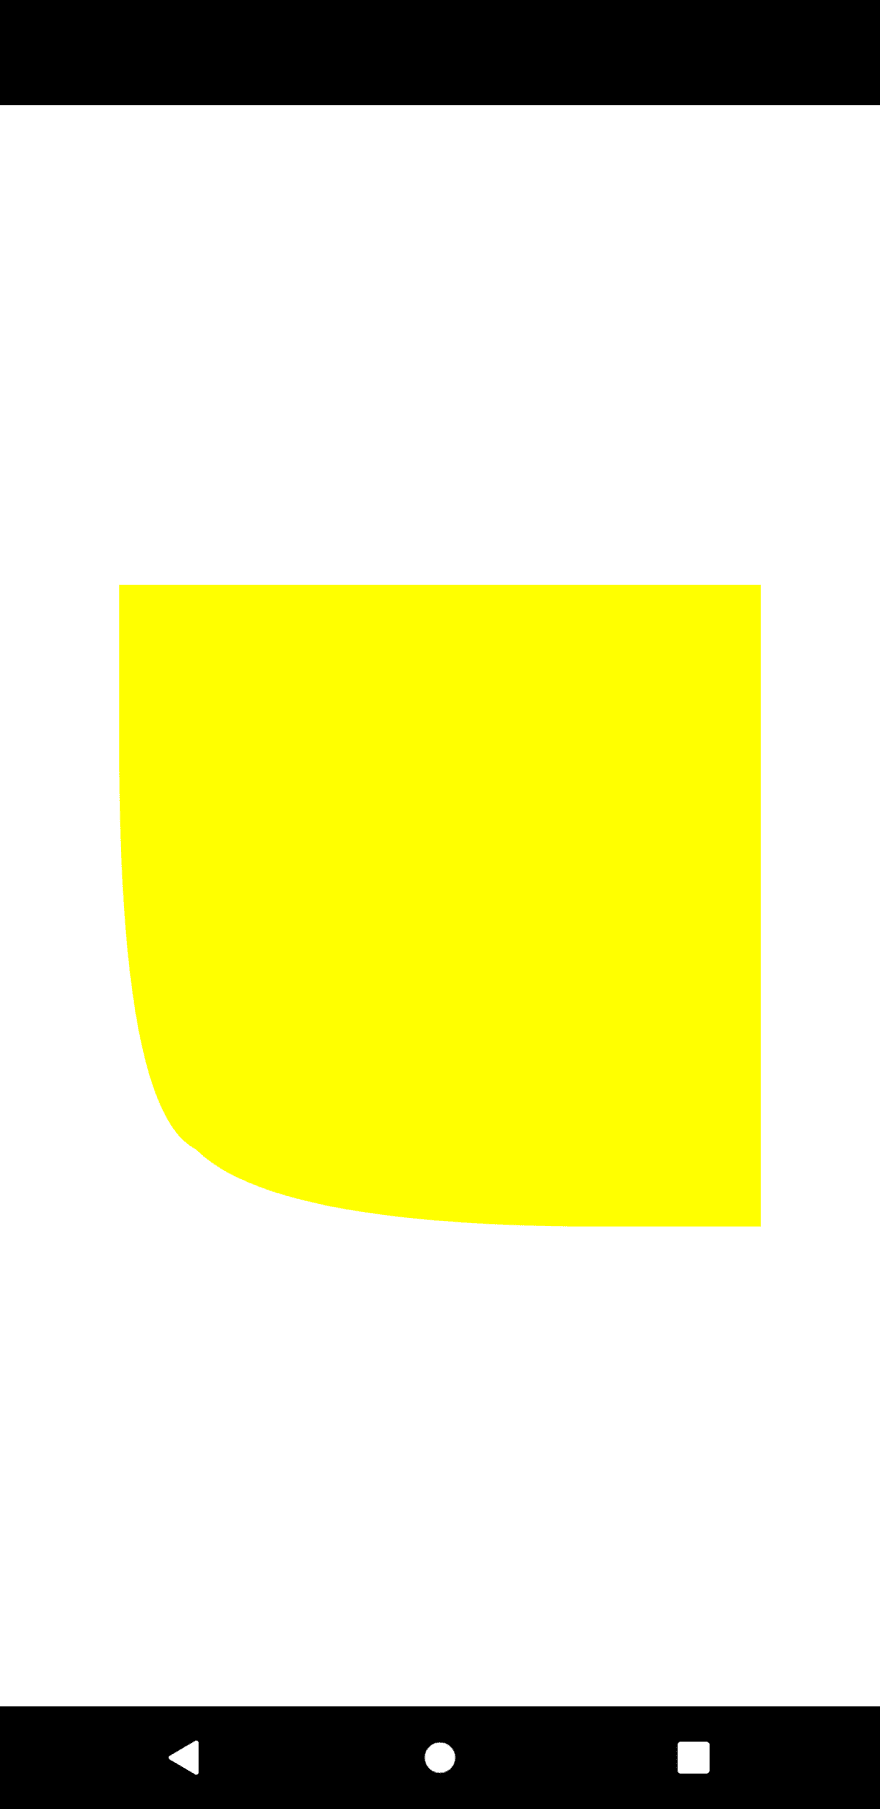
For the implementation of the StickyNotePainter we are going to choose an iterative way. Let’s start with the basic which is a yellow shape that is not quite rectangular as the bottom left corner is fold over.
I am going to propose two possibilities of implementing it. One quick and easy way and another way that involves only a bit more thinking.
The quick and easy way
Using the SVG converter we can easily create the desired SVG with an application that lets us create vector graphics and convert it to the path. In my case Inkscape was used to perform that kind of task.

We create the SVG path by tracing the outline of an actual image of a sticky note
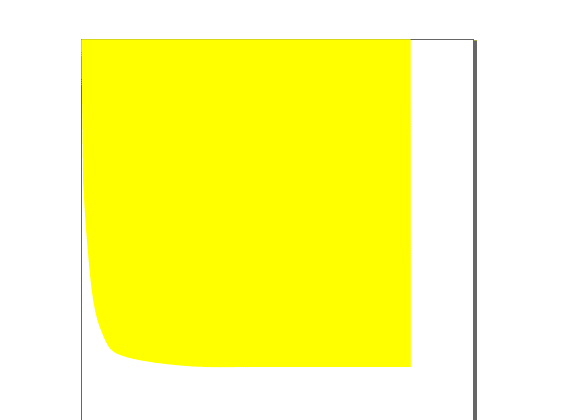
We then get a shape resembling the real sticky note
That is the resulting path after having used the converter
Path path = new Path();
paint.color = Color(0xffffff00);
path = Path();
path.lineTo(0, 0);
path.cubicTo(0, 0, size.width * 0.01, size.height * 0.44, size.width * 0.01, size.height * 0.44);
path.cubicTo(size.width * 0.01, size.height * 0.44, size.width * 0.01, size.height * 0.56, size.width * 0.02, size.height * 0.64);
path.cubicTo(size.width * 0.03, size.height * 0.72, size.width * 0.03, size.height * 0.82, size.width * 0.06, size.height * 0.88);
path.cubicTo(size.width * 0.08, size.height * 0.95, size.width * 0.09, size.height * 0.96, size.width * 0.14, size.height * 0.97);
path.cubicTo(size.width * 0.51, size.height, size.width, size.height, size.width, size.height);
path.cubicTo(size.width, size.height, size.width, 0, size.width, 0);
path.cubicTo(size.width, 0, 0, 0, 0, 0);
canvas.drawPath(path, gradientPaint);
Looks good enough in my opinion. But with a little bit of thinking we might be able to create it with less lines of code and get a better sense of what we want.
The “let’s think for a moment” way
@override
void paint(Canvas canvas, Size size) {
  _drawNote(size, canvas, Paint()..color=const Color(0xffffff00));
}
void _drawNote(Size size, Canvas canvas, Paint paint) {
  Path path = new Path();
  path.moveTo(0, 0);
  path.lineTo(size.width, 0);
  path.lineTo(size.width, size.height);
  double foldAmount = 0.12;
  path.lineTo(size.width * 3/4, size.height);
  path.quadraticBezierTo(
    size.width * foldAmount * 2, size.height, size.width * foldAmount, size.height - (size.height * foldAmount)
  );
  path.quadraticBezierTo(
    0, size.height - (size.height * foldAmount * 1.5), 0, size.height / 4
  );
  path.lineTo(0, 0);
  canvas.drawPath(path, paint);
}
The upper left, upper right and lower right point are easily connected via lineTo() because this part of the sticky note is not special in any way. Then we add a line that follows the bottom line of the rectangle and has a quarter of the length. Using a bezier path we the create a curvy line to a point that is a little bit shifted to the inside from the bottom left point of the rectangle to mimic the fold. With a similar curve we then turn back to the left side of the rectangle and close the path by adding a line to the top left corner. How far the note is fold over is denoted by foldAmount.
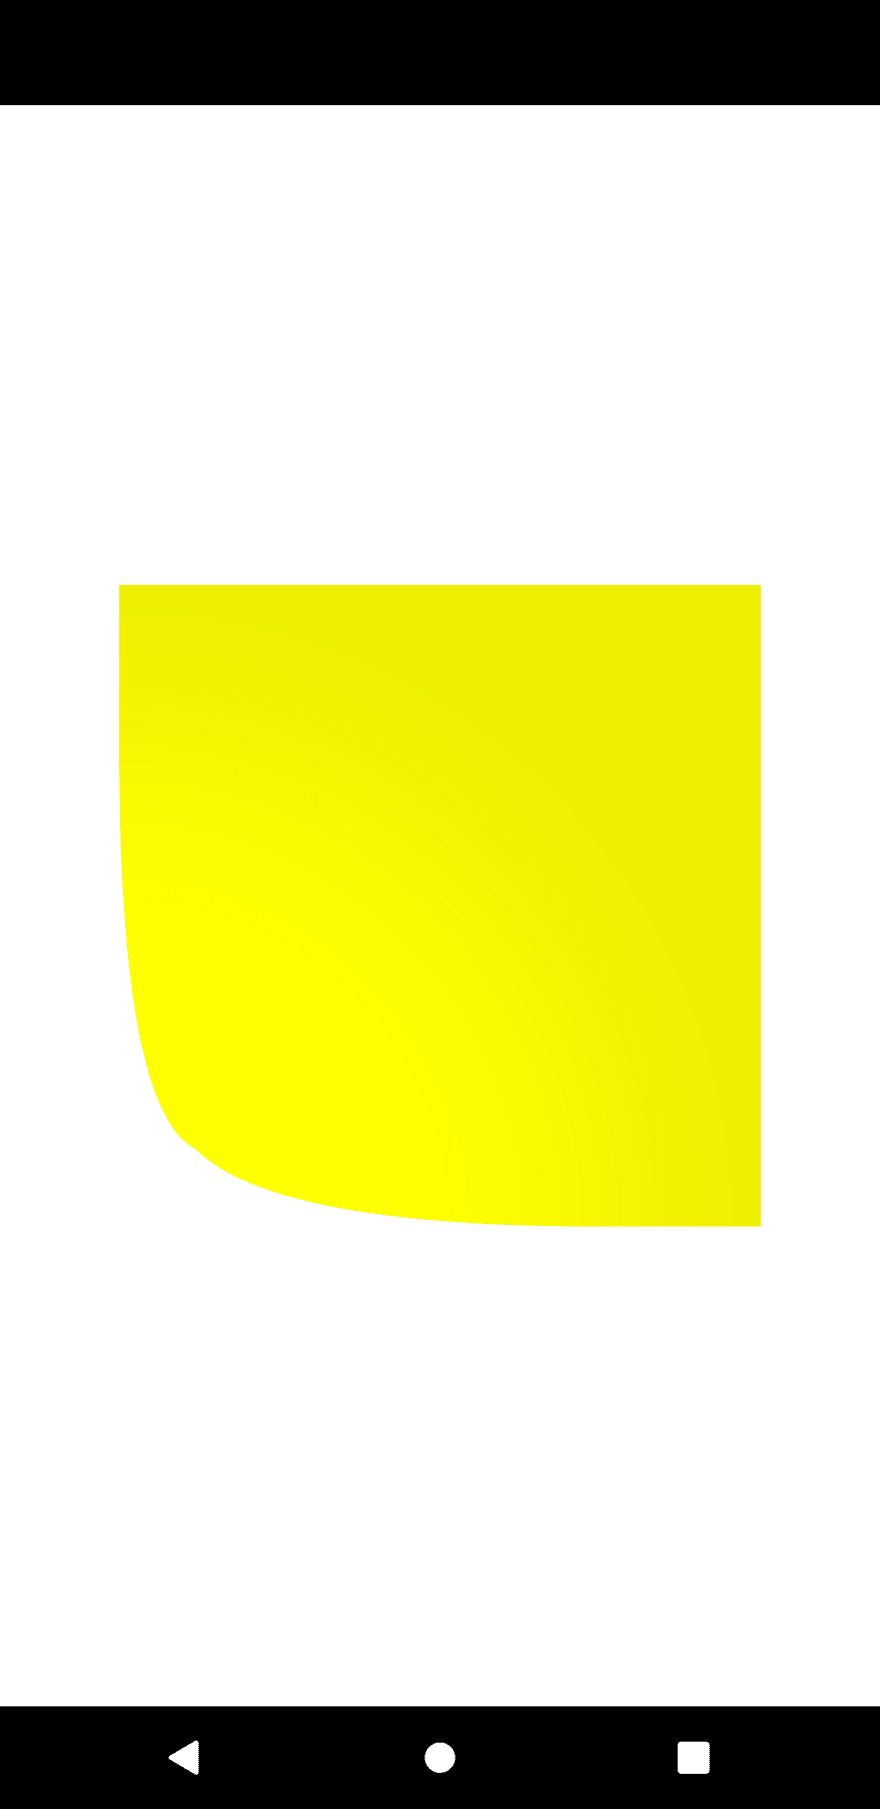
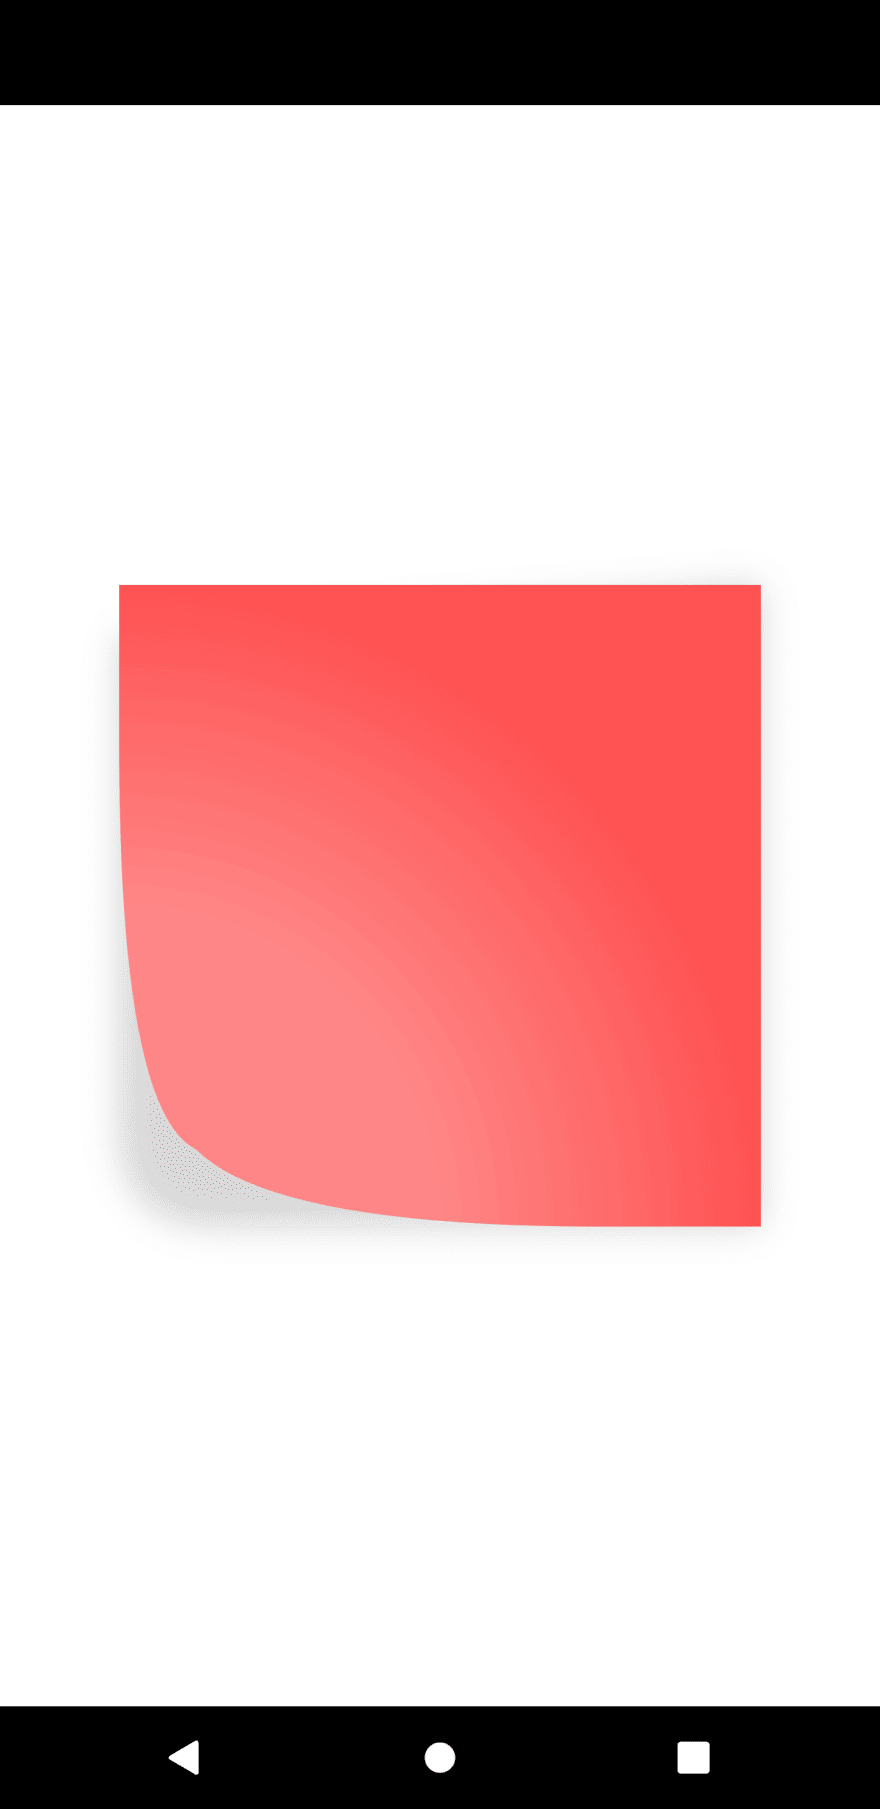
Giving the sticky note a gradient
Now that the shape itself is finished, let’s take care of the color. We want to simulate a difference in the lighting due to the corner being fold over by applying a gradient.
@override
void paint(Canvas canvas, Size size) {
  Paint gradientPaint = _createGradientPaint(size);
  _drawNote(size, canvas, gradientPaint);
}
Paint _createGradientPaint(Size size) {
  Paint paint = new Paint();
  Rect rect = Rect.fromLTWH(0, 0, size.width, size.height);
  RadialGradient gradient = new RadialGradient(
    colors: [const Color(0xffffff00), const Color(0xffeeee00)],
    radius: 1.0,
    stops: [0.5, 1.0],
    center: Alignment.bottomLeft
  );
  paint.shader = gradient.createShader(rect);
  return paint;
}
We use a RadialGradient for that purpose and let the center be the bottom left of the shape. The color ranges from yellow in the corner to a darker yellow in the surrounding.
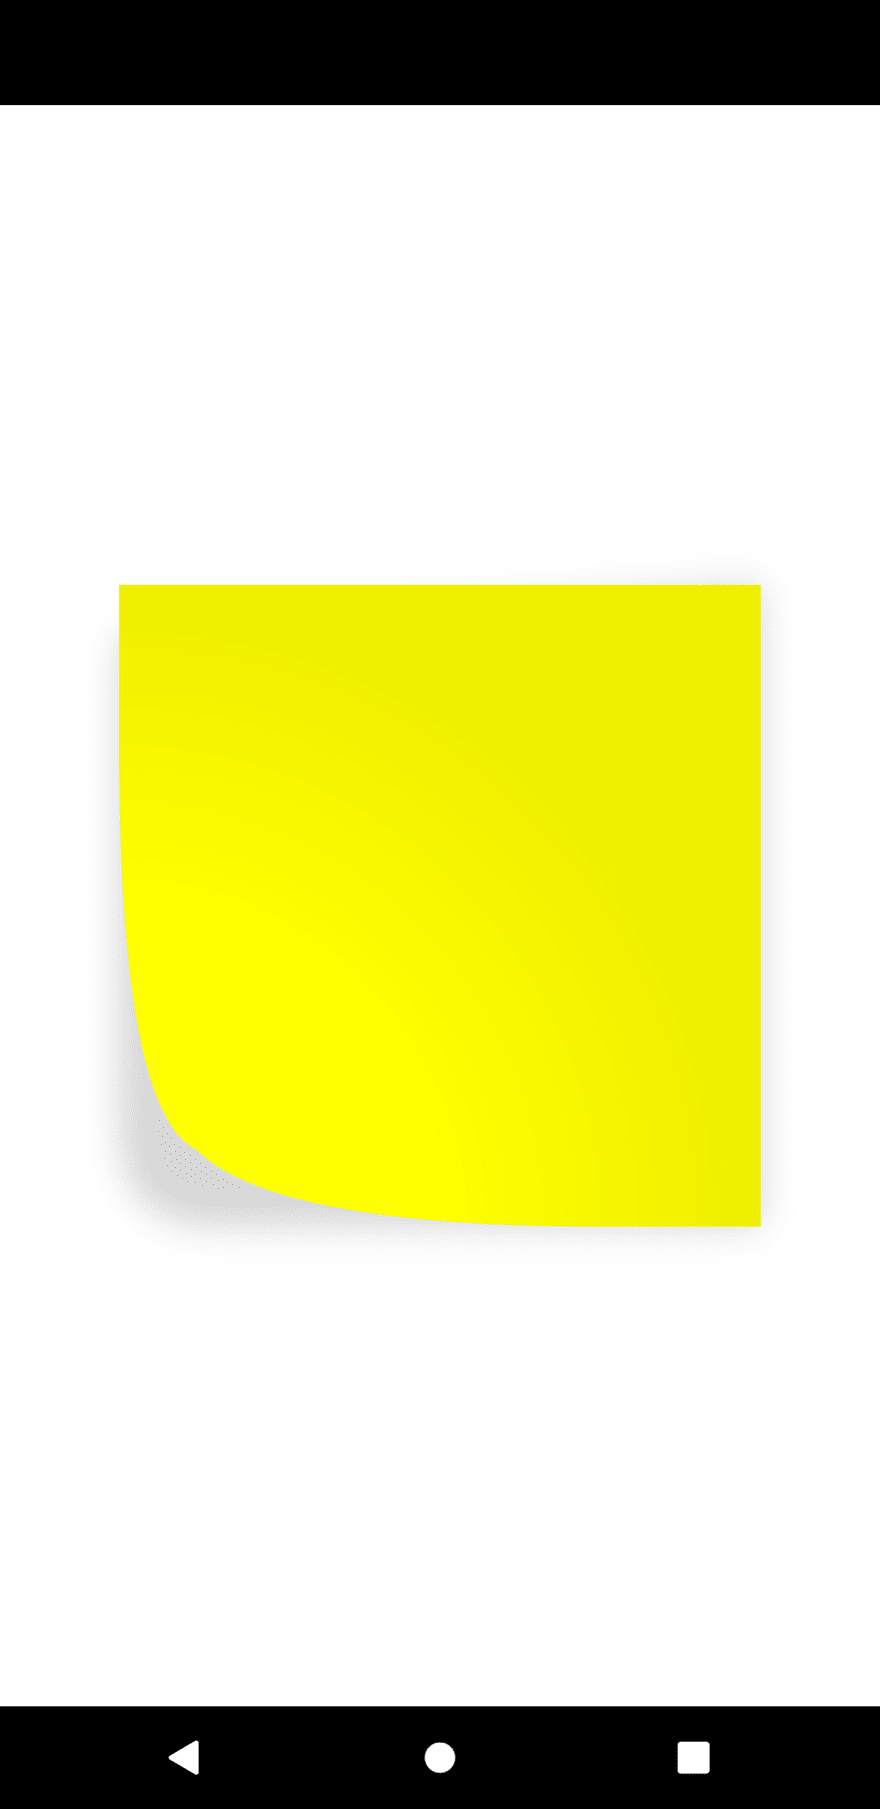
Putting a shadow under the sticky note
Without any further code, the sticky note does not look realistic. That’s because the rounded corner at the bottom left does not indicate being fold over. As long as we do not simulate depth, it will just look like the edge was rounded by cutting it. Let’s try to make it a little bit more realistic by simulating a space between the sticky note and the background. We do that by applying a shadow which is mostly seen under the bottom left corner.
There are multiple options how we could approach the task of adding a shadow. There are two ways I want to show you:
void _drawShadow(Size size, Canvas canvas) {
  Rect rect = Rect.fromLTWH(12, 12, size.width - 24, size.height - 24);
  Path path = new Path();
  path.addRect(rect);
  canvas.drawShadow(path, color, 12.0, true);
}
void _drawShadow(Size size, Canvas canvas) {
  Paint shadowPaint = Paint()
    ..maskFilter = MaskFilter.blur(BlurStyle.normal, 8)
    ..color = Colors.black.withOpacity(0.16);
  Path shadowPath = new Path();
  shadowPath.moveTo(0, 24);
  shadowPath.lineTo(size.width, 0);
  shadowPath.lineTo(size.width, size.height);
  shadowPath.lineTo(size.width / 6, size.height);
  shadowPath.quadraticBezierTo(
    -2, size.height + 2, 0, size.height - (size.width / 6)
  );
  shadowPath.lineTo(0, 0);
  canvas.drawPath(shadowPath, shadowPaint);
}
The first way is fairly simple. We create a Rect that has a little offset so that it looks like the top is stuck to the background. The width and height are also reduced. We then take the drawShadow() method of the canvas to let it actually draw. This is the shadow that is used in Material widgets. One can provide an elevation that determines size and blurriness.
An alternative is to first draw a path and then use a MaskFilter on the Paint object that blurs the path.

Adding a configurable color
As we know, in modern times, not every sticky note is yellow. It can be of any color. But our virtual sticky note still has a hardcoded color. Let’s make it dynamic so that the color can be specified from the outside.
class StickyNote extends StatelessWidget {
  StickyNote({
    this.color = const Color(0xffffff00)
  });
  final Color color;
...
StickyNotePainter({
  this.color
});
class StickyNotePainter extends CustomPainter {
  StickyNotePainter({
    this.color
  });
  Color color;
  ...
  Paint _createGradientPaint(Size size) {
    Paint paint = new Paint();
    Rect rect = Rect.fromLTWH(0, 0, size.width, size.height);
    RadialGradient gradient = new RadialGradient(
      colors: [_brightenColor(color), color],
      radius: 1.0,
      stops: [0.5, 1.0],
      center: Alignment.bottomLeft
    );
    paint.shader = gradient.createShader(rect);
    return paint;
  }
  Color _brightenColor(Color c, [int percent = 30]) {
    double floatValue = percent / 100;
    return Color.fromARGB(
        c.alpha,
        c.red + ((255 - c.red) * floatValue).round(),
        c.green + ((255 - c.green) * floatValue).round(),
        c.blue + ((255 - c.blue) * floatValue).round()
    );
  }
color is added as a constructor argument to the widget and the Painter. In order to maintain the gradient that is brighter in the bottom left corner, we need a way to dynamically brighten the given color. The way we do it is fairly simple: we add a certain percentage of the original value for red, green and blue equally. This can be thought of as the luminance in that color model. Since RGB is an additive color model, we come nearer the white color by adding a value to every color channel. I also rotated it a bit, because it seems more realistic as no one can stick it perfectly straight to the background.
Letting it have a child
Great, now we can have a sticky note in every color. Yet we have a quite empty sticky note, which makes them pretty useless. Instead, we want to be able to write something on it like in the reality. For that purpose, we want the sticky note to have the possibility to display a child.
class StickyNote extends StatelessWidget {
  StickyNote({
    this.child,
    this.color = const Color(0xffffff00)
  });
  final Widget child;
  final Color color;
  @override
  Widget build(BuildContext context) {
    return Transform.rotate(
      angle: 0.01 * pi,
      child: CustomPaint(
        painter: StickyNotePainter(
          color: color
        ),
        child: Center(
          child: child
        )
      ),
    );
  }
}
child becomes the new constructor argument being also the named argument of the CustomPaint and optionally wrapped by a Center widget.
As a font, we take DK Yellow Lemon Sun by Hanoded, but certainly any other font that mimics hand-writing is suitable.
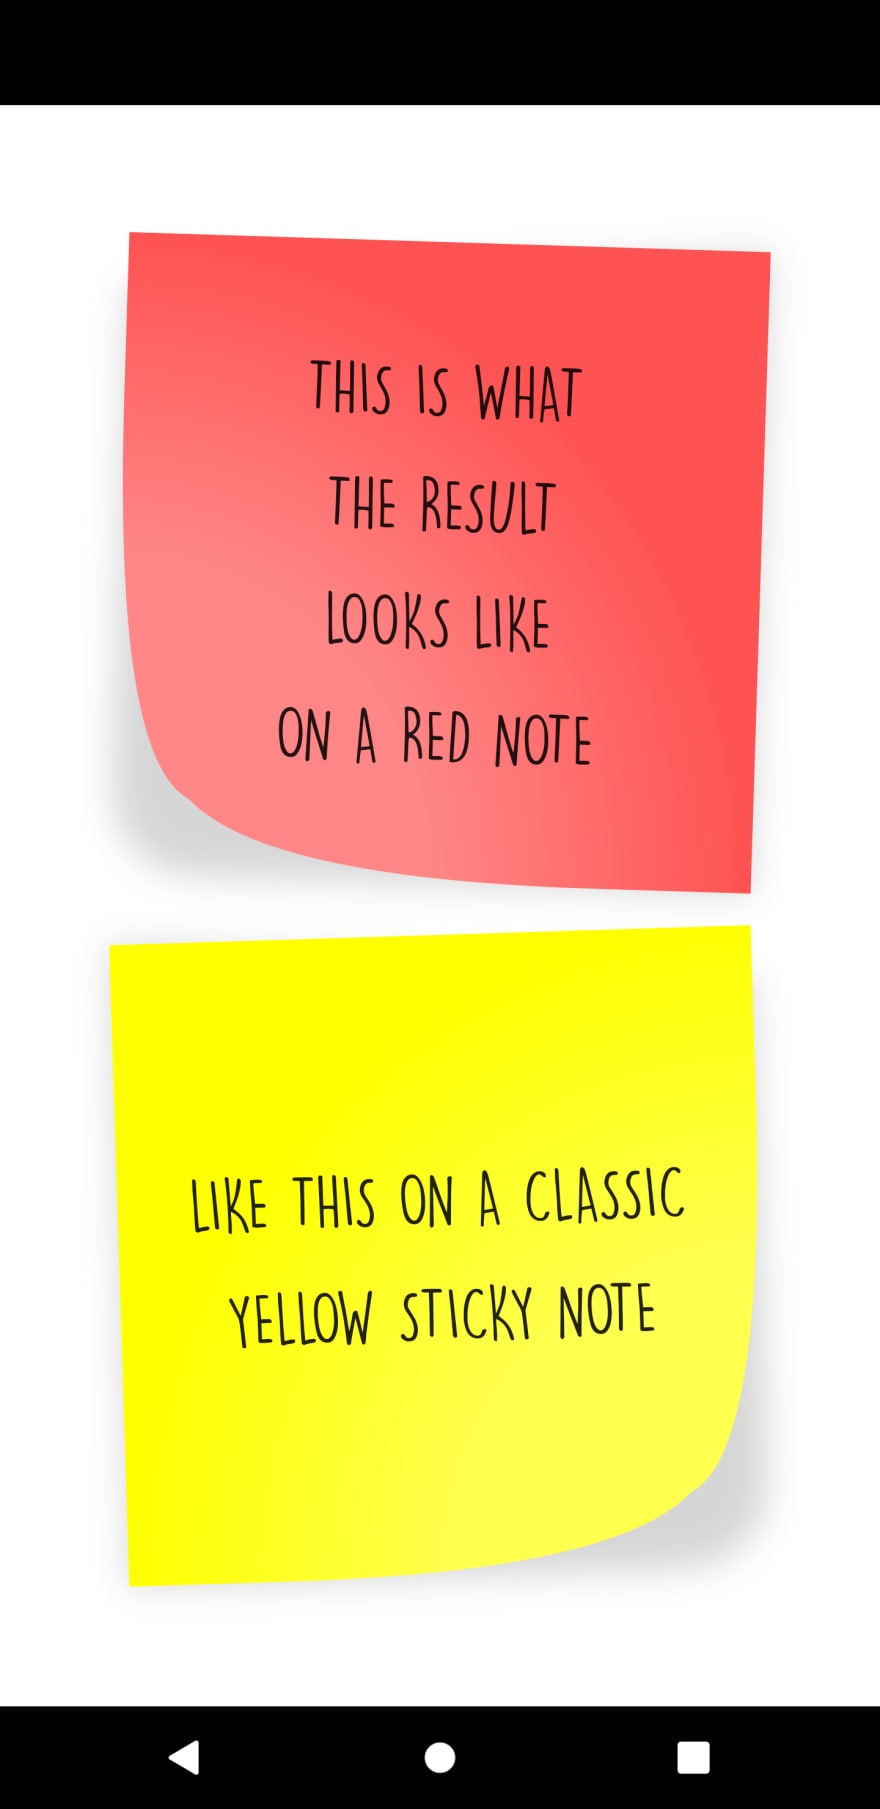
Now we can spawn sticky notes with different colors and text on it. By mirroring the note, we can let the other bottom edge be fold over.
Wrap-up
Creating a realistic version of a sticky note is not that hard. It's just about the shape, the resulting lighting being imitated by a gradient and the shadow underneath. This could be now part of a skeuomorphic design.


Top comments (0)