Step 1: Set up your Azure Account
Step 2: Create a Virtual Machine
Step 3: Connect to your Virtual Machine
Step 1: Set Up Your Azure Account
Sign Up or Log In:
If you don't have an Azure account, sign up at Azure Free Account.
If you already have an account, log in at Azure Portal.
Azure Subscription:
Ensure you have an active subscription. If you're new to Azure, you might start with a free trial which includes credits for initial usage.
Step 2: Create a Virtual Machine
Navigate to Azure Portal:
Once logged in, go to the Azure Portal dashboard.
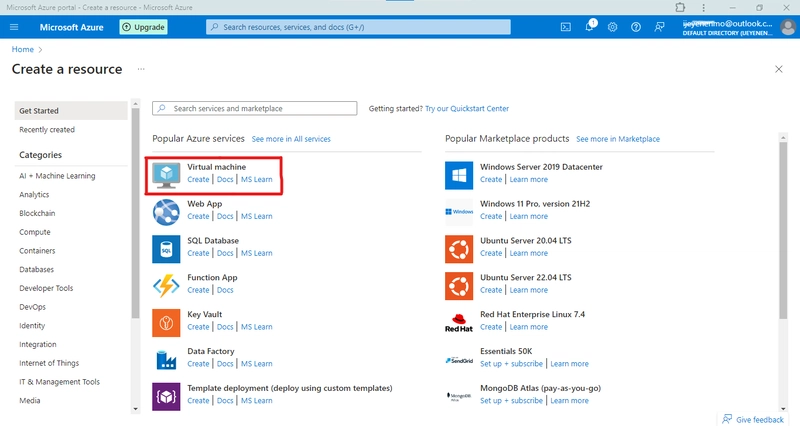
Create a Resource:
Click on "Create a resource" in the left-hand menu.
Select Virtual Machine
In the "New" section, search for "Virtual Machine" and select it.
Configure Basics
Subscription: Select your Azure subscription.
Resource Group: Create a new resource group or select an existing one.
Virtual Machine Name: Enter a name for your VM.
Region: Choose the region from the dropdown where you want your VM to be hosted.
Choose the availability option and availability zone.
Image: Select the operating system or application for the virtual machine from the list of available operating systems.
Size: Choose the appropriate VM size based on your requirements (CPU, RAM, etc.).
Authentication Type: Choose Password and create a username and password for logging in to the VM.
Disk Options
Configure the OS disk and any additional data disks if needed. Default settings usually suffice for general purposes.
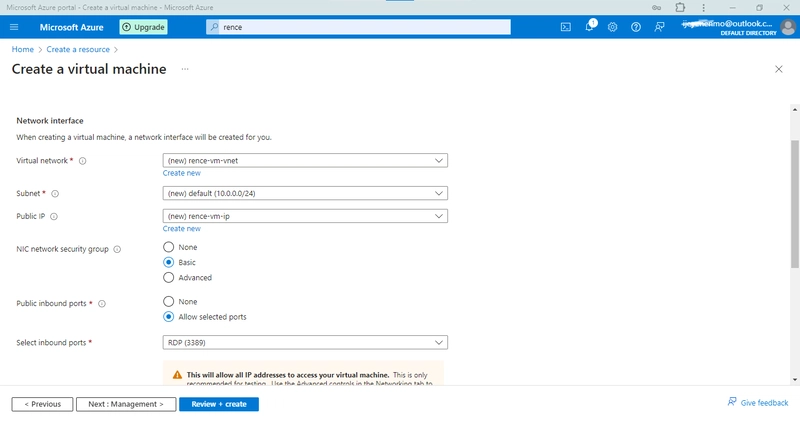
Networking
Configure networking settings. The default options are usually fine for a basic setup.
Ensure "Public IP" is enabled to allow remote access to your VM.
Management
Configure monitoring, identity, and backup options. Default settings are typically sufficient for a basic VM.
Review and Create
Review your configuration settings.
Click Create to deploy the VM.
Step 3: Connect to Your Windows 11 VM
Go to Virtual Machines
Once the deployment is complete, navigate to Go to Resource
Select your Virtual Machine
Find and select the Window Virtual Machine you created from the list.
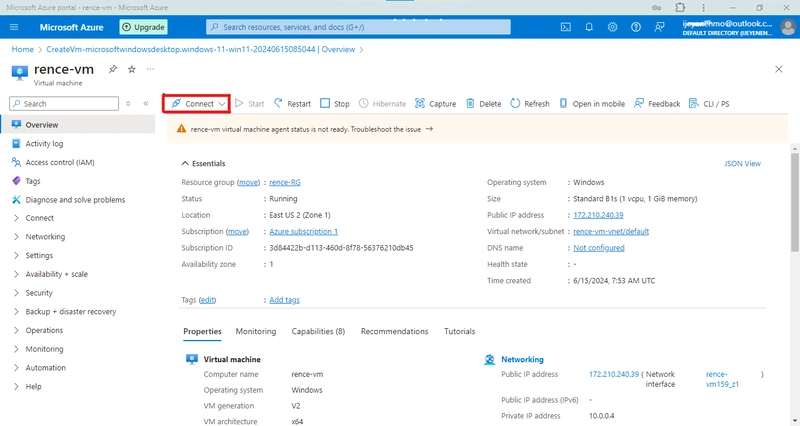
Connect
In the VM's overview page, click on the Connect button at the top.
Choose RDP (Remote Desktop Protocol) as the connection method.
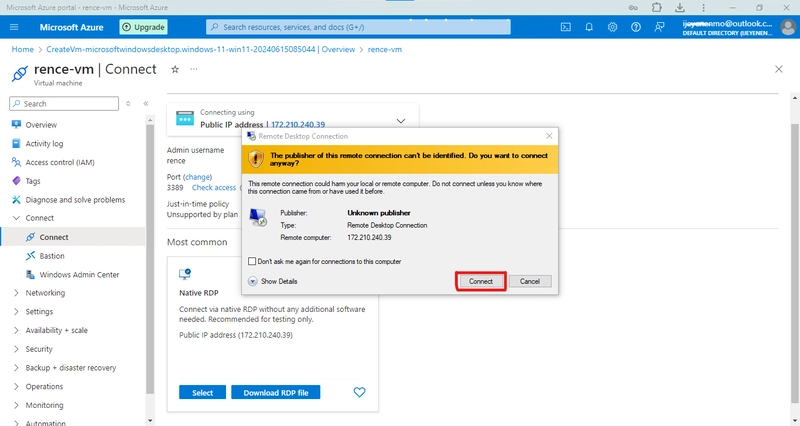
Download RDP File
Click Download RDP File and open it with your Remote Desktop then click Connect
Log In
Enter the username and password you created during the VM setup process.
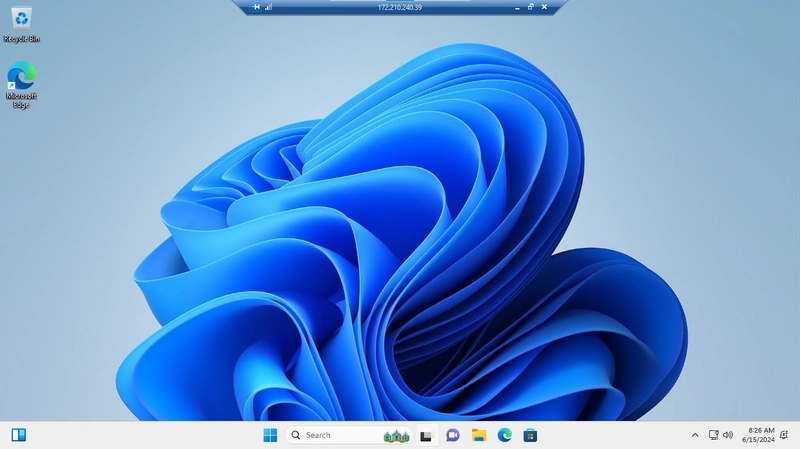
You should now be connected to your Windows 11 Virtual Machine.











Top comments (0)