
In this series, I'll be walking through the process of setting up a local environment for WordPress theme development using TailwindCSS.
Whether you're on Linux, Windows or Mac, we'll need to run our WordPress own server. You can use XAMPP, WampServer, MAMP or similar software that enables you to run a local PHP server with Apache and MySQL. I'll be using MAMP but feel free to download and install your preferred tool.
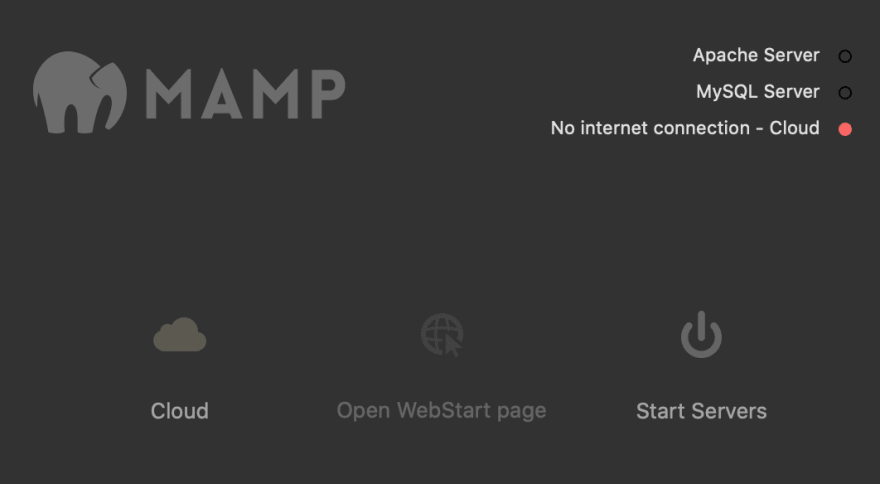
To install MAMP, navigate to https://www.mamp.info/en/downloads/ and download the package file; double-click the downloaded package to begin the installation. Once our server is installed, we can start it by opening MAMP and clicking 'Start servers'.
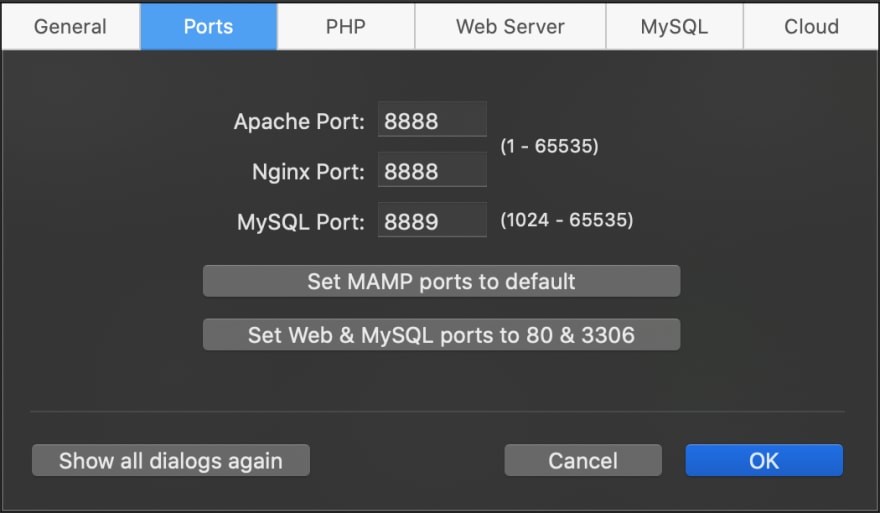
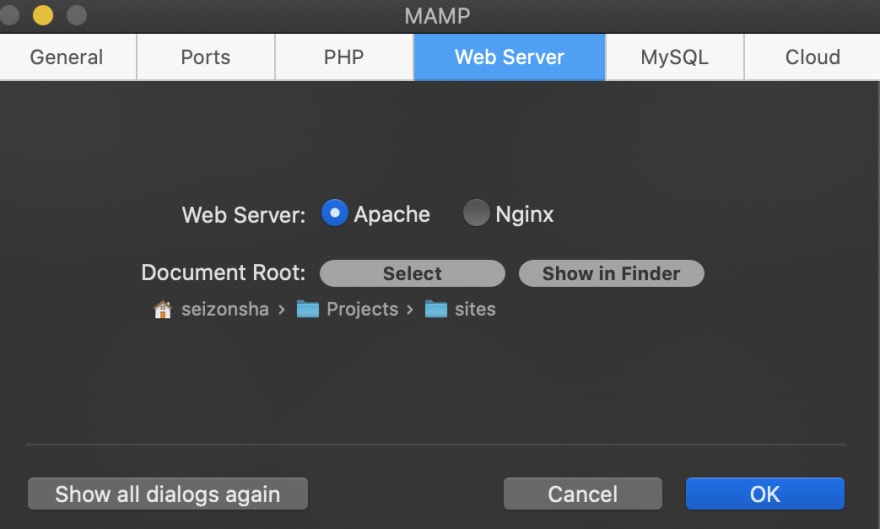
Optionally, we can configure the ports and document root or opt to keep the defaults. These options are reachable via MAMP > Preferences. I kept the default ports and configured a different document root to a project folder I had previously created.
Next, we'll get the latest version of WordPress and unpack the downloaded zip file into your document root. You can rename the extracted folder to the name of your project to keep track of your websites.
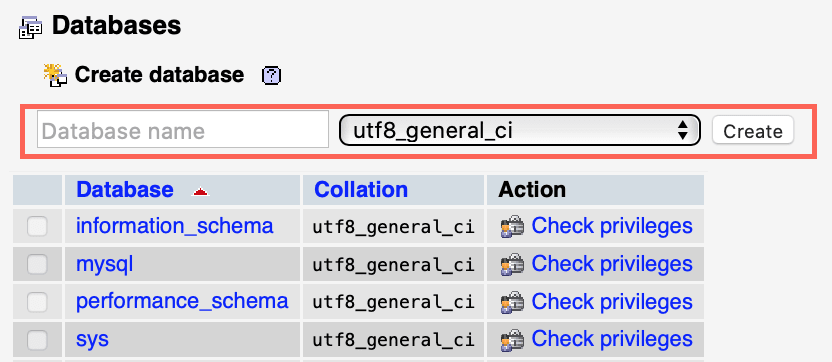
Now that we've got our WordPress site in place, we can create the database to store our site data. Navigate to http://localhost:8888/phpMyAdmin and create your new database.
Next, we'll point our WordPress site to our newly created database. Open your site folder (the one you extracted WordPress to) and locate the file wp-config-sample.php. We're going to rename this file to wp-config.php and update it the following options:
DB_NAME <database name>
DB_USER root
DB_PASSWORD root
Great! Now we're all set! If you navigate to localhost:8888/<site-name> you should see the WordPress installation screen.
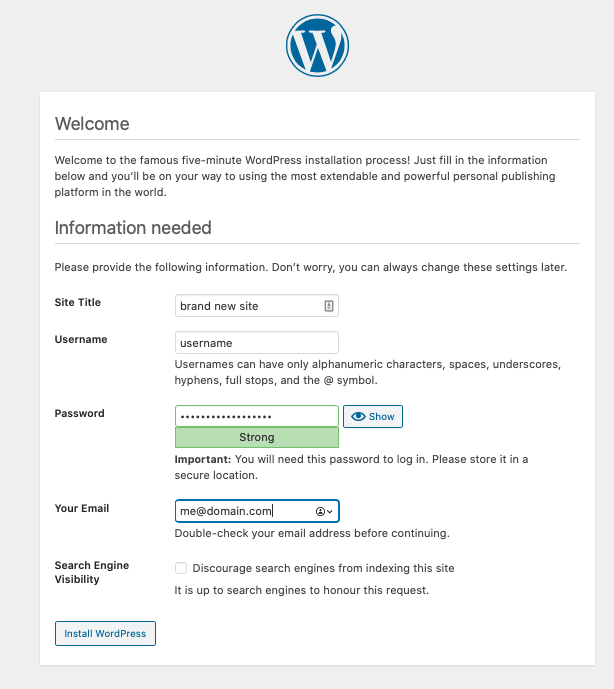
Once you fill out the form, you can log in and start using your brand new local WordPress site!
Cover image by Igor Miske


Top comments (0)