
Have you ever wondered how those Android apps you use on your smartphone are created? If you're curious about developing Android applications, you've come to the right place. In this article, we will guide you through the process of creating an APK file using Flutter in Android Studio. We'll break down the steps in a simple and easy-to-understand manner, so even if you're new to app development, you'll be able to follow along.
Contents
- What is an APK File?
- Setting Up Your Development Environment
- Creating a New Flutter Project
- Writing Your Flutter Code
- Building Your Flutter Project
- Understanding Gradle Files
- Configuring Your App
- Generating the APK File
- Testing Your APK
- Distributing Your App
How to Create an APK File in Flutter Android Studio
1. What is an APK File?
Before we dive into creating an APK file, let's understand what it actually is. An APK (Android Package) file is the format in which Android apps are packaged and distributed. It contains all the necessary files and resources needed for the app to run on an Android device.
2. Setting Up Your Development Environment
To start developing Android apps in Flutter, you need to set up your development environment. Here are the steps to get you started:
Install Android Studio: Android Studio is the official Integrated Development Environment (IDE) for Android app development. Download and install it from the official website.
Install Flutter: Flutter is an open-source UI software development toolkit created by Google. It's used for building natively compiled applications for mobile, web, and desktop from a single codebase. Follow the installation instructions on the Flutter website.
Install Dart: Dart is the programming language used by Flutter. You can download and install it from the Dart website.
3. Creating a New Flutter Project
Now that you have your development environment set up, it's time to create a new Flutter project. Follow these steps:
Open Android Studio.
Click on "Start a new Flutter project."
Follow the on-screen instructions to configure your project settings.
4. Writing Your Flutter Code
With your project set up, you can start writing your Flutter code. Flutter uses the Dart programming language, which is known for its simplicity and ease of use. You'll write the code that defines the functionality and user interface of your app.
5. Building Your Flutter Project
Once you've written your code, it's time to build your Flutter project. Building your project compiles your code and packages it into an APK file. To build your project, follow these steps:
Open a terminal window.
Navigate to your project's root directory.
Run the command flutter build apk.
6. Understanding Gradle Files
Gradle is a build automation tool used in Android app development. It plays a crucial role in the APK creation process. Make sure to configure your Gradle files properly to ensure a smooth APK generation process.
7. Configuring Your App
Before generating the APK, you should configure your app's settings. This includes specifying the app's name, icon, version, and permissions. These configurations are essential for a well-functioning app.
8. Generating the APK File
Now comes the exciting part – generating the APK file. This is the culmination of all your hard work. To generate the APK, follow these steps:
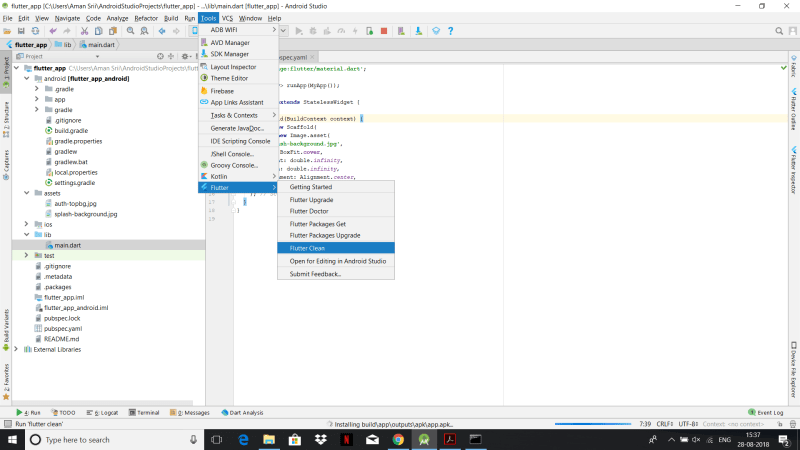
In Android Studio, click on "Build" in the top menu.
Select "Build Bundle(s) / APK(s)."
Click on "Build APK(s)."
9. Testing Your APK
Before you release your app to the public, it's essential to test it thoroughly. Make sure everything works as expected and that there are no bugs or issues. You can test your APK on an emulator or a physical Android device.
10. Distributing Your App
Congratulations! You've successfully created an APK file for your Flutter app. Now, it's time to distribute it to the world. There are various ways to do this, including uploading it to the Google Play Store, sharing it on your website, or distributing it through other app stores.
Conclusion
Creating an APK file for your Flutter Android Studio project might seem like a complex task, but with the right guidance, it becomes much more manageable. We hope this step-by-step guide has demystified the process for you and given you the confidence to start building your Android apps.


Top comments (0)