Metaweave.xyz is the digital square of the permaweb.
Users often ask us how to edit communities. In this tutorial we are going to show you how to create, claim a community and how to edit its banner and descritption.
Summary
- Community creation & claiming
- PST Locking
- Editing the community description
- Editing the community banner
1. Community creation & claiming
- Go on metaweave.xyz.
- Click on the search button or use the shortcut
alt-spaceto open up the search bar.
For the purpose of the tutorial, I decided to claim the community named
ArgoraTutorials

Here is how the ArgoraTutorials community looked like before I claimed it.

- Click on the
CLAIM COMMUNITYbutton

A message that indicates the community is being claimed will appear instead of the button.
ℹ️ The tree green circles is an indicator that the transaction is being validated by the miners

txid: F6EF1NjmizVut2CcyP1g5pU_uGob42eUrRIlW8YFTsE
Once the transaction is validated by the network the community appears in the "Lastest claimed communities" on the right panel of the Metaweave’s interface:
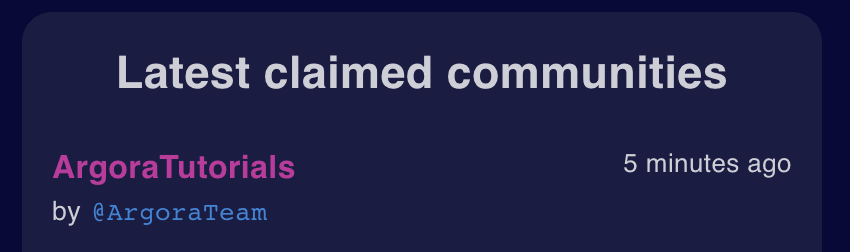
ℹ️ By default, a newly claimed community has no banner and description: ""

2. PST Locking
To manage your PSCs on Metaweave, you need to access community.xyz
- To access your community, click on its name on the top of the community page.


The creation of the PSC also mints 1000 PSTs (Profit Sharing Tokens). Those tokens will give voting power to their owners. Token are named AGT-$CommunityName:

To be able to submit votes we first need to lock our community tokens.
Just click the vault button:

Then click on “Lock tokens”:

Select the number of PST you want to lock with the duration of the lock in block number:

Clicking on the “Lock tokens” button makes the transaction. You are directly notified:

Once it's done you should see notifications as these


txid: ZG8O1fYwR-oOrBVcxw1pXucyQ4ZTz5SI-p6Ok3TGhjk
Activity tab now shows the 1000 locked PSTs:

ℹ️ Click the
Transfer tokensbutton to distribute your communties' PSTs to arweave wallets and share the voting power.

3. Editing the community descritption
Every modification you can make on community uses a vote.
So to edit the community description we're going to create a new vote:

- After that Click ⚙️ Set
- Select "Description" for the Key field
- Type your community description in the "value" field
- Once done click "Create vote"

Notification of the vote creation:

Notification that the vote transaction has been mined and validated by the network:

txid: SPeMwai9GmsKrzVDmtYzoPvh45szs8F6ga6Ii3KuAHk
The vote is now available and every account with voting power can vote "yes" or "no" to this new description;
Here is the transaction related to my vote for the community description:
txid: g3TOUmoseqDMeLfRg_r0gtWOf5SXv_5D92pZix2sw_o
We can now see that 100% of voters voted Yes for the new description:

we just need to wait for approximately 7 hours (200 blocks) to be able to finalize the vote:

Notification of the transaction related to the finalization of the vote:
txid: -WcHL6bUvKAqU7iywuoz2rNQn8Fs7wI-T05vPS0_zFg
Now that the vote is finalized the description appears just under the community banner:

4. Editing the community banner
Metaweave recommends 600*300 pixels picture resolution for community banners.
Firstable you need to upload the picture you want to use as a banner for your community on Arweave’s blockchain.
To do so I personally choose to use Ardrive.
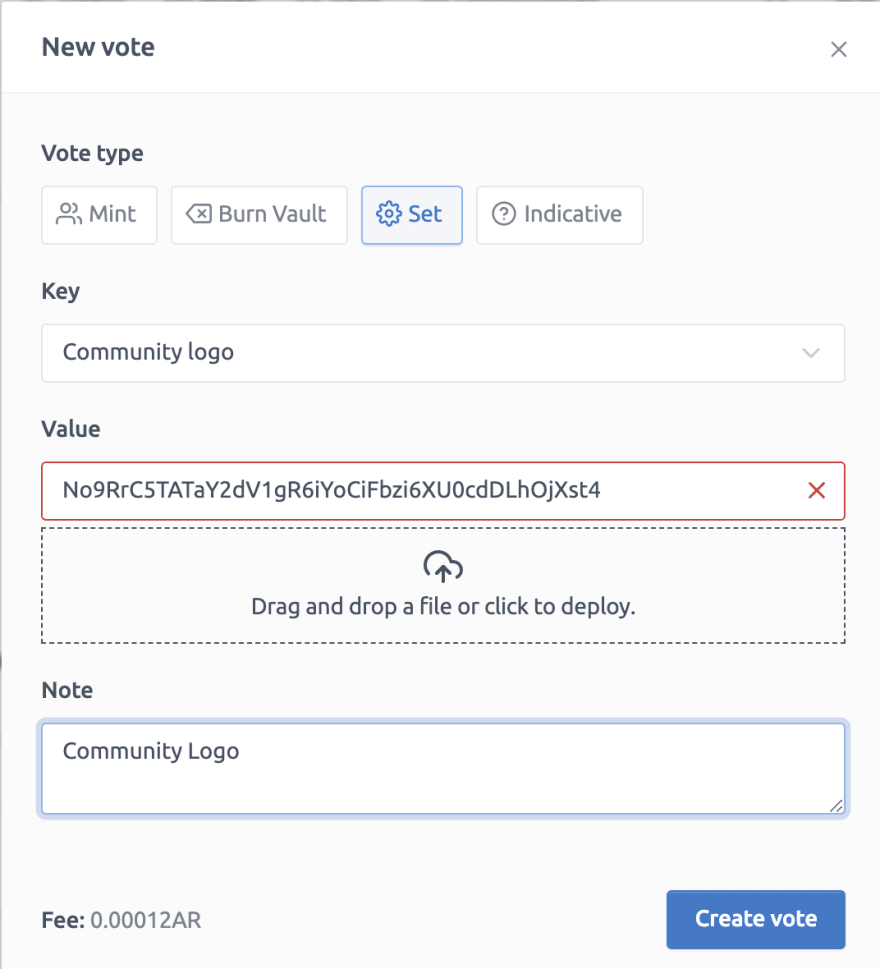
As for the description you need to create a new vote to edit the banner of the community page that will appear on Metaweave.
- Click ⚙️ Set
- Select “Community Logo” for the Key field
- Type your picture TxID in the “value” field
- Click “Create vote”
txid: JwTWvCKNwmoZufzRqjkQeLjUTsPB02Wnvzgs0vMjuhY
You will just need to follow the voting steps you followed for the description
The community page on Metaweave:

Thank you for following this tutorial I can't wait to see how you'll use it.
Stay tuned on Metaweave for more tutorials, news and post.

Top comments (0)