In this tutorial, we will guide you to set up the custom margins in Excel Office 365. Let’s step into this article!! Get an official version of ** MS Excel** from the following link: https://www.microsoft.com/en-in/microsoft-365/excel
What is Margin?
Margins are the empty spaces between the worksheet data and the left, right, top, and bottom edges of the printed page.
If the margin is too large then the contact might expand to extra pages. Likewise, the margin is too small means the final print result might not look great. So, before printing the worksheet, you need to set up the print margins to get the layout contents properly.
Steps to set up the custom margins in Excel:
You can easily set up the margins in Excel by following two methods.
Method 1:
- First, you need to select the “Page Layout“ tab from the “Ribbon“.

- Here, you can see the “Margins” option.
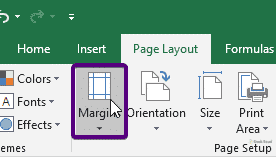
- You need to select the margins, it will expand the drop-down list as per the below image.

- From these options, you can select the margin as per your content or use the “Custom Margins” at the bottom to set up a new margin.
Method 2:
Now we are going to see how to adjust the print margins from the Print Preview.
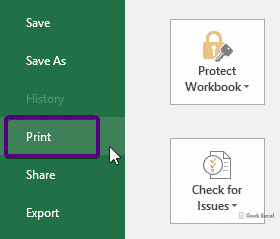
- First, you need to select the “File” option from the “Ribbon“.

- Here, you can see the “Print” option. Just click it to open the print window.
- In the print window, you can see the “Normal Margins” option under the settings.

- Click the option, it will expand the drop-down list as shown below. Then select any one of the 3 options to set the print margin.
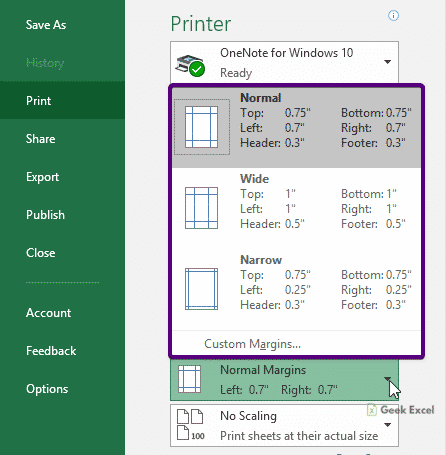
- Otherwise, you can use the “Custom Margins” option to adjust your own margin setup as per your wish.
Conclusion:
Here we have described the step-by-step procedure to set the custom margins in Excel. Hope you like this article. If you have any questions , feel free to share them with us. We will assist you. Thank you so much for visiting Geek Excel!!


Top comments (0)