
I recently moved the Actionhero tutorials from the Actionhero Docs site docs.actionherojs.com to the main Actionhero website www.actionherojs.com. We are switching Actionhero from Javascript to Typescript, and as such we’ve changed from using JSDoc to TypeDoc to generate our documentation site. Previously, we had a custom “theme” for JSdoc which included our Tutorials within the docs, but that was a bit of a hack. To me, there’s a distinction between tutorials and docs, and having both in the same place could lead to confusion. This was a great time to make the switch.
Why Separate Docs from Tutorials?
I think to have a well-documented project you need both of these components - Docs and Tutorials, but they aren’t consumed by the same audience in the same way.
- Tutorials/Guides - These are narrative descriptions of how you might use a feature. It walks through the steps linearly form A to B to C, and when you are done, you have a working thing. These are often geared towards new users to the product or tool.
- Docs - Docs are API reference guides, method signatures, and generally other hints to how to implement something technically once you understand how & why you might use it.
I often reference this wonderful guide by Divio talking about the different types of documentation: https://www.divio.com/blog/documentation/. You should read it if you aren’t familiar with the “Cooking” metaphor for documentation.
Markdown in your HTML
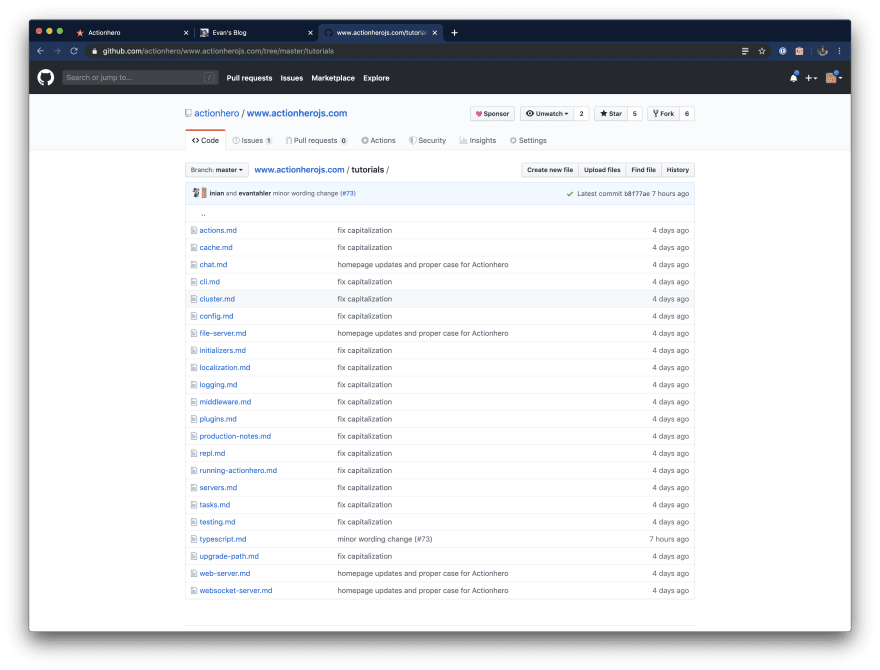
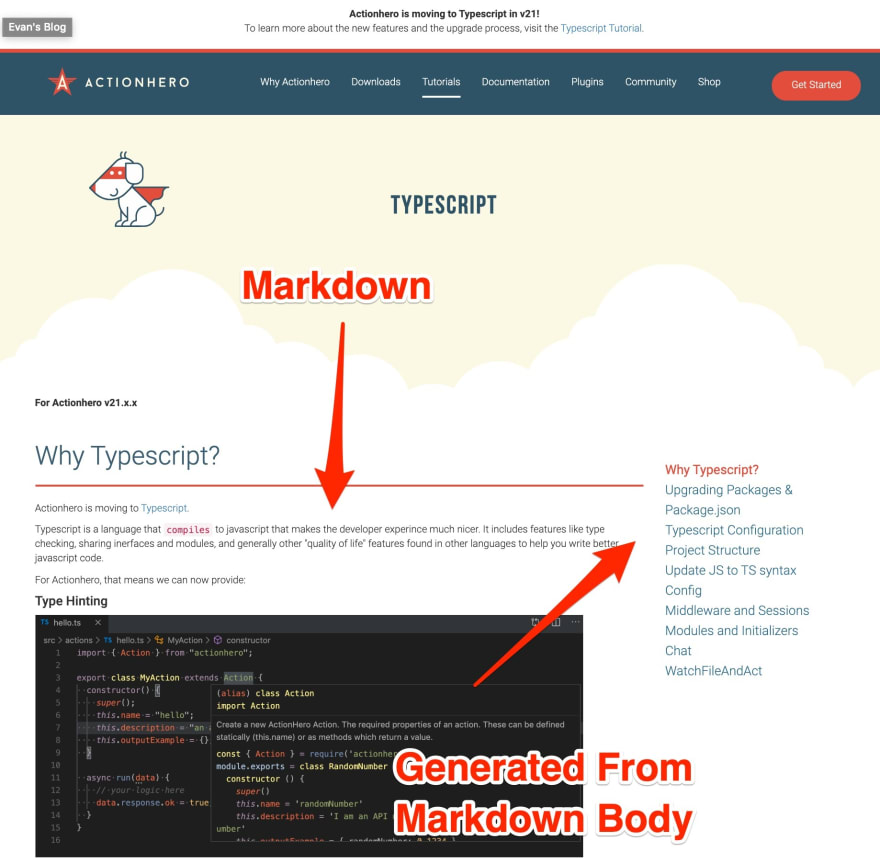
It was very pleasant to write Actionhero’s tutorials in Markdown. It makes focusing on the content rather than the style very simple, while abstracting away all the DIVs and TAGs of HTML. It also makes it easy to Diff changes when updating the site (i.e. when looking at a Pull Request). With the goal of keeping this part of the site in Markdown, we needed to find a way to render it React.
The React Markdown package is wonderful at this step. You can load in a Markdown file and React Markdown with generate the HTML.
A few tips:
- We use Next.js. The way that Next.js handles hydration of pages from the server to the client wants to pass DATA and not HTML. This means that if were to render the markdown content on the server when doing a hot-reload of the page (i.e. navigation form another page to this page), the markdown HTML would not properly render. That’s why we parse the markdown at the
componentDidMountstage of the lifecycle. This may have adverse effects on the SEO of those pages. - You can load the markdown file into your app as a Prop derived via
getInitialProps! This means that the markdown content will be passed down from the server on initial page load.
export default class ToutorialPage extends Component<Props, State> {
  static async getInitialProps(ctx) {
    const name = ctx.query.name;
    const markdown = await require(`./../../tutorials/${name}.md`);
    return {
      markdown: markdown.default,
      name
    };
  }

  render () {
      return (
      <ReactMarkdown
        source={this.props.markdown}
        escapeHtml={false}
        renderers={{}}
      />
    )
  }
}
Hooking into Rendering to modify State
In the example above you can see that react-markdown lets us provide special renderers for each HTML element. 2 things that were important to this project were rendering code properly, and adding sub-navigation to each page.
Adding code was easy, as we already had a component for rendering code based on react-syntax-highlighter.
import { Component } from "react";
import SyntaxHighlighter from "react-syntax-highlighter";
import { docco } from "react-syntax-highlighter/dist/cjs/styles/hljs";

interface Props {
  language?: string;
  showLineNumbers?: boolean;
  value?: string;
}

export default class extends Component<Props> {
  render() {
    const language = this.props.language || "typescript";
    const showLineNumbers = this.props.showLineNumbers || false;

    return (
      <SyntaxHighlighter
        language={language}
        style={docco}
        showLineNumbers={showLineNumbers}
      >
        {this.props.value ? this.props.value : this.props.children}
      </SyntaxHighlighter>
    );
  }
}
We just pass that component into our example above:
import Code from "./../../components/code";

export default class ToutorialPage extends Component<Props, State> {
  static async getInitialProps(ctx) {
    const name = ctx.query.name;
    const markdown = await require(`./../../tutorials/${name}.md`);
    return {
      markdown: markdown.default,
      name
    };
  }

  render () {
      return (
      <ReactMarkdown
        source={this.props.markdown}
        escapeHtml={false}
        renderers={{
          code: Code // <-- HERE
        }}
      />
    )
  }
}
Adding navigation was a bit tricker. We accomplished this by creating a custom renderer for Headers that also built up a list of all the section headers into the page’s state with this new parseHeading method:
parseHeading({ children }) {
    const { sectionHeadings } = this.state;

    return (
      <div>
        {children.map(child => {
          const stringValue = child.props.value;
          if (sectionHeadings.indexOf(stringValue) < 0) {
            sectionHeadings.push(stringValue); // <-- Build our list of headings
            this.setState({ sectionHeadings });
          }

          const style = Theme.typeography.h2;

          return (
              <div>
                <br />
                <h2 id={stringValue} style={style}>
                  <span style={{ fontWeight: 300, fontSize: 36 }}>{child}</span>
                </h2>
                <RedLine />
              </div>
          );
        })}
      </div>
    );
  }
this.state.sectionHeadings is built in our render as we parse the headers. We then have this available to the rest of the page to draw our side navigation!
Notes:
- Since we are changing
statewithin the render method, it’s easy to get into an infinite loop. That’s why we need to only modify the list of headers (sectionHeadings) if the header isn’t present. - Since we have access to the header’s render method now, we add more style! Here we are adding our custom
RedLinecomponent to draw a line under the header of each section

- In the final version of the page’s source (which you can see here https://github.com/actionhero/www.actionherojs.com/blob/master/pages/tutorials/%5Bname%5D.tsx) you can see that we do even more in the header’s render message, link changing colors if the section is in view, highlighting things, etc. It’s very powerful!
You can read more about Actionhero’s move to Typescript in the new Typescript Tutorial here -> https://www.actionherojs.com/tutorials/typescript (yes, it’s written in markdown)!

Oldest comments (0)