
I'm really glad to introduce Dokoo. A headless CMS that we built and use in our every day life as e-commerce merchants.
We couldn't find any headless CMS with built-in functionalities that we needed for e-commerce like bulk update on entities.
We also use a new way of exporting the data using a feed builder. Think of it like a reversed GraphQL API where you choose which field to export in which feed.
Working with Dokoo has been a real breathe in our organisation and we hope that you will find some value in it for your usecases.
What is Dokoo?
Dokoo is a headless CMS.
How it works
Data Model
The goal of Dokoo is to administrate data on one or multiple objects named entities. Entities belong to a certain type of object named Custom Types. Each Custom Type uses multiple Attributes to define an entity.
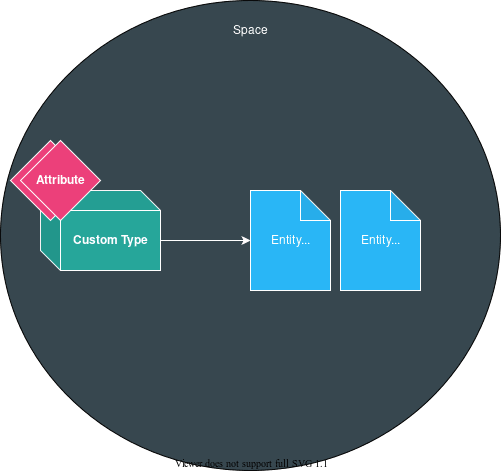
🎯 If you are creating a Blog with Dokoo, you will create a custom type Article, that would have the attributes title, content. You would then create a new entity of type Article to write a new article.
Administrating Data
Dokoo provides an easy to use User Interface to allow content editors to create and update entities.
After custom types and attributes have been defined, content editors can create entities and issue commits over them. Commits are a single unit of data update. It means that even if you update 100 entities at the same time, the action of doing it is represented by a single commit.
Every commit is non destructive. It means that the updated data is never erased.
Exporting Data
Dokoo allows you to configure feeds, that will expose your data to the outside world the way you want it. Think of it like a reverse GraphQL API. It's not the client who choses the field, it's the content administrator that choses which field to expose to who.
Example
Space Creation
After logging in to the Dokoo user interface, we can create a space clicking on "Create a new Space" and providing a new space name.
Once the space has been created, we get on the space dashboard

This page is a recap of all the important informations that define your space. As you can see, at the moment, we have 0 Custom Type.
Custom Type Creation
Let's go ahead and create one by clicking the "+ Create" button:

For this example, we will name our Custom Type Blog Articles.
We'll be creating a custom type using the Basics template. This template automatically creates two attributes: Title and Image.
Entity Creation
After confirming the custom type creation, we get on the custom type recap:

We click on "+ Create" to create a new entity. This will get us on the entity editor page:
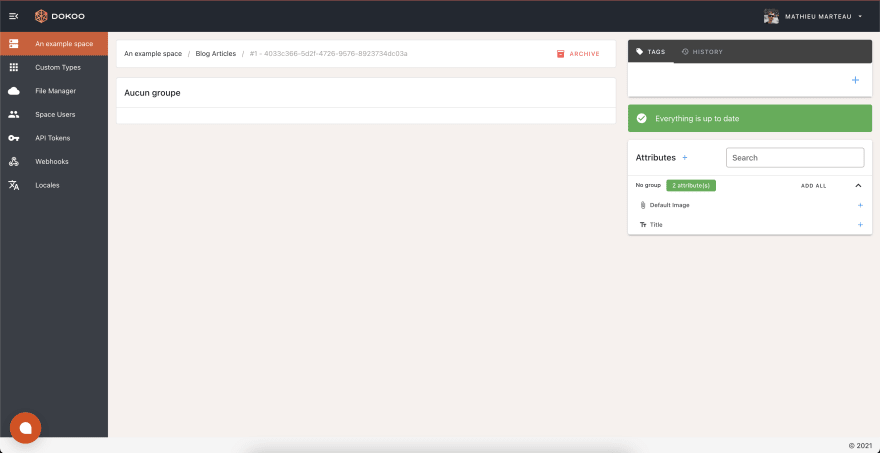
On the right, we have a list of available attributes for this type. We can attach one attribute to our entity or add them all by clicking on "Add All". This will add the appropriate inputs on the Entity Editor:
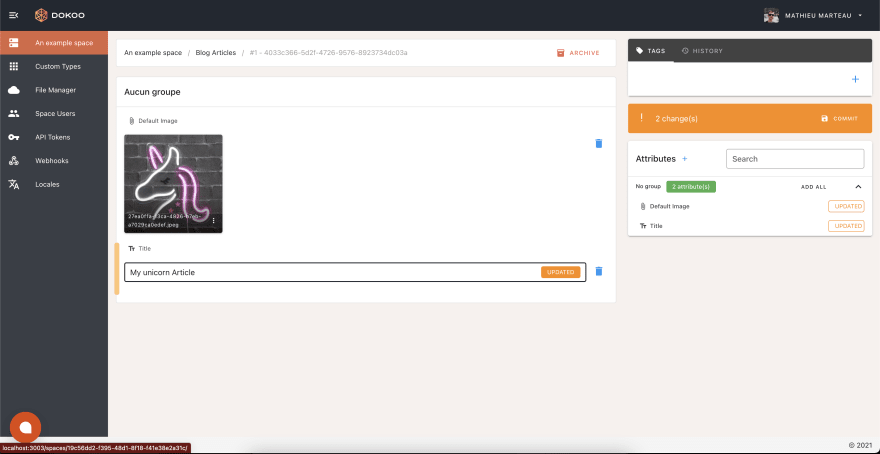
We just have to click on "COMMIT" on the right to save our changes.
Exporting Data
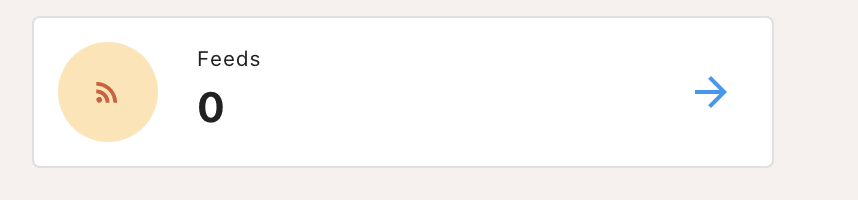
To export data, we have to go back to the main page of our Blog Articles custom type and click on the Feeds icon:
We can create one or multiple feeds for a specific custom type. Let's go ahead and create one by clicking on "Create Feed":

After creating "My main export" feed, we get on the feed editor page:
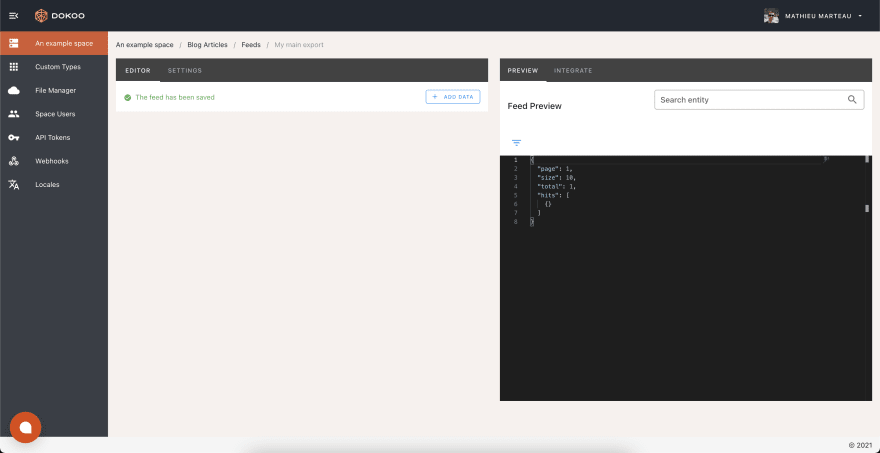
On the left, you'll find the feed editor. On the right, you'll find a preview of your feed and instructions to integrate your feed.
To add data to your feed, we click on "Add Data". A popover asks us if we would like to choose between a native field or an attribute field:
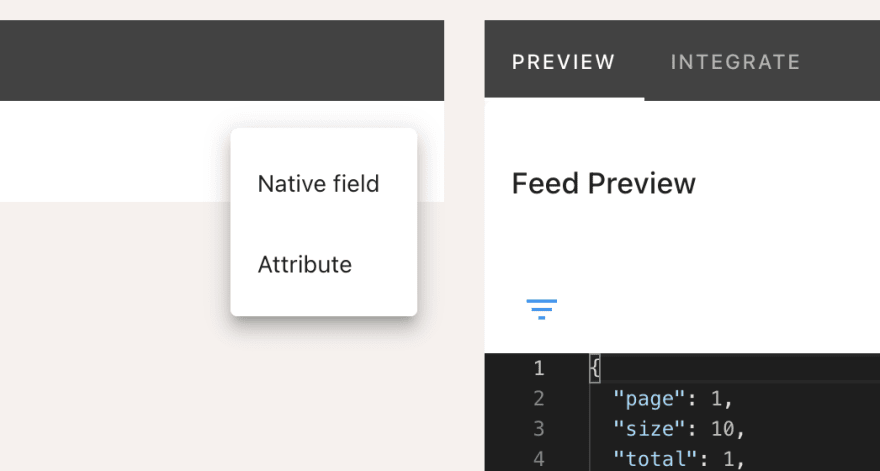
A native field is either the ID of an entity, its custom type id or the incremental ID of the entity. An attribute field is the value of attributes defined on the entity editor.
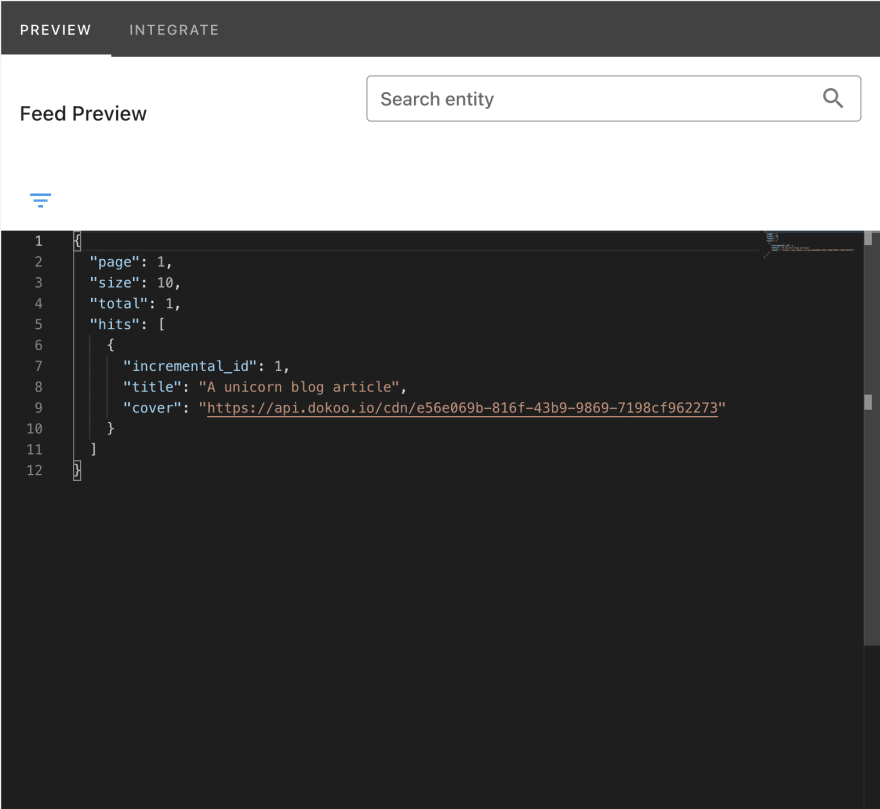
Let's go ahead and add the incremental_id and the title attribute:

After adding the feed fields, the preview shows our beautiful feed, ready to be consumed by other services on the internet:
Some details if you're interested
The application you are seing has been built with NuxtJS and Vuetify. So we thank them a lot for their work that allowed us to create this.
Hit me a message in the comments if you tried it or want to try it. This is the first time we post about it on the internet!
Give it a try at https://app.dokoo.io
I also wrote two articles if you want to discover how to use it with real use cases:

Top comments (0)