Setting up Strapi
Open up a terminal and type
npx create-strapi-app backend --quickstart
this will create all the strapi files in the backend folder and run strapi instance on http://localhost:1337
If you want to run Strapi again after terminating the process, you can do it from the backend folder by typing
npm run develop
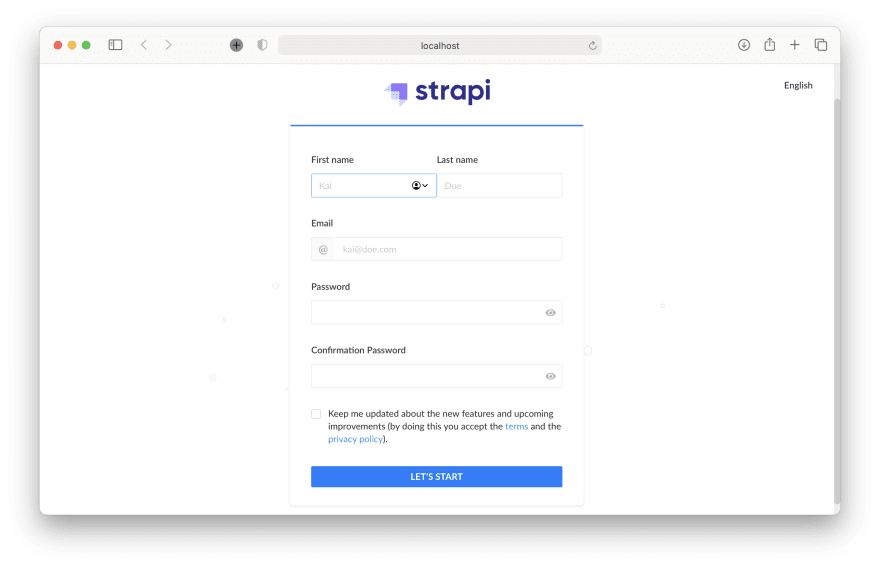
Now you have to create your first Strapi admin user, go to http://localhost:1337 and press Create the first administrator and fill the form.
You will see the main dashboard, let's create a Content-Type for our blog articles,

- Press
Create your first content-typebutton. - In the Display name enter article
- Select Text field, fill the name field with title
- On the advanced tab check required and unique
- Press Add Another Field, select Rich Text, and call it content
- Press Add Another Field, select Text, and call it author
- Press Finish and then Save
We also want to have a way to tag the posts with tag, so let's create a content-type for that.
- In Content-Types Builder tab under Plugins press Create new collection type
- In the Display name enter tag
- Select Text field, fill the name field with name
- On the advanced tab check required and unique
- Press Finish and then Save
We will also create a relation to link tags with articles.
- In Content-Types Builder tab press Article collection and click Add another field
- Select Relation
- On the right side select box chose tag
- In the middle press the second button from the right to set the relation type to Many to Many
- Press Finish and then Save
Now let's add some content.
Under the Collection Types section select tags and create and publish few examples.
Do the same for articles and assign tags to them.
Final thing we have to do in strapi is assign permissons so the articles are visible to anyone.
- Under General select Settings
- Under Users & Permissions Plugin select Roles
- Click Public
- In Permissions section find article and select find and findone checkboxes
- Do the same for tag
- Press Save
You should see articles and tags under http://localhost:1337/articles and http://localhost:1337/tags
We are done with Strapi set up.
Setting up Eleventy
Now let's set up eleventy, as a starting point let's use a simple 11ty + markdown blog we created in this guide
In the main project directory create a new folder called frontend
Clone the starting blog repository, and install required packages.
cd frontend
git clone https://github.com/druidmaciek/11ty-tailwind-alpine-blog .
npm i
Now install Axios so we can make requests to strapi api
npm install axios
Create a new folder called _data and inside create articles.js and tags.js files
mkdir _data
touch _data/article.js
touch _data/tags.js
article.js
const { default: axios } = require('axios');

module.exports = async () => {
  try {
    const res = await axios.get('http://localhost:1337/articles');
    return res.data;
  } catch (error) {
    console.error(error);
  }
};
tags.js
const { default: axios } = require('axios');

module.exports = async () => {
  try {
    const res = await axios.get('http://localhost:1337/tags');
    return res.data;
  } catch (error) {
    console.error(error);
  }
};
Now delete blog folder, and edit the index.liquid
---
title: "My Blog"
layout: layouts/main
pagination:
  data: articles
  size: 100
  alias: articles
---

{% include components/hero, hero_title: "Blog", hero_subtitle: "Read my articles", hero_img:
"https://images.unsplash.com/photo-1628607292260-9195108b03b7?ixlib=rb-1.2.1&ixid=MnwxMjA3fDB8MHxwaG90by1wYWdlfHx8fGVufDB8fHx8&auto=format&fit=crop&w=1502&q=80"
%}
<div class="mt-6 grid grid-cols-1 md:grid-cols-2 gap-4 ">
    {%- for article in articles -%}
    <a href="/articles/{{ article.id }}/" class="p-4 border rounded shadow hover:bg-gray-100">
        <h3 class="text-lg font-bold">{{ article.title }}</h3>
    </a>
    {%- endfor -%}
</div>
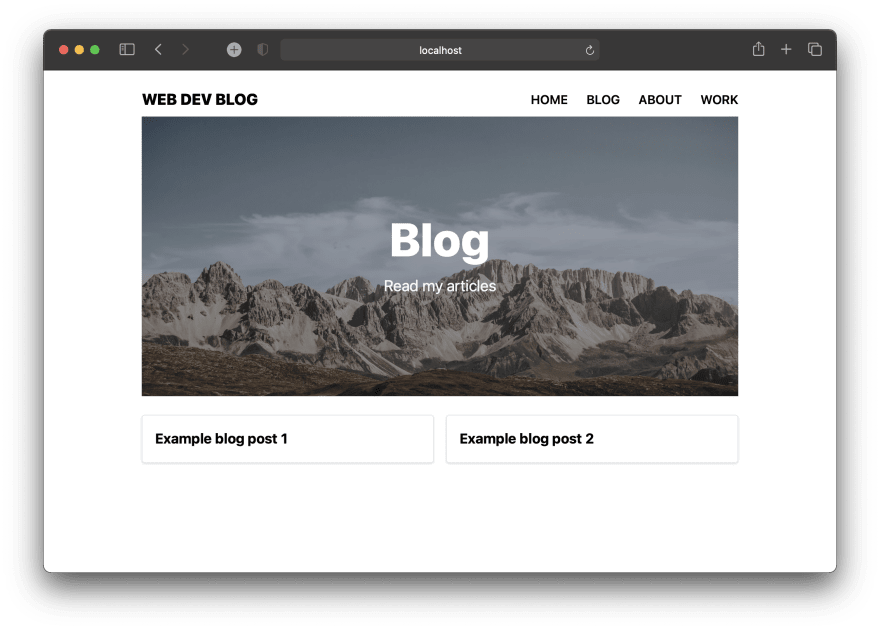
Now run your eleventy site, and visit localhost:8080 to see if our blog posts from Strapi appeared
Now let's work on indivdual article page.
Create a article.liquid file.
--------
title: Article
layout: layouts/blog
pagination:
  data: articles
  size: 1
  alias: article
permalink: 'articles/{{ article.id }}/'
--------
then edit _includes/layouts/blog
--------
layout: layouts/main
--------

{% include components/hero, hero_title: article.title, hero_subtitle: '', hero_img:
"https://images.unsplash.com/photo-1628366757132-6c49770ec9d7?ixlib=rb-1.2.1&ixid=MnwxMjA3fDB8MHxwaG90by1wYWdlfHx8fGVufDB8fHx8&auto=format&fit=crop&w=1500&q=80"
%}

<div class="mt-4">
    {% for tag in article.tags %}
    <span class="inline-flex items-center px-2.5 py-0.5 rounded-full text-xs font-medium bg-gray-100 text-gray-800">
        {{ tag.name }}
    </span>
    {% endfor %}
</div>


<div class="mt-6 md:mt-12">
    {{ article.content | safe }}
</div>
Now go to localhost:8080/articles/1/, you should see your content.

As you can see it's super easy to set up headless CMS with 11ty using Strapi.
Next steps
Next thing to do is deploy our site, since Strapi is self hosted backend service we will need to deploy it. You can deploy it for free on Heroku, by following this steps.
To deploy our front-end we can deploy it on service such as Netlify.
Here is a link to GitHub repo of the finished project.
If you liked this guide, follow me on twitter, to stay up to date with my latest content.

Oldest comments (0)