This is an article on how to setup jest in react-native with support for vscode.
The base setup of react-native
npx react-native init unittest
Installing the additional dependencies
yarn add --dev @testing-library/react-native @testing-library/jest-native
Extend your jest config in package.json,
{
  "preset": "react-native",
  "setupFilesAfterEnv": ["@testing-library/jest-native/extend-expect"]
}
You're ready to write unit test cases for react-native, let's setup your vscode.
Intellisense is important for code completion, create a jsconfig.json file in your project root directory.
Add the following contents in it.
{
    "typeAcquisition": {
        "include": [
            "jest"
        ]
    }
}
Install types to support autocompletion.
yarn add @types/jest
Lets add a plugin to vscode, which makes testing easier, Jest Test Explorer
Let's write some test cases.
Create a folder structure as below,
A Sample React Native component, Banner.js
import React from 'react';
import {View, Text} from 'react-native'

const Banner = () => {
  return (
    <View>
      <Text>Banner</Text>
    </View>
  )
}

export default Banner;
A Sample test file for the component, Banner.test.js
import React from 'react'
import { render } from '@testing-library/react-native';

import Banner from './Banner'

describe('Banner', () => {
  it('renders correctly', () => {
    const { getByText } = render(<Banner />)
    const textField = getByText('Banner')
    expect(textField).toBeDefined()
  });
})
After adding the file, you can see three options in your file, This provides us the ability to validate a single test case without having to write special commands, debug them.
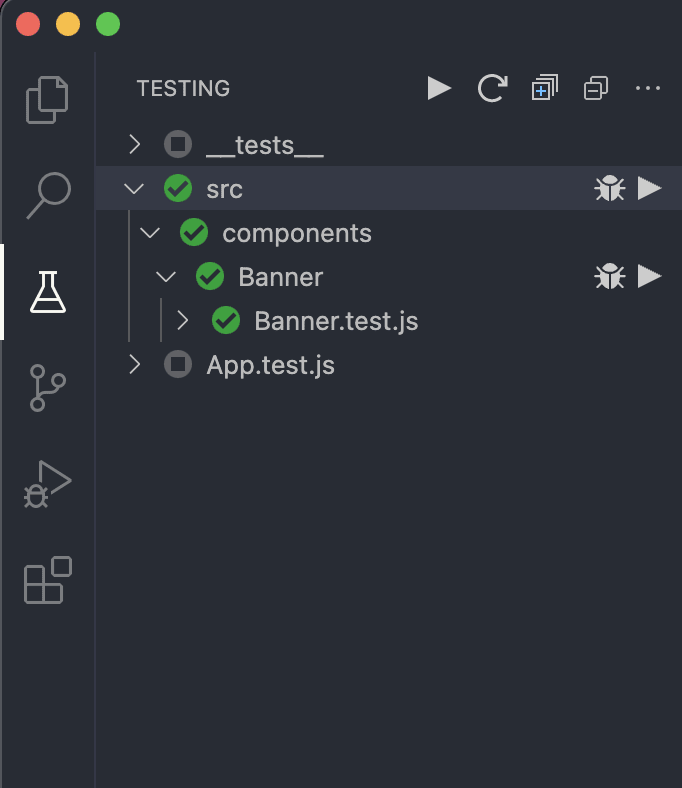
It also gives us a look at the tree structure of all the test cases in your project and run them as a whole.

So its a wrap, Hope you find this useful and effective to work with.
Talk to me on twitter droidmakk


Top comments (0)