
This article is designed to serve as a guide to setting up a webapp service in Azure using the Command Line Interface (CLI). It will also demonstrate how to scale-up and scale-out in Azure webapp environment
Tools required
- Install Azure CLI
- GitHub Account
- Install Git Bash
Below are the steps:
STEP 1 LOG INTO AZURE USING CLI
Open Windows PowerShell on your desktop, wait for the shell prompt to display.
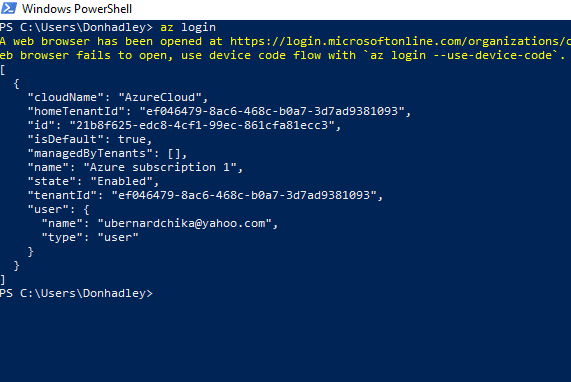
- Type the command
az loginand hit enter.

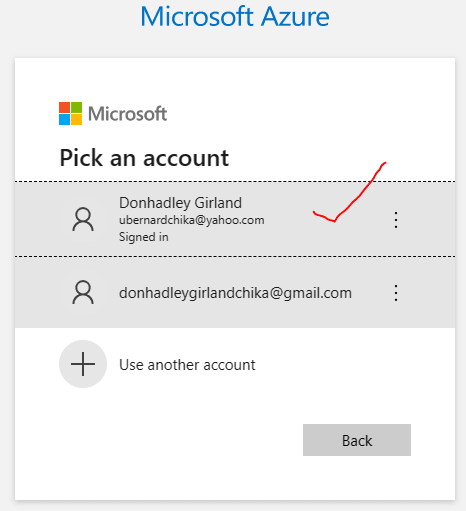
This will take you to a browser tab for you to choose the Azure account you wish to sign into. Select and click appropriately.
- Go back to the PowerShell, you will discover a login notification with your Azure account details.
STEP 2 CREATE A RESOURCE GROUP
- Use this command
az group create --name **group name** --location **region**to create a resource group that will house your applications.
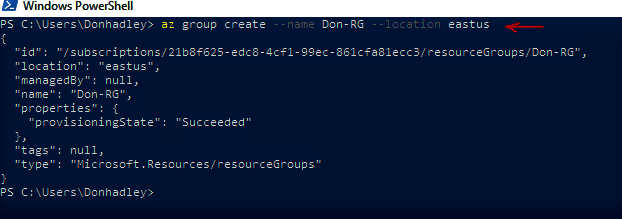
From the above image, you can clearly see that the resource group has been successfully created.
STEP 3 CREATE THE APP SERVICE PLAN
- To do the, you type the following command and hit enter.
az appservice plan create --name **plan name** --resource-group **resource group name**

STEP 4 CREATE THE WEBAPP
- Type the command
az webapp create --name **name of your webapp** --resource-group **resource group name** --plan **plan name**hit enter. This command will create the webapp on your A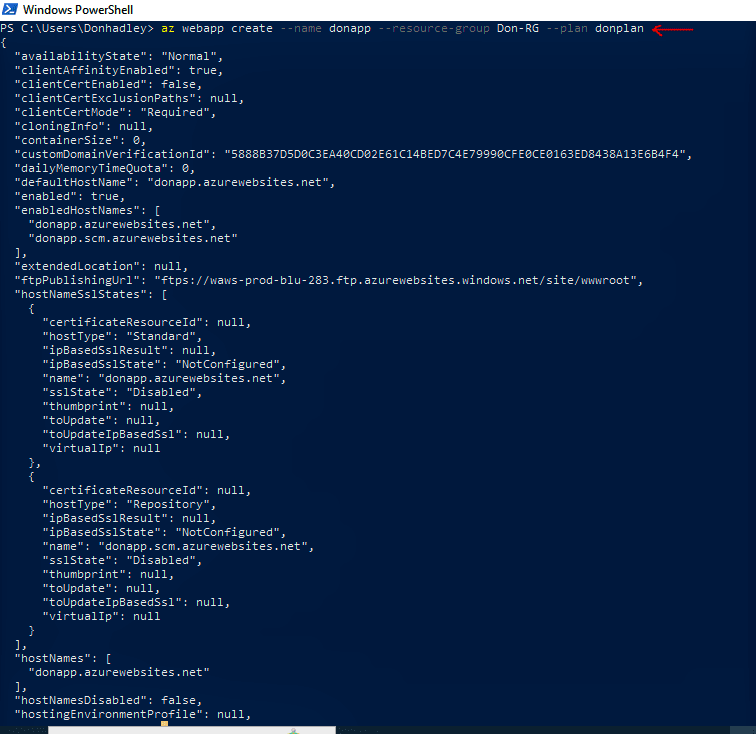 zure portal.
STEP 5 DEPLOYING YOUR WEB APPLICATION
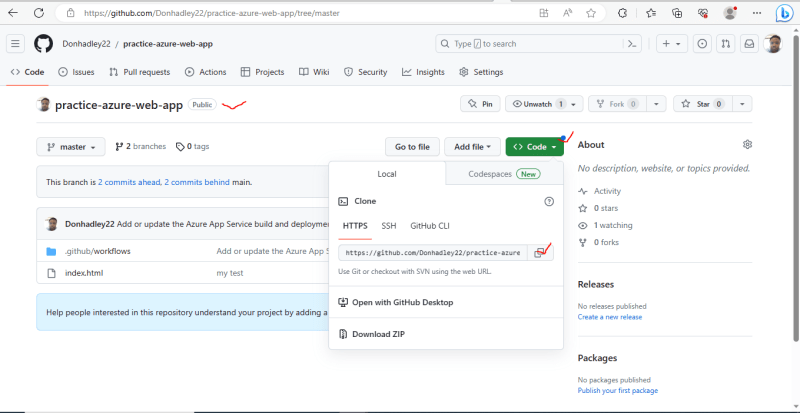
Go to your GitHub account and click on the repository that contains your website files (HTML, CSS and JavaScript).
Click on Code button and copy the URL on display.
- Go back to the PowerShell and type the following command
az webapp deployment source config --name **webapp name** --resource-group **resource group name** --repo-url **the url you copied from GitHub** --branch **branch of the repo** --manual-integration

The above command will commence the deploying of your web application.
- Go to the Azure portal and view the App Service plan and Web app application.
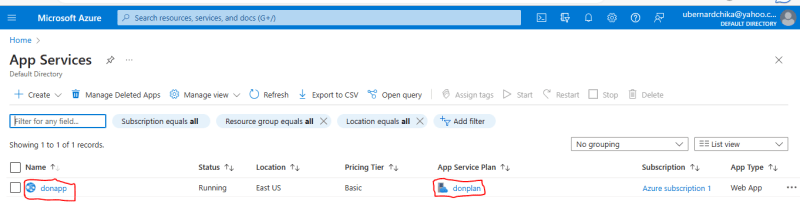
- Click on the web application icon, to view the overview page.

In the overview page, you can see Default domain, which is the URL of your website. You can copy it and share it to be used to access your website.
You can also see the App service plan, the repository link from GitHub, which is the source of your website content.
You also click on the Deployment center in the left side of the Overview page, under Deployment to view the deployment information.


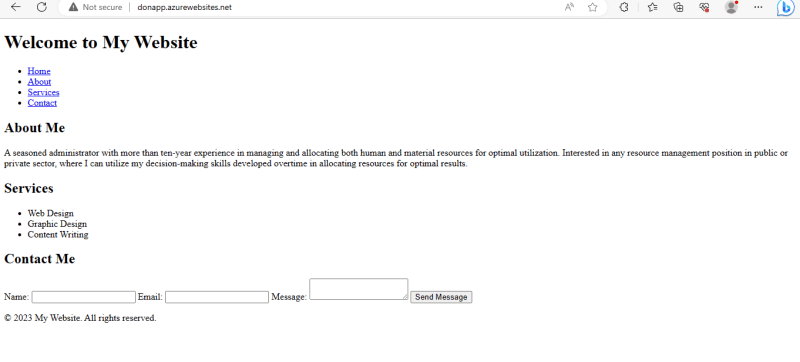
You can also view your website using the Default domain. Copy it and paste it into your browser.
SCALING UP AND SCALING OUT
In most cases, after deployment of your web application, you will need to **scale up **before going into production in order to ensure that your application has the required capacity to be highly available and fault tolerant.
On the other hand, if your application is likely to attract very high traffic, it becomes technically imperative that it most have the ability to scale out as the need arise.
Scale up
Scale-up is done by adding more resources to an existing system to reach a desired state of performance. This involves adding more RAM and storage to an existing machine.
In Azure web application services, we can achieve this by
- Going to the App service plan click on your plan to open the overview page, then click on Scale up (App service plan) by the left side under Settings select your desired capacity from Production packages. Then click on the Select button.

This will take you to the page below.
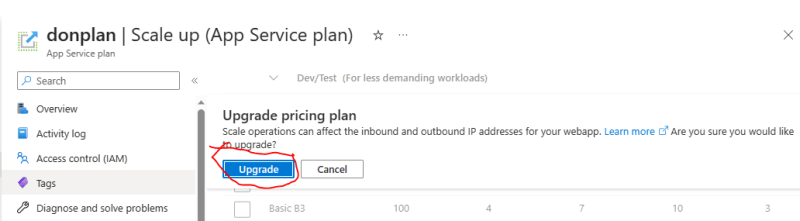
Click Upgrade to upgrade to your chosen capacity.
Scale out
Scaling out, which is also known as horizontal scaling means to add more resources like servers to your system to spread out the workload across machines, which in turn increases performance and storage capacity.
In Azure App Services, we can do this through our App service plan by going to the Overview page.
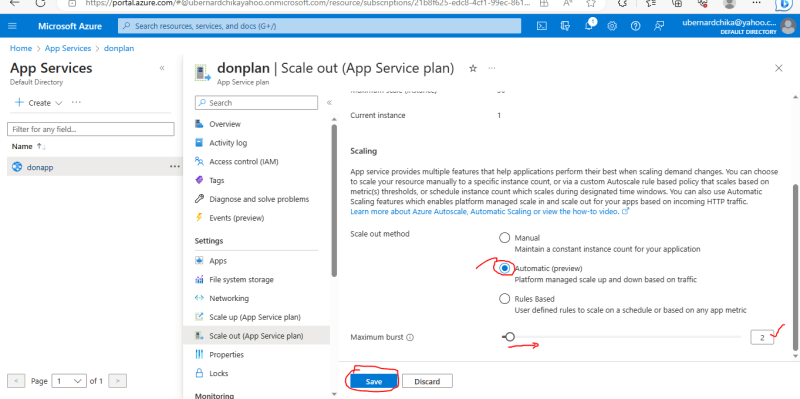
Click on Scale out (App service plan)
Select Manual, Automatic or Rule based
If it is automatic, you select the Maximum burst by dragging the ball-shaped selector, till you get your desired
maximum.
- Click Save to effect your changes.
With these steps, we have been able to deploy our web application and scaled it to the desired capacity for optimal performance.

Top comments (0)