
STEP 1: SIGN INTO YOUR AZURE ACCOUNT
- Open Windows PowerShell
Wait for the Shell Prompt to display, then enter the following command:
az login

This command will open a new tab in your browser, displaying email addresses to sign into your Azure account, select accordingly and click.

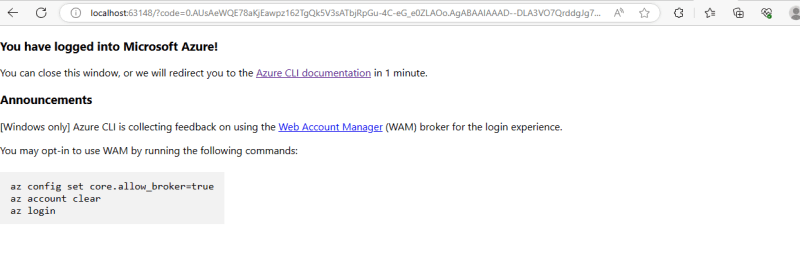
This message will display on the browser tab.
At the same instance, the PowerShell will display your Azure account details, indicating you have signed into your account and ready to provision resources.

STEP 2: CREATE THE RESOURCE GROUP
Type the following command in your PowerShell:
az group create --name **Group Name** --location eastus
for this very project, below is the exact command.
az group create --name Don-RG --location eastus
With this, you can go to your Azure account portal to view the created resource group.

STEP 3: CREATE THE VIRTUAL MACHINE
- Go to the Windows PowerShell and type this command:
az vm create --name **vm name** --resource-group **resource group name** --image **image name** --admin-username **username** --generate-ssh-keyshit enter.

- Go to the Azure portal to view the resource you created.

- Click on the VM to view the Overview page.

Here you can see the IP address, Operating system, Resource group, Virtual network/subnet and other details of the Virtual machine you created.

Top comments (0)