This post is intended for iOS 14.0+ versions as I'm using PageTabViewStyle for creating this onboarding view.
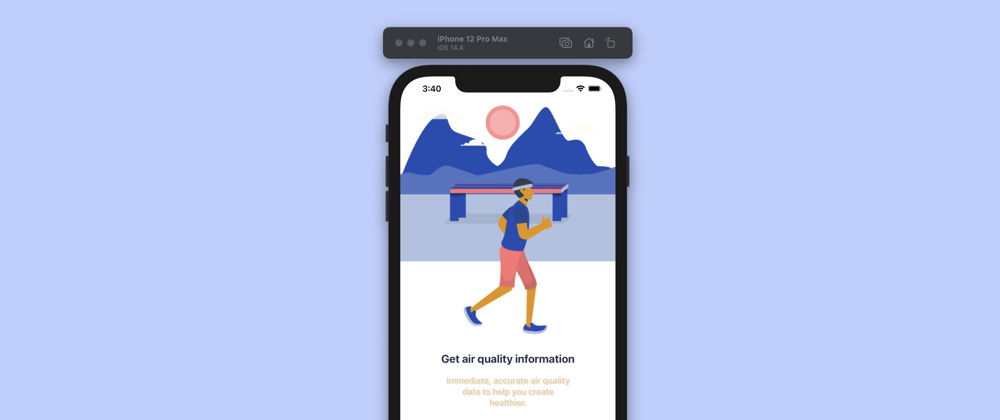
What we will create
Creating project
- Open Xcode.
- Choose an
Apptemplate for your new project.
- Create project name and make sure that you have selected
SwiftUIinterface and life cycle.
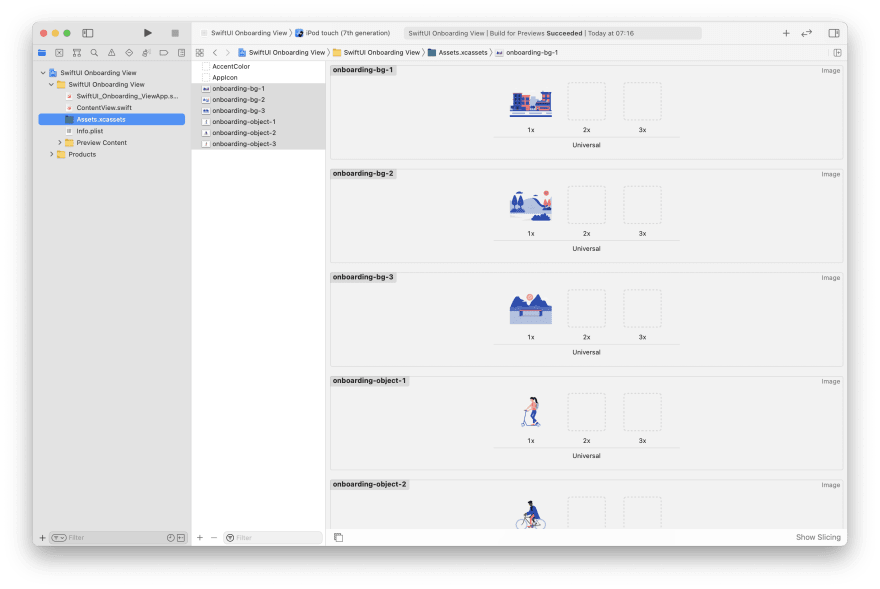
Project assets
To follow along you can download project assets from GitHub.
Or even better find your own images for your onboarding view.
Take downloaded assets and move them into Xcode project Assets folder.
TabView
Now let's implement the TabView structure in our ContentView.swift file that will be used for this project.
- Create a
Stateproperty wrapper that will track whichTabis currently active. - Add
TabViewwith sample views currently that will be later replaced with onboarding views. - Set
.tagidentifiers for each view soSwiftUIcan differentiate our views.Tagvalues basically can be any type that conforms toHashableprotocol. By default these areString,integers,floating-point, andBooleanvalues. In our case we are just usingIntvalues.
If we compile and run our app we now have the following:
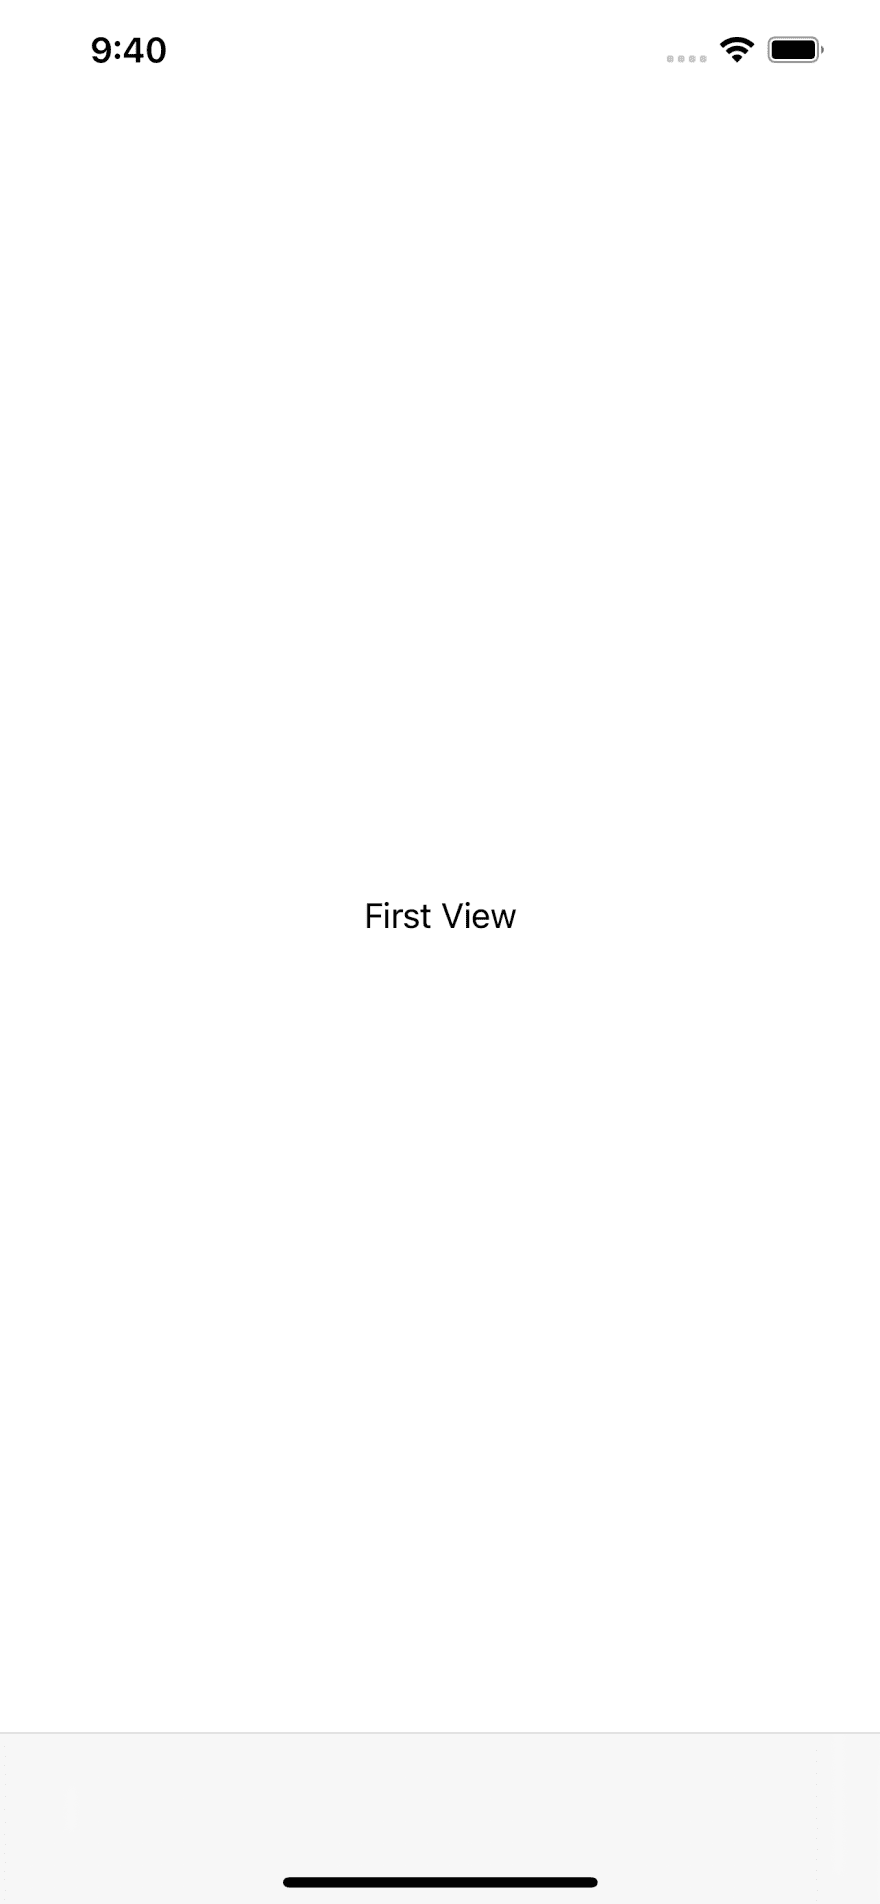
And it doesn't do much. We can't use swipe to change the screen and actually in the bottom you can see that there is empty TabView appeared that you can tap and views will be changed, but this is not what we want to achieve.
Add to TabView following modifier:
.tabViewStyle(PageTabViewStyle())
And if you run your app again you will see that the TabView is disappeared from the bottom, but now you can use swipe control to switch between views. Looks good but we need one more modifier.
.indexViewStyle(PageIndexViewStyle(backgroundDisplayMode: .always))
This modifier adds to the bottom of our view a paging dots that shows visually on which page you currently are.

Basically you have implemented the main part of the onboarding view experience. Now you can create your own SwiftUI views add it to TabView and don't forget to assign it's .tag attribute.
If you want you can follow to read and see my implementation of onboarding view or use this TabView structure and create your own.
Onboarding Views
For the tutorial we will have 3 onboarding views that have the same structure and style, just different images and text. So we will create re-usable OnboardingView component to which we will pass OnboardingData model that contains view images and text.
Let's start with OnboardingData struct.
- Create new
Swift File. - Call it
OnboardingData.swift. - Create struct.
- And also for the tutorial lets add all our sample data in our
OnboardingDatastruct itself. - Additionally we will make this structer to conform
Hashable, andIdentifiableprotocol so we can later use in ourContentViewto iterate throughForEach.
Doing so we will be able to easily iterate through OnboardingData list and pass data to our onboarding views, and also we will use this four our SwiftUI preview debugging.
Now when we have created OnboardingData model we can start creating our OnboardingView.
- Create new
SwiftUI View. - Call it
OnboardingView.swift. - Create an
OnboardingDataproperty. - Pass to our preview data to fix the error and allow to see in our assistant window dummy data so we can see and create
UI.
And then create an UI. Nothing fancy here just two Image views that are positioned on top of another, two Text views, and a Button.
Looks good but lets add a small animation to make it live.
- Add
@Stateproperty wrapper for holding animation state.
@State private var isAnimating: Bool = false
- Add scale effect modifier to second image.
.scaleEffect(isAnimating ? 1 : 0.9)
- Trigger animation when
Viewwill appear. So every time when the user will swipe onboarding view we will get a small scale animation. See the finishedOnboardingView.swiftcode.
And the last thing is update our ContentView.swift file so we can see our Onboarding views.
And that's all we have created a nice looking onboarding view.
Final thoughts
If you wonder why I'm resetting isAnimating state property wrapper on view appearing every time as it already is declared as false, then I did this because I received unexpected behaviour that the animation wasn't triggered smoothly every time I swiped the view. So I did this workaround and it works well. If you have any ideas why is that happening, let me know.
And please leave your critique, comments for this post as it's my first post ever made! I would really appreciate that!
Thank you!


Top comments (0)