Introduction
I am very new to SwiftUI and XCode and only a regular Mac user for 1,5 years. I mostly develop Java server software (and do so for over 12 years now) and somewhat develop for the web.
I used to do some development using WinForms and WPF, too.
Why is this relevant?
What surprises me, might not surprise seasoned developers of Apple software. Also bear in mind, that in SwiftUI I am a newbie and therefore whatever worked for me, might not work for you.
For reference: I am using XCode 14.3 and targeting MacOS 13, the rest is very much left at default.
The problem: how to i18n a tiny and simple SwiftUI application easily?
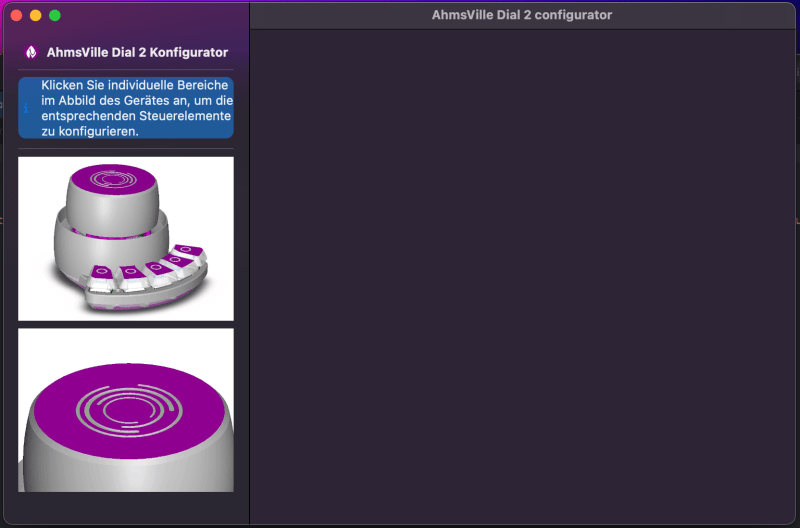
I am developing a small configurator-type application in my spare-time, that will probably load and save a configuration file and that's it. Since it's currently supposed to be MacOS-only (for the time being), I decided to give XCode + SwiftUI a chance instead of writing it in golang, Java or anything else.
I am slowly working through understanding it all.
However: why is the internationalization of apps so complicated when developing using XCode and SwiftUI?
It felt so complicated, because I was actually expecting to have to create dictionary files, fill them, make sure to connect them somehow to a View and the likes. I expected to have to create it all by myself.
Solution (TL;DR: let XCode do it for you)
Assumption
My main mistake was to follow most tutorials, that suggest to create .strings files and simply replace whatever is in Text("...") with the key.
For example, given the following excerpt (in a View):
...
Text("Click on individual areas in the device picture to configure them",
                         comment: "Instructs the user to click on individual areas of the device picture shown in order to configure the associated controls")
...
You'd think taking the text (first argument of Text) and assigning it to some key in your .strings file is the way to go, but while it may work, it did not for me.
Let XCode do the work for you!
In reality it's simpler than this:
- Make sure the following settings are activated under the project build settings:
Localization Export SupportedLocalized String SwiftUI SupportUse Compiler to Extract Swift Strings
-
Side-note: should you enable
Missing LocalizabilityorMissing Localization Context Comment, all your strings, that are missing localization, will most-likely be displayed as "all-caps". - Design your
Viewstructs etc. as you want (includingcommentattributes in yourTextwidgets can help further down the line). - Chose
Product->Export Localizations...in XCode. - Chose the path you want XCode to export your strings to (the folder will contain a couple
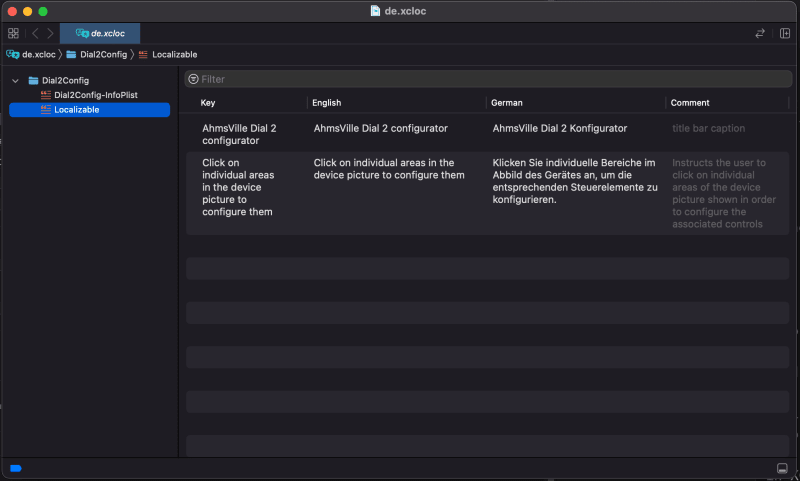
.xclocfiles; these files could be sent to translators). - Edit the
.xclocfiles as needed.
- Chose
Product->Import Localizations...in XCode. - Check the changes if you can and want.
- Click onto the "Import" button.

The first time you do it, it will import the Localizable.strings and <app>-InfoPlist.strings files. The keys will be the full messages you used in your Text widgets, but now instead of simply displaying them, the application will translate them by mapping them using the given locale and the .strings files (or so it seems).
To test your application in a given language, go to Product -> Scheme -> Edit Scheme... and go into the Options tab of your Run/Debug configuration. There select the desired App Language or use System Language if you prefer that.
Conclusion
XCode does a lot to help one with exporting and importing localization files and extracting strings from existing Views, but I feel like either I was unlucky and was not able to find this in the documentation - or I did not understand it. In fact it is very straight forward.
Note: I also encountered, that in the merge editor (before pressing the "Import" button) only changes to the <app>-InfoPlist.strings was displayed while the changes in Localizable.strings were not. However: when importing, both changes were applied.
This is one of a few articles I wrote in years, so I apologize for its quality. I just wanted to quickly share this knowledge with others as it took me about 1-2 hours to figure out how all this works. Because I am a newbie in XCode and SwiftUI, I am not sure, that I can help with any issues you may have; however: if you know how to improve this article, especially if there are mistakes, please drop me a comment so I can fix it. Cheers!

Top comments (0)