Introduction
Power BI Deployment Pipelines allow you to implement Application Lifecycle Management (ALM) for your Power BI Service workspaces. Today I'll show you how to use one-click deployment to elevate changes from dev through to production.
Prerequisites
- You must have Power BI Premium license to use Deployment Pipelines. You should be able to get a trial for 60 days.
- You'll also need Power BI Desktop installed.
Creating Premium Workspaces
The first thing to do is to create premium workspaces - you'll need one for each environment.
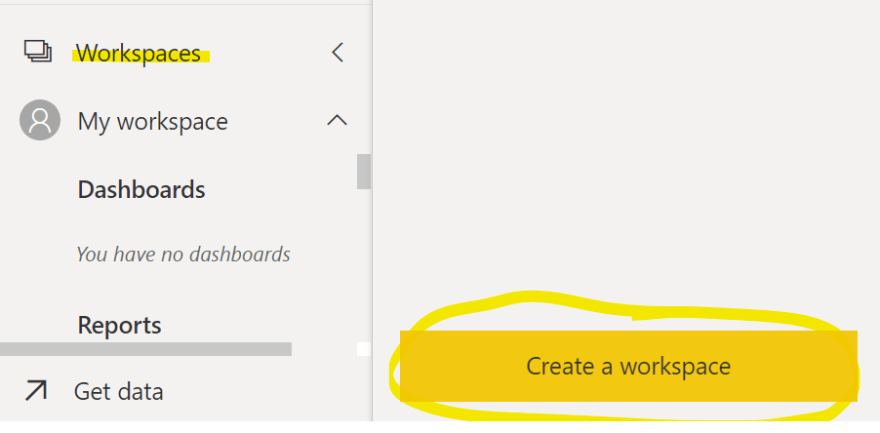
At app.powerbi.com, go to Workspaces / Create Workspaces
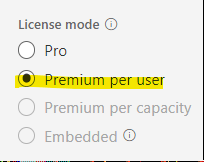
Make sure you pick Premium per user as license mode.
In our case, we'll create two workspaces - Dev and Test.
Creating pipeline
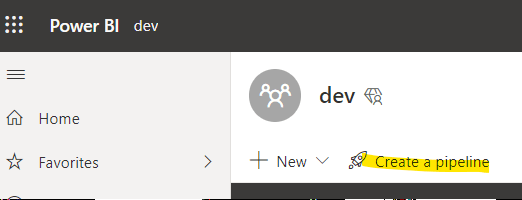
Once the workspaces are created, go and create a pipeline.
Assign your dev workspaces to the Development stage

Your Pipeline View
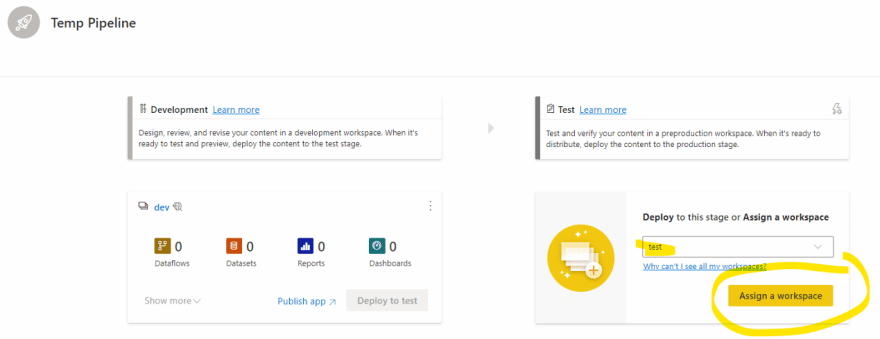
This is your pipeline view - you have three stages - Development, Test and Production. Each stage is attributed to one workspace. In this example, we'll demonstrate going from Dev to Test but going to Production should be exactly the same process.
The last thing to do in this view is to assign the Test workspace to the Test stage
Creating a report in PowerBI Desktop
We want to connect a report in PowerBI Desktop to demonstrate how the pipelines work. A common difference between each of your power bi environments is going to be the data source. Your dev environment should connect to the dev database, your test environment to test database and so on.
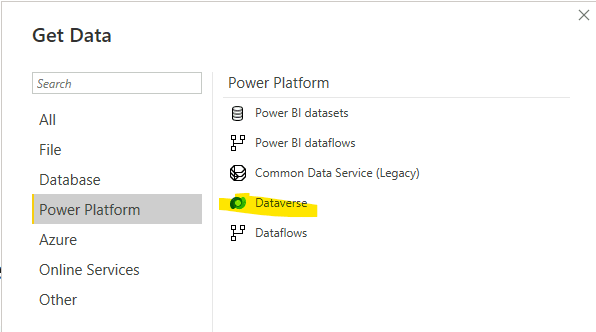
How to use Power BI Desktop is outside the scope of this article but the quickest way is to open up the application and select Get Data

Any data source is fine but for my case, I'd like to create visualisations for a Power App so I'm going to select Dataverse as the data source. It'll ask you to sign in using your Azure AD account and select the Power App environment.
In this report, I've similarly grabbed all the data in the "accounts" table.
Adding a parameter
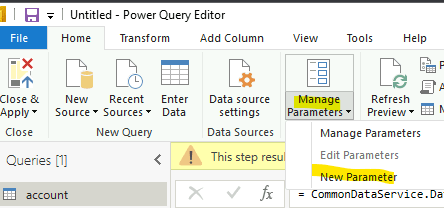
I want to add a parameter for the data source because that is going to be customised for each stage. If you go to Transform data, on the ribbon, there should be a New Parameter button
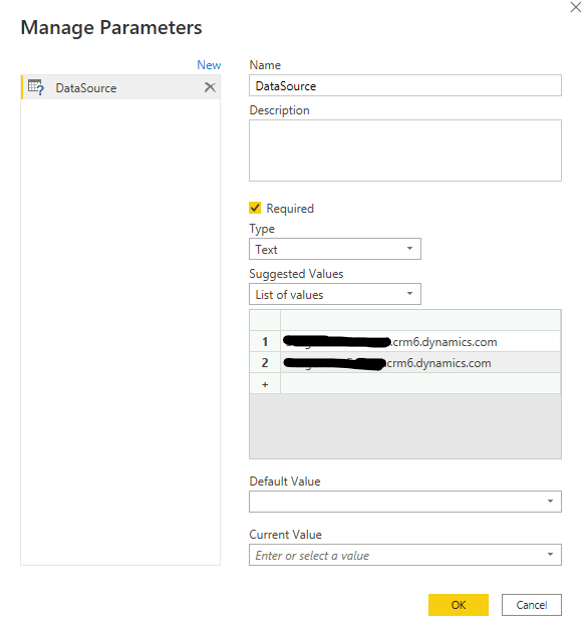
Create the parameter by giving it a name.
Select "List of Values" under Suggested Values and put in the URLs of all the environments that you would like to deploy to and select the dev URL as the environment you'd like to deploy to.
Using the parameter in the Data Model
Instead of the report pointing to the Dev as the data source, we want it to point to the current parameter value. Therefore, for each table under the Source applied step, change the URL to be #"DataSource".

Creating and publishing a report
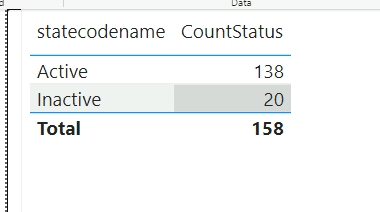
We'll now create a report to demonstrate the data being in different environments. For this example, I have created a simple report that simply counts the number of accounts in different statuses. These should different which will allow me to verify it's getting data from different environments.
Once you have created your report, click the Publish button on the ribbon and select the Dev workspace.
Deployed to Dev
You've successfully published your report onto the Dev Workspace inside your Power BI Service. Go to the deployment pipeline and check that inside the dev environment, you should see 1 data set and 1 report deployed. If you go to the report, you should be able to see the report in Power BI Service.

Pointing the parameter variable to Test
We've successfully deployed to Dev, we now want to deploy to Test - we want to use the same artefacts but we want to change the data source so it's pointing to the Test Database.
The first thing we should do is Deploy to Test.

Once the report is deployed to Test, we should set up a parameter rule. Click on the lightning settings icon for Test and select the Dataset you've just deployed.

Set up a parameter rule and point it to Test URL

Deploy again. Once completed, if you go to the Test workspace open the report, it should show data in Test.
Extra tips
Verifying the parameters
If you want to double check whether the parameters have been set correctly for each workspace, go to the Dataset settings and you can check under Parameters what the value is.
Setting the connection
Also, if you're having connection issues, you can also go to the Dataset settings, under Data source credentials, either log in or check "Report viewers can only access this data source with their own Power BI identifies". I generally tick this to ensure only the data the user has access to is in the report.


Top comments (0)