
Finally decided to learn machine learning and you are so confused with so many materials available to you While also, you are a big fan of no-code platforms, then have got you covered with Autogon AI, it’s a platform that helps you learn and build models without writing any code.
In this article, I will be explaining to you basic information about machine learning and building your first basic model on Autogon AI.
What is Machine learning?
According to BMI, machine learning is a branch of artificial intelligence (AI) and computer science which focuses on the use of data and algorithms to imitate the way humans learn, gradually improving its accuracy.
In simple terms, we could say,
Machine learning is a process of teaching computer machines how to make accurate predictions when given data to work or train on.
The best way to understand machine learning more clearly is with an example. So imagine you were giving data containing transactions of a financial institute and you were asked to either categorize the data either into fraud or not fraud and also asked to predict for a new set of data which category they fall into based on the previous data given, if the data is small in size (maybe 10 items or less) it could be easy for humans to perform the task but for an extremely large data, this is the point machine learning comes to play.
There are libraries and tools built for machine learning but we won’t be going that deep cause we are working with a no-code platform to achieve our goal.
We will be building our first basic model with a simple dataset and not the one stated in our example. This dataset is simple demo data generated randomly and not real-world data, the dataset can be downloaded from this link here and it contains information such as ‘age’, ‘gender’ and ‘genre’ with this dataset, we will be creating a model that helps recommend the type of genre a particular person would like or have much interest.
Here are the steps to creating or building our first basic model (music recommender):
- Import the dataset
- Clean the dataset
- Split the data into training/test datasets
- Create a model
- Make prediction
- Evaluate and improve
Note, make sure you have created an account on the Autogon AI console and you are currently seeing your dashboard then click on ‘My Projects’ and you should see something like this below for those with a new account, you will see a message indicating you have no project which its fine cause will be creating a project for to build our model.

Next, we create a project to indicate what we will be building in this case, I will call the project ‘Music Recommender’ (You can call the project any name you like) and I will type in some description. Here is how it looks

Before we launch the studio we need to upload the dataset to our Autogon account for easy usage on the studio, so let's navigate to ‘Dataset’ by clicking on it on the sidebar and we will have something like this below
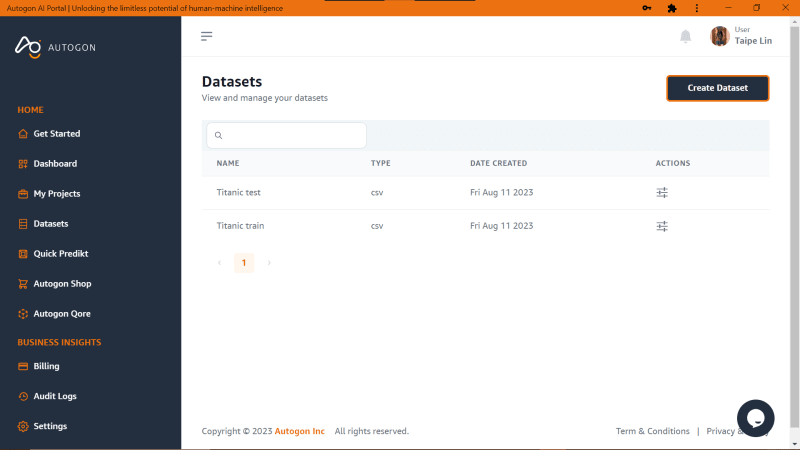
The way we created the project, will do the same on ‘Dataset’ and you should have something similar to the image below

Now that we have our dataset saved on Autogon AI, we can go ahead and launch the studio to start building our model, so we navigate back to ‘My Projects’ and click on ‘View details’ of the project we created then click on ‘Launch Studio’ button and you should have this on your screen.

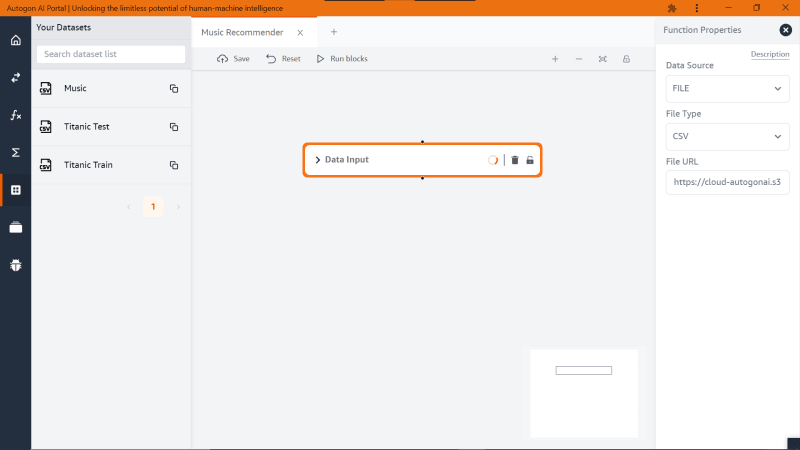
Once you are here (the image above), first we need to load up the dataset onto the studio and to do so we need to drag a block function called ‘Data Input’ under ‘Data Pre-processing’, next click on the block center and its properties at the right-side panel.
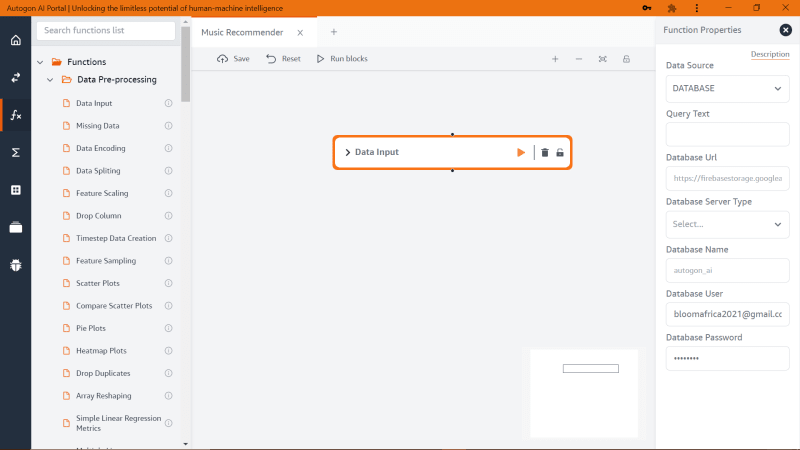
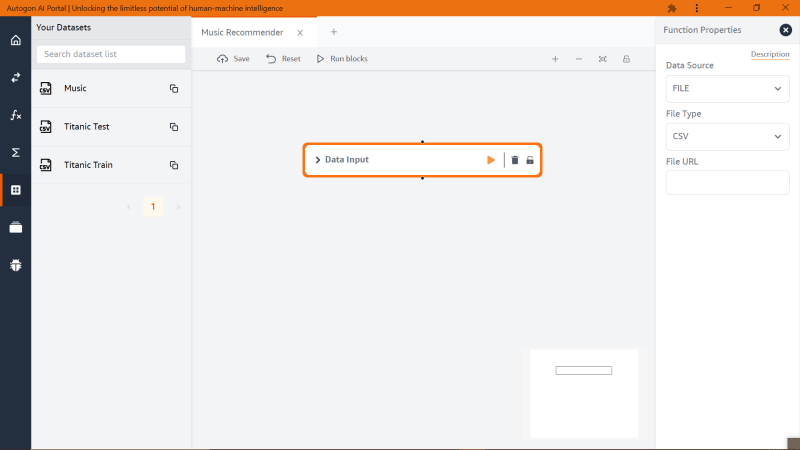
On the ‘Data Source’ input, we will be changing the value to ‘File’ and we have

Now we need to pass the dataset to the input labelled ‘File URL’, to get the dataset URL, click on the left panel icon with the name ‘Dataset’ and look for the ‘Music’ dataset and copy its URL and paste it inside the ‘File URL’ input as shown below
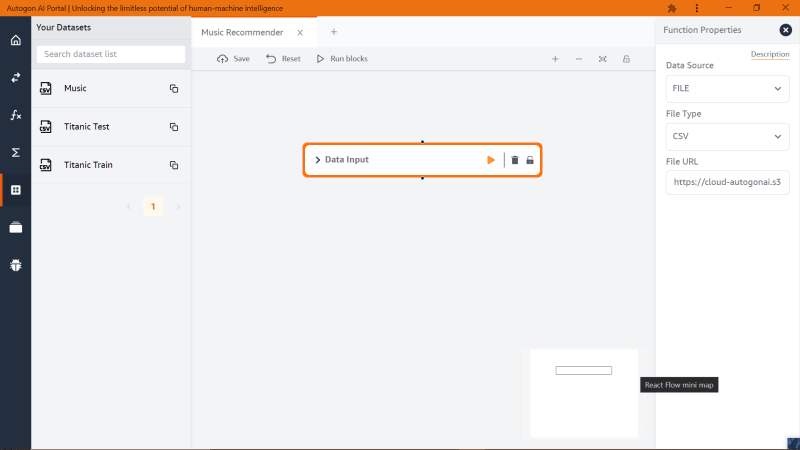
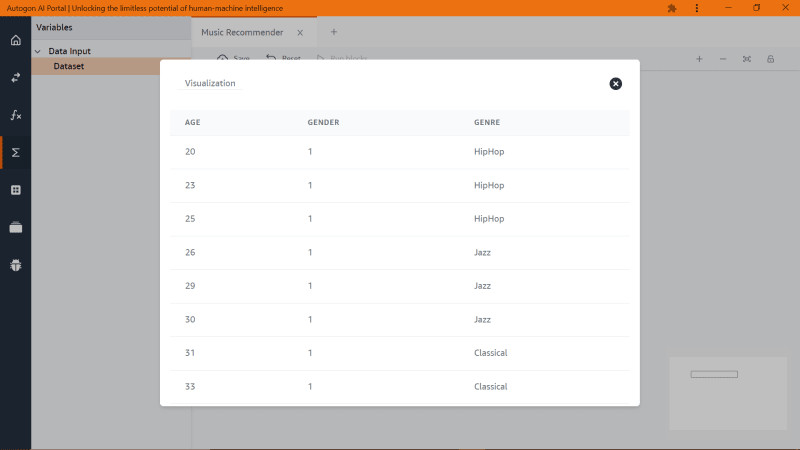
Click on the Play icon on the block function
Wait for the loading to stop and then click on the panel icon with the label ‘Variable’ and we are going to visualize the dataset like this
Now that we have loaded the dataset onto the studio we can move to the next step, which would be extracting the dataset into X and Y features (X stands for dependent variable and Y stands for independent variable). The Y feature will be what the model will be predicting while the X feature will be the input for the model.
Drag the ‘Feature Sampling’ and connect it to the ‘Data Input’ and also provide the block property with values before you run the block.
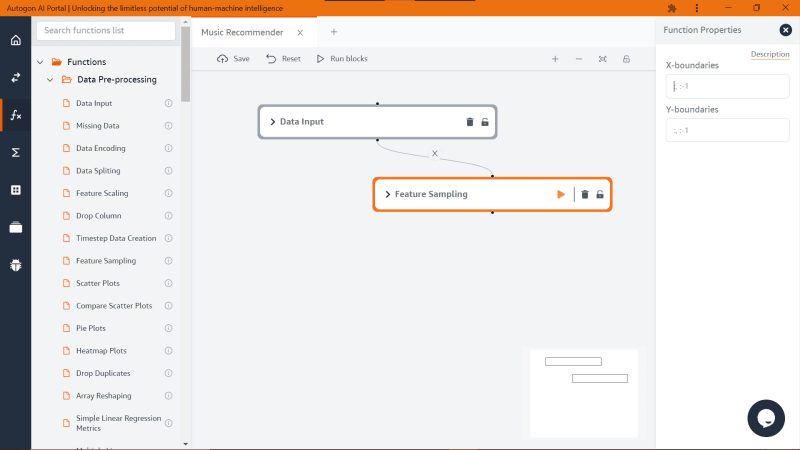
For the X boundaries, we will be using the value “:,:-1” and for Y boundaries will be using “:,-1”, now what these boundary values perform on the dataset will be, for the X boundary the first two columns on the dataset will be sliced to a new CSV file and for the Y boundary the last column will be sliced also to a new CSV file. For further information on how you can work with boundaries on Autogon Studio check out their documentation here. After clicking on the play button, you can also check the output under variables.
Here is my X Feature


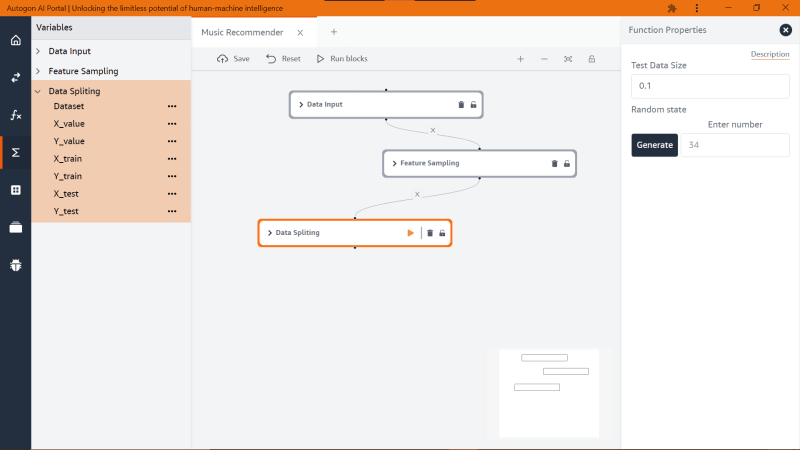
Next, we are going to create/generate the training and test dataset from both features using the block function ‘Data Spliting’ (likewise we continue with the drag and drop).
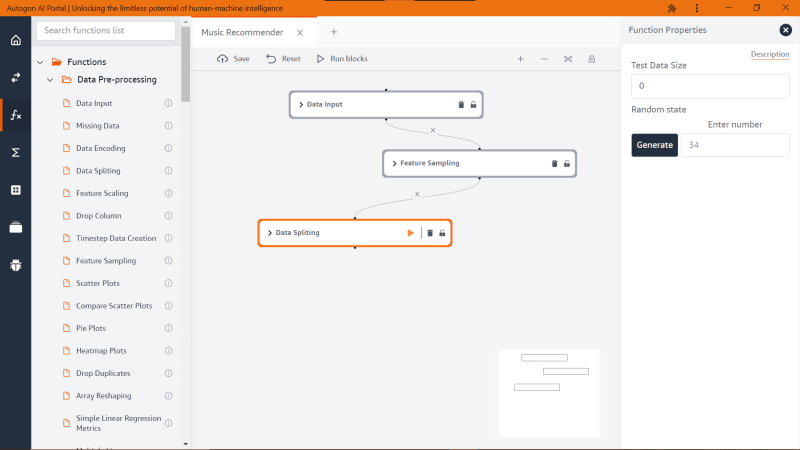
From the image above, we could see the ‘Data Spliting’ block function has two properties, for this tutorial, I will only discuss ‘Test Data Size’ and for the ‘Random state’ we would ignore it.
‘Test Data Size’ takes a decimal value that indicates the size of how the algorithm should extract the train and test data from our dataset that is when you indicate a ‘Test Data Size’ of 0.1, the algorithm will split the dataset into a ratio of 90% train data and 10% of test data and if the ‘Test Data Size’ is 0.2 then we would get a train data of 80% and test of 20% and so on. Also note, the more train data your model has the better its accuracy.
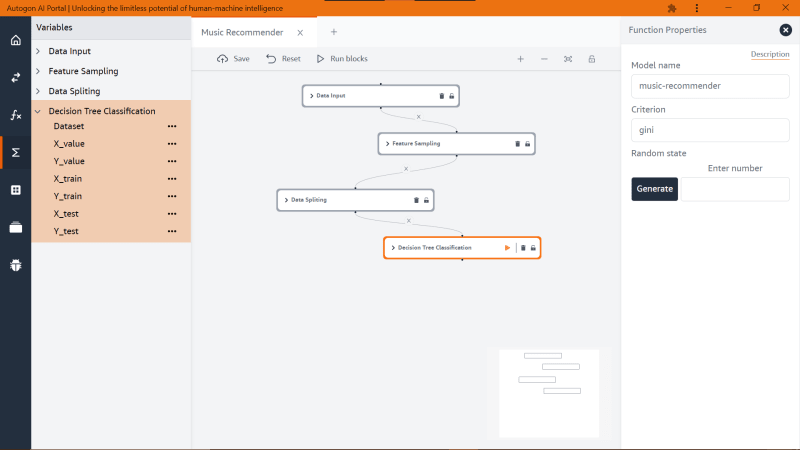
At this point, we can now train the model with the training dataset and we will be using a model name ‘Decision Tree Classification’ block function and I will name my model ‘music-recommender’ and ‘Criterion’ with a value of ‘gini’ as shown below
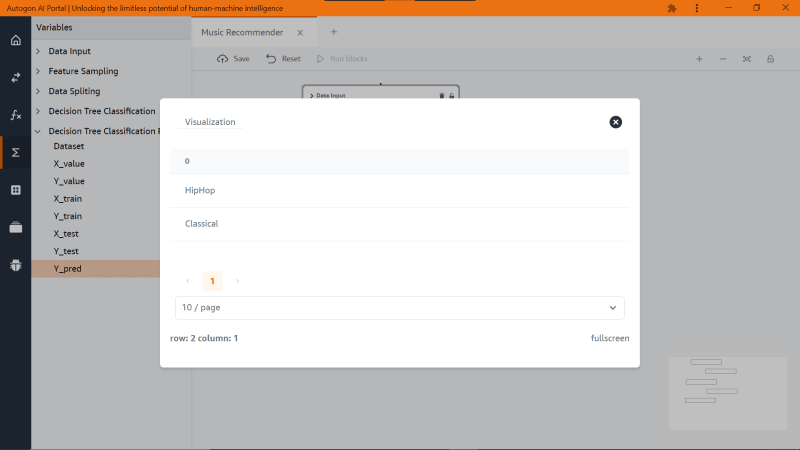
Now, we need to make the model predict with the test dataset, so we will be dragging the predict block function ‘Decision Tree Classification predict’ and likewise, we will be filling the block properties with the same model name as the ‘Decision Tree Classification’ block function

On the highlighted panel, you notice we have a new variable called ‘Y_pred’, this is the CSV file that contains the prediction output and when you double-click on it, you see the output like this
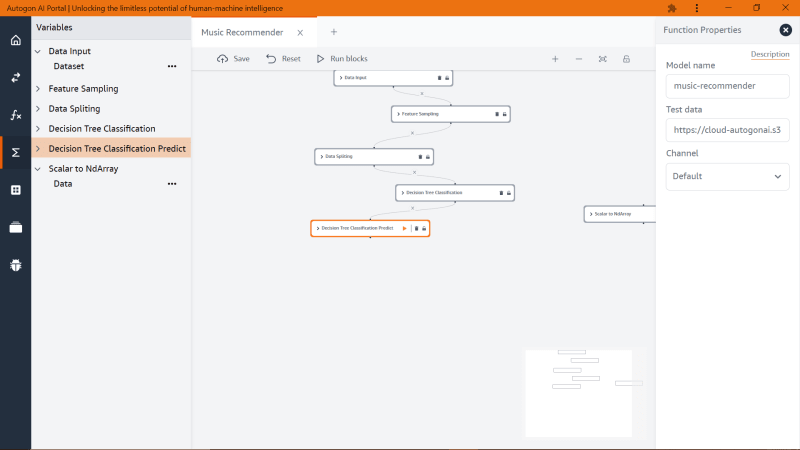
If you would like to come up with your test data, you can use ‘Scalar to NDArray’ block function and I will be passing these test data (age: 21 and gender: male).
Note: in gender, female is zero and male is one

Click on the copy option to obtain the URL to the test dataset we generated and also note that the model has not seen this new test dataset we generated. We are going to paste the URL we copied to block function ‘Decision Tree Classification predict’ and added to ‘Test data’ property like this below
And when we run the block again, we have and checking the ‘Y_pred’

What this means is that the model is telling us that a 21-year-old male will like hip-hop compare to the rest of the genre. Now we want to see the accuracy of the model and to do that we need to drag the ‘Decision Tree Classification metric’ block function and we have
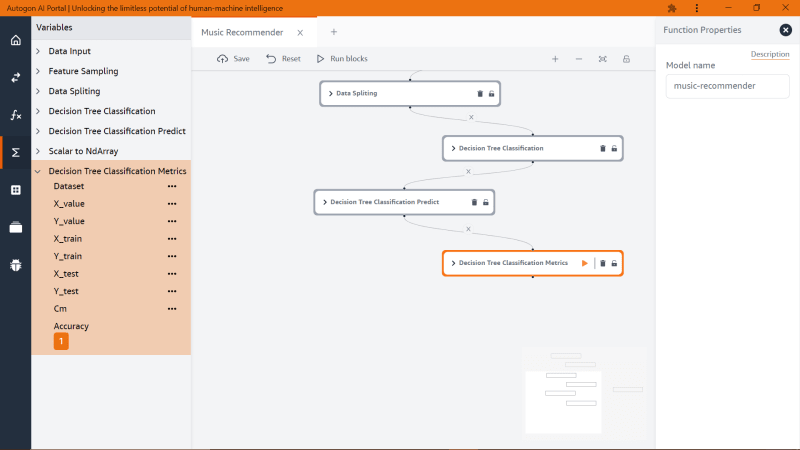
Note: You need to clear out the ‘Test data’ property and re-run the ‘Decision Tree Classification predict’ again
As you can see the accuracy is quite high which is a good thing for our model. We have successfully built our first model called ‘music-recommender’. The best part of using Autogon AI is that we don’t need to launch the studio all the time to make a prediction, to make another prediction, we are going to leave the studio and go to ‘Quick Predikt’ as shown below
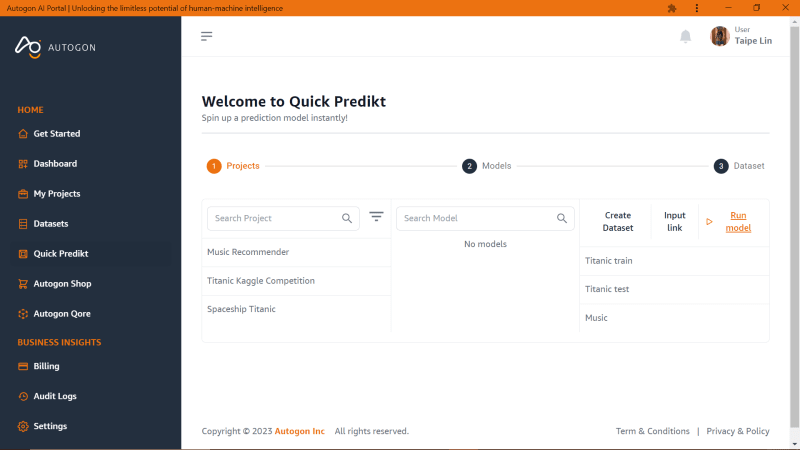
Select the project ‘Music Recommender’ then select the model and either create a new dataset (test data) or select from the existing datasets but I will be using the same test data we generated earlier in the studio and we have this output
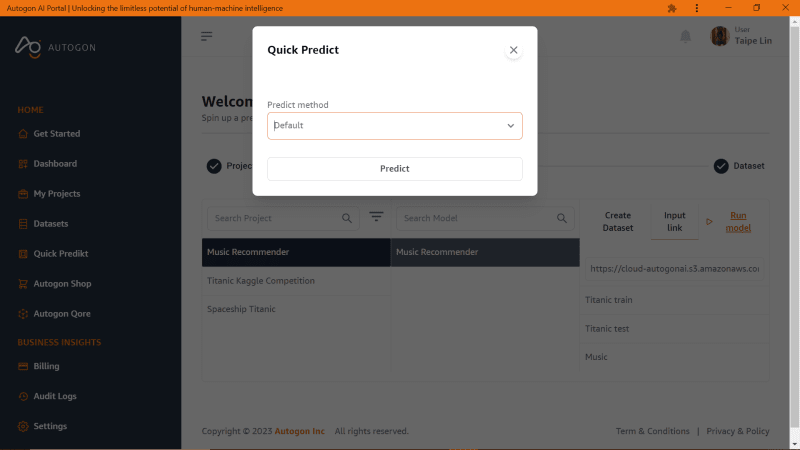

As you can see, we still get the same output as what we got from the studio.
This tutorial is based off Python Machine Learning Tutorial (Data Science)

Top comments (1)
Looks like nice. Reminds of Peltarion before it was acquired by King. Unfortunately there is not free tier. So will probably not looking into it. Is there a similar tool that has at least a free tier?