
Medusa is an open source headless commerce, it makes it easy for developers to create awesome online commerce shops in no time! Medusa aims to provide developers with a great experience and limitless customization capabilities. Well, Medusa is well known for being a Shopify open source alternative.
In this guide, you will be integrating Matomo which allows you to get your website (store) analytics, such as average session time (how long a user stays on the page), etc.
You will be integrating Matomo with a Next.js app, where it’s the same if you use Next.js to build and create your Medusa store.
Prerequisites
To follow along with this guide, the following requirements are required:
- A Matomo account - Get an account from here
- Node V14.0 or higher - Download from here
- SQLite or PostgreSQL (SQLite is only for getting started; PostgreSQL is recommended)
- Redis server up and running
More information can be found here on How-to Set up your development environment.
Setting up your Medusa Store
This section is separated into 3 parts as follows:
- Setting up the Medusa Server
- Setting up the Medusa Store
- Setting up the Medusa Admin Dashboard
1. Setting up the Medusa Server
- Start by creating a new Medusa project and seeding it:
medusa new my-medusa-store --seed
- Move into the project’s directory and start the server:
cd my-medusa-store
medusa develop
Now, your Medusa server is running on port 9000.
To test it out, use your browser and go to localhost:9000/store/products and you should get a JSON response like this:

2. Setting up the Medusa Store
- Start by creating the Next.js Medusa Storefront and changing the directory:
npx create-next-app -e https://github.com/medusajs/nextjs-starter-medusa my-medusa-storefront
cd my-medusa-storefront
- Next, get your environment variables ready:
mv .env.template .env.local
- Finally, start your Next.js Medusa store:
npm run dev
Now, your Next.js Medusa Store is running 🎉 on port 8000
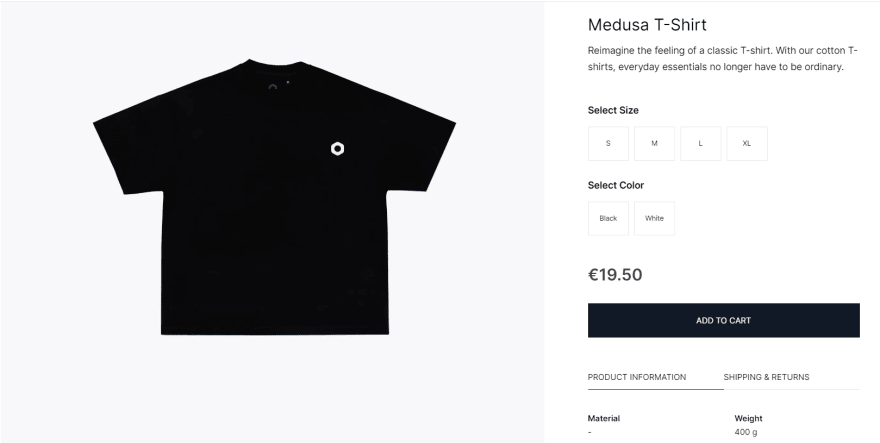
You can test it out by checking one of the sample products in /products/t-shirt and you can see the sample Medusa T-Shirt for €19.50.
3. Setting up the Medusa Admin Dashboard and making some things
- Start by cloning the Admin GitHub repository and changing the directory:
git clone https://github.com/medusajs/admin medusa-admin
cd medusa-admin
- Next, install the required packages:
npm install
- Finally, start the admin dashboard:
npm run start
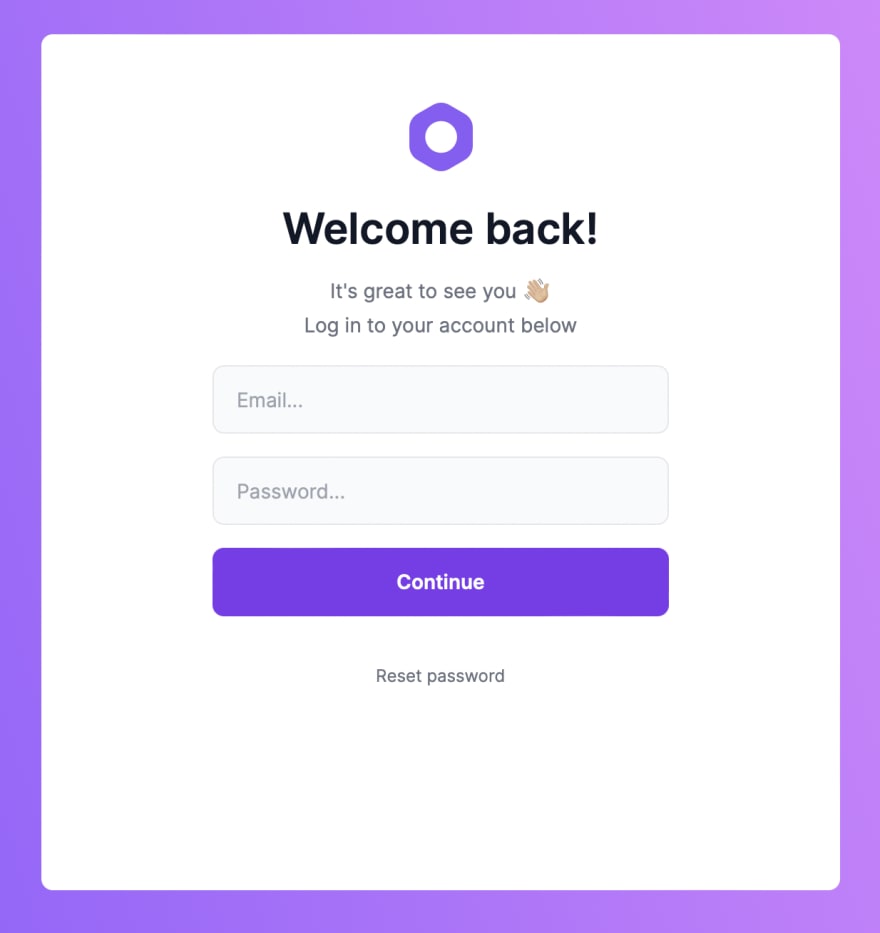
Now the Medusa Admin Dashboard is running on port 7000, head over to localhost:7000 and log in with the user details:
email: admin@medusa-test.com
password: supersecret
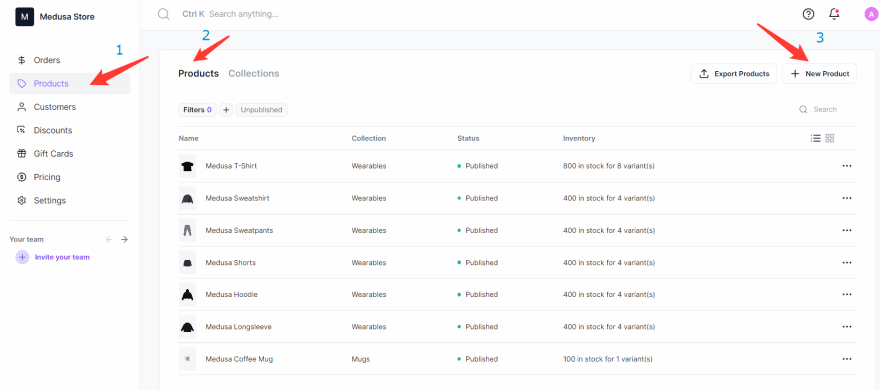
Once you are logged in, get started by creating some products.
So head over to Products and create a new product:
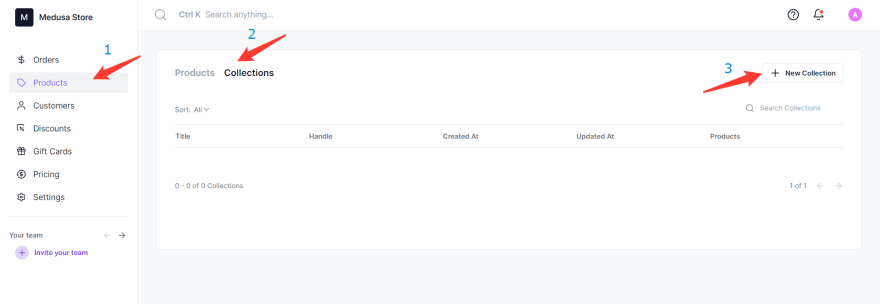
After creating your products, let’s create some collections, go to Collections and click New Collection.
Now, head back over to Products and assign a collection to each product like this:
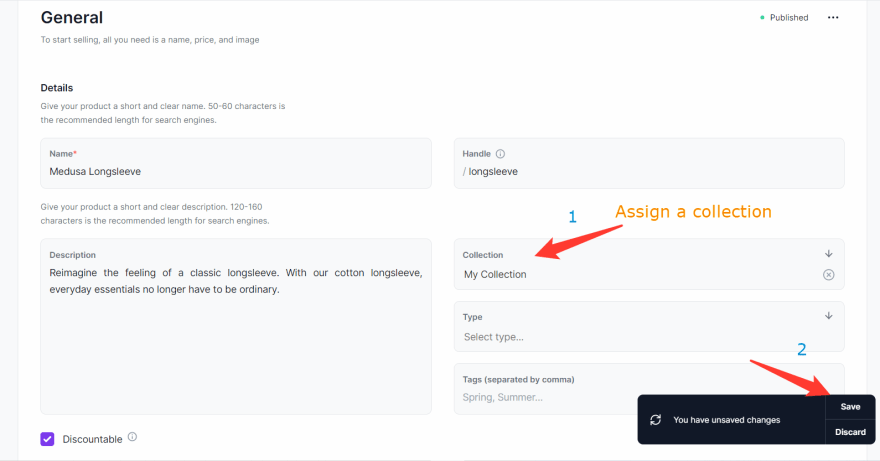
Now, your products can be viewed and filtered by your users.
You can test it out by going to localhost:8000/store and you can see the products you created and filter them.
Integrating Matomo to get Analytics
Open your Matomo Dashboard, if you haven’t used Matomo before, you would be given 4 options to setup Matomo, choose Tracking Code and copy the JS code inside the <script> tag like this:
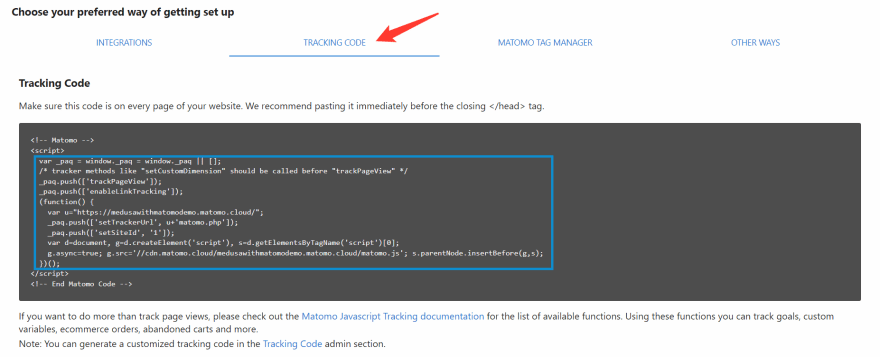
Or, if you can’t find the setup instructions for Matomo on login, head over to Settings > Websites > Tracking Code and scroll a little down until you find the JS tracking code, copy the JS code inside the <script> tag.

Now, let’s integrate Matomo, open your Next.js Medusa Store using your favorite IDE (Visual Studio Code, Atom, etc.) and head over to src/pages, and start by editing the _app.tsx file.
First of all, you will use Script to run the JS code, so use this line of code to import Script:
import Script from "next/script";
And now, inside your return() include a <Script> tag with the strategy set as afterInteractive and optionally the id to matomoAnalytics so that you can refer to this later. Be sure to add 1 angle brackets (<>) and mention an </> at the end of return(), final code should be like this:
<>
    <Script strategy="afterInteractive" id="matomoAnalytics">
        {`
        // your code here
        `}
    </Script>
</>
Now, let’s test it out, so just refresh the app, and you can see that if you go to the Matomo dashboard you can see the analytics start showing!
Testing
Now, try visiting the Medusa Store, you will find active sessions with country, etc.
Try visiting / and then /store and then head over to the Matomo Dashboard, click on Visitors > Visits Log and you will find some information, including OS, browser, region, IP address, pages visited, etc.
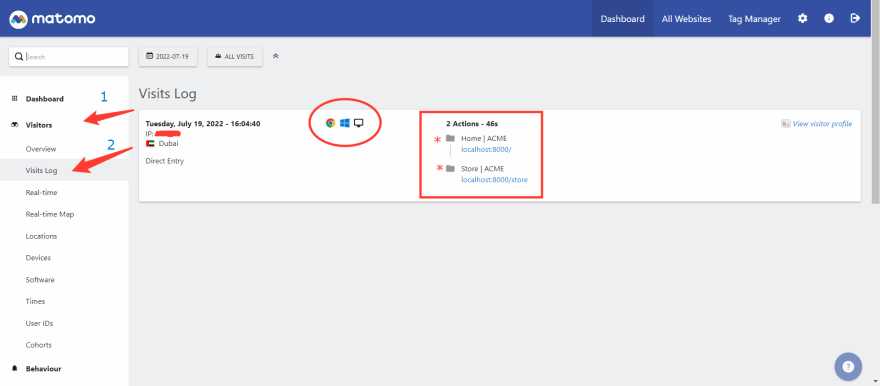
Also, you can head over to Real-time and check visits in real-time, you can check Devices and Software to analyze user data, and you can do even more with Matomo!
Conclusion
Now, you have successfully integrated Matomo Analytics with your Medusa Store. Now you can get Analytics data such as average session time and more from the Matomo Dashboard! Where Next.js with TypeScript was used to build and create the storefront and the <Script> tag was used to run the Matomo tracking JS code to get analytics.

Top comments (0)