Introduction
In this tutorial, we will learn how to add/connect Storyblok to our Vue Js project. Most of us will be wondering what Storyblok is all about. Hmm, do not panic I will explain. Storyblock is a headless CMS that can be used to create contents. For more details, visit the Storyblok documentation here.
Prerequisite
- Basic understanding of JavaScript and VuetJs as framework
- Node installed in your local machine
- Install Vue CLI on your local machine
- Create an account on Storyblok
Install and setup React
Let's setup our environment so we can get up and running with our project.
To create a VuetJs project, follow the steps below or you can visit the VueJs documentation website here.
npm init vue@3
Follow the steps shown on the terminal and once the installation is done, navigate to the project folder using the command below:
cd storyblok-vue-app
Install npm in the project using the command below
npm install
Then run the command below to start your application
npm run dev
Finally serve the VueJs development server using the port displayed on your command line on your browser. In this case http://localhost:3000.
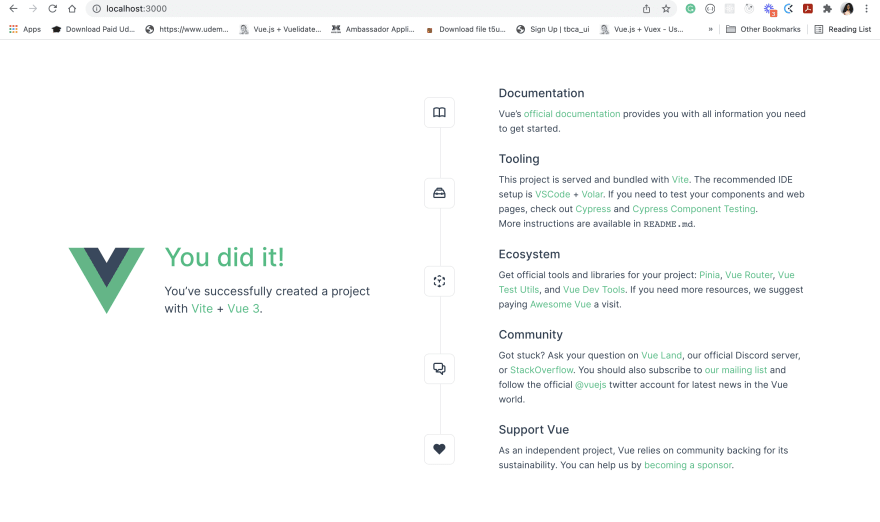
Yoo! the Vue project is up and running
Note: For the sake of this project, we are going to use Tailwind.css as for styling of our project. For more details on how to add Tailwind to our vue project, visit the Tailwind css official website here.
Storyblok Space Configuration
Since we done creating and running our VueJs app, now it’s time to create a space on Storyblok app. Remember you created an account on Storyblok at the beginning of this tutorial but if you’ve not done that, it’s not too late. Create a Storyblok space, by clicking this link.

Yeah 💃, we just created a sample content on the Storyblok space. Take a look below to see the Home story and then click on it to display the Storyblok visual editor.

Enabling the Visual Editor
To view your project in Storyblok Visual Editor you need to set the default environment URL in your space (click the arrow on the top-left on the Visual editor screen to go back to your space). Then click on Settings > General > then delete the default location, and set the new Location field to http://localhost:3000/

Now go back to the Home story under the Content section on the right hand pane of the screen. Open it, to see the Visual Editor, but then you won’t see your Vue app.

Connecting Vue to Storyblok
Install Storyblok Vue SDK using the command below
npm install @storyblok/vue@next
Initialize plugin in your main.js file by adding the block of code below and also add your access token from your Storyblok space.
import { createApp } from 'vue'
import App from './App.vue'
import { StoryblokVue, apiPlugin } from '@storyblok/vue';
import './index.css'
const app = createApp(App);
app.use(StoryblokVue, {
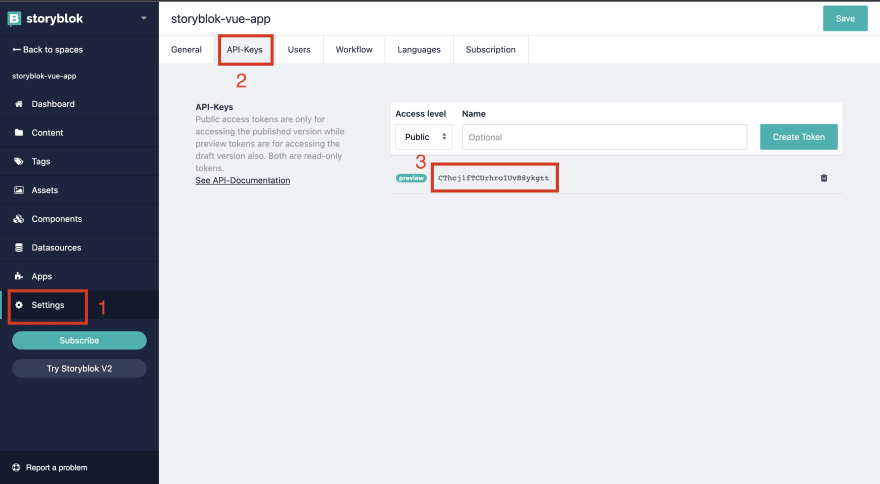
accessToken: 'CThcj1fTCUrhroIUvB8ykgtt',
bridge: process.env.NODE_ENV !== "production", // optimises by excluding the bridge on production
use: [apiPlugin],
});
mount('#app');
Note: Wondering where the index.css is coming from, recall that we added Tailwind to our project.
To copy your token, navigate to Settings > API Keys >


Top comments (0)