
Have you always thought of implementing a Sass environment in your project but been getting confused as a result of countless tutorials made available online?
Don’t sweat over it anymore as this short piece offers only the relevant secrets on how to navigate your way through it even without the guidance of anyone.
- Click to open your IDE (will be using Visual Studio Code for this guide)
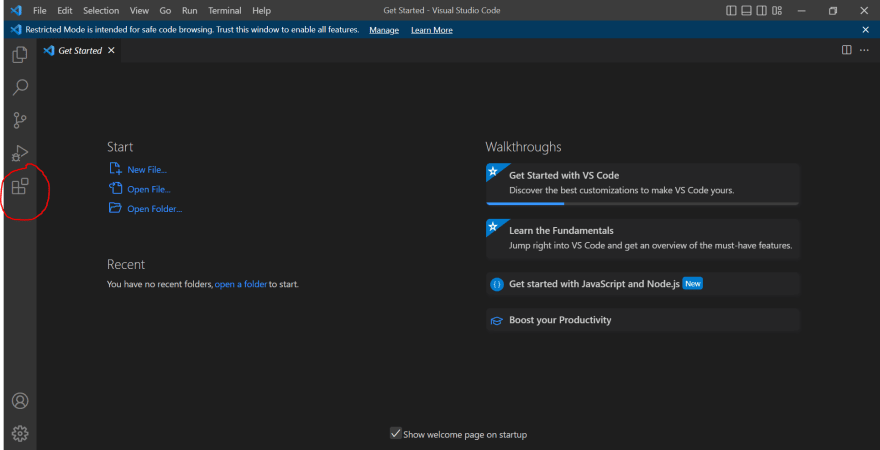
- Hover your mouse on “Extension” feature, then click on it.
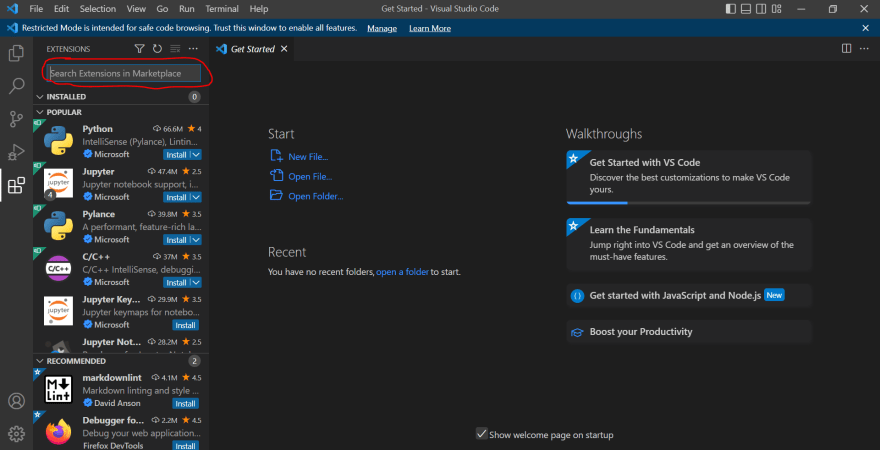
- In the search bar, insert and install both “Live Server,” and “Live Sass Compiler” extensions
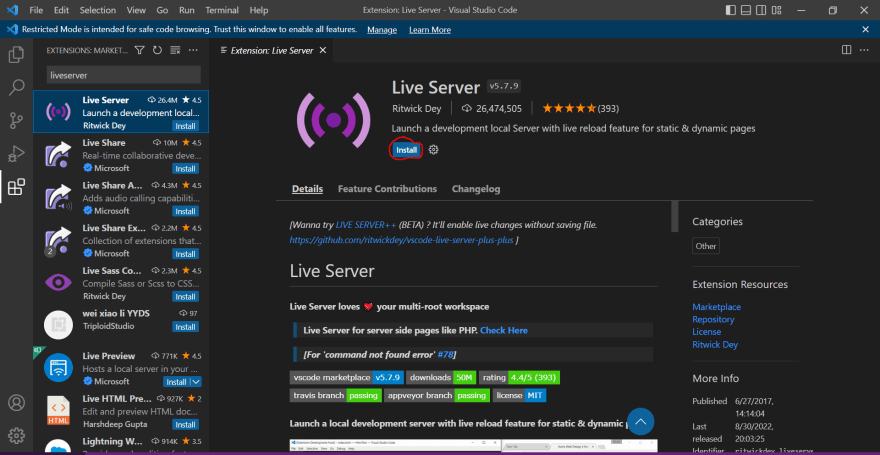
3i. Install “Live Server” extension
3ii. Install “Live Sass Compiler”

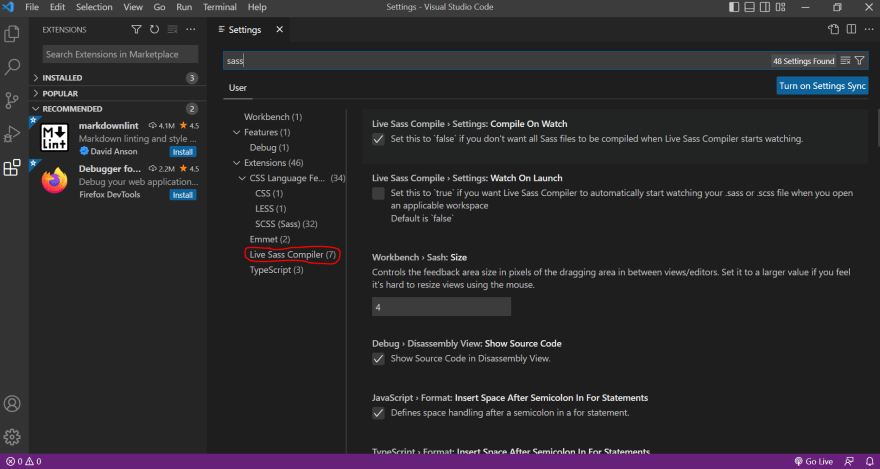
- Navigate through “Setting” icon

- Type “Sass” in the search bar

- After typing “Sass,” click on “Live Sass Compiler” from the left column.
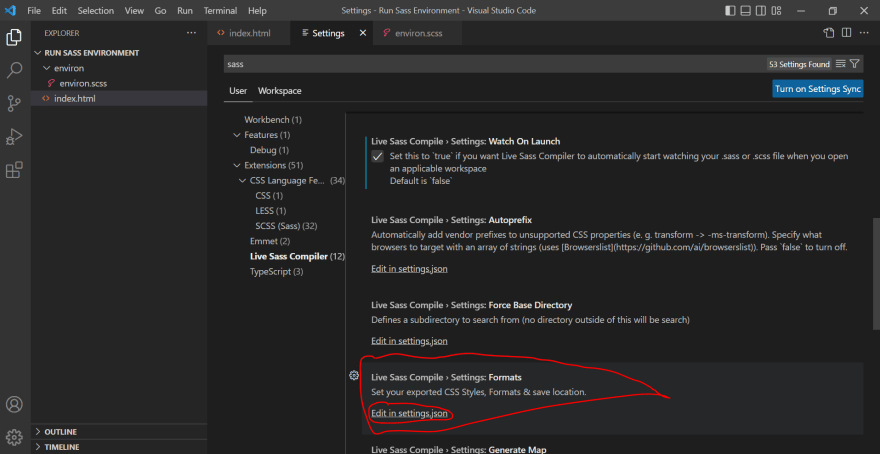
- Drag your mouse, and navigate through “format,” then click to edit the json file.
7i. Your next screen would look like this
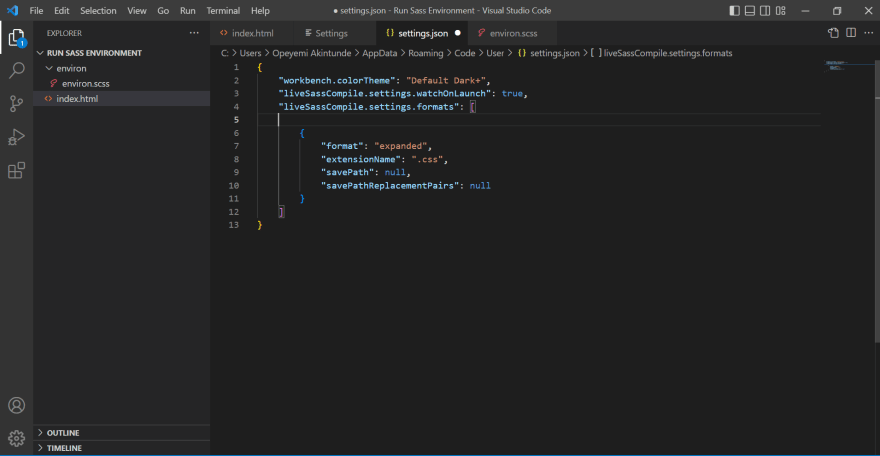
7ii. Make a little modification here
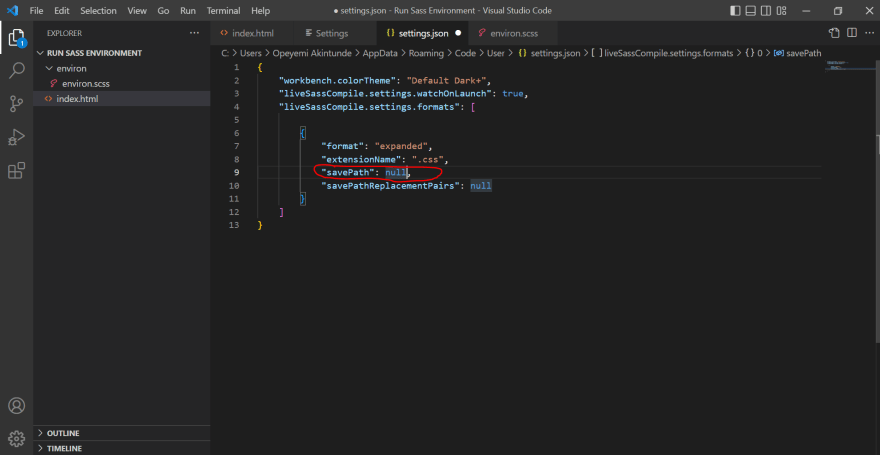
7iii. Change savePath value of ‘null’ to “/css” as this would totally change the initial file path.
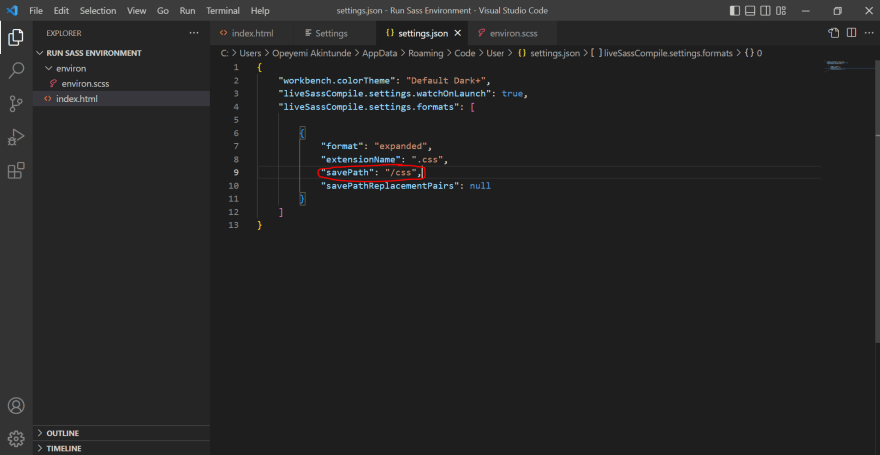
P.S. Failure to change the path would not allow a CSS folder to be created automatically upon the compilation of your .scss file.
Literally, it would look like this.
- Press “ctrl + s” to save the file.
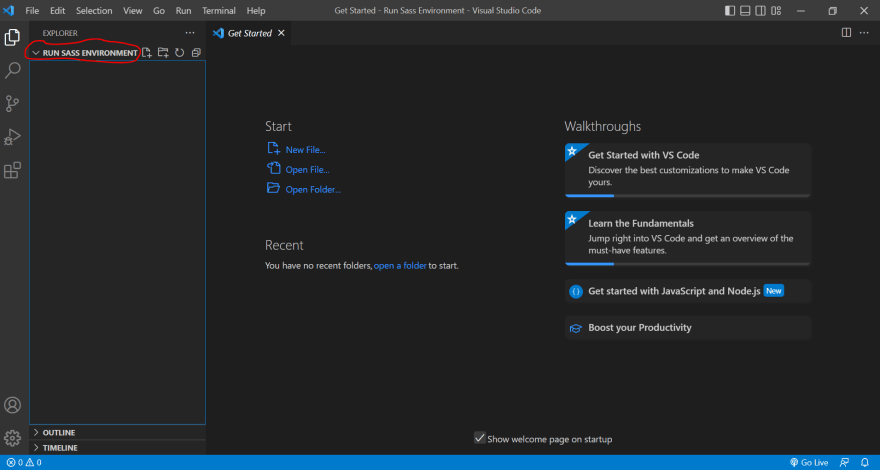
Now, it’s high time to create a new folder so as to test out if the SASS environment is fully up and running or not.
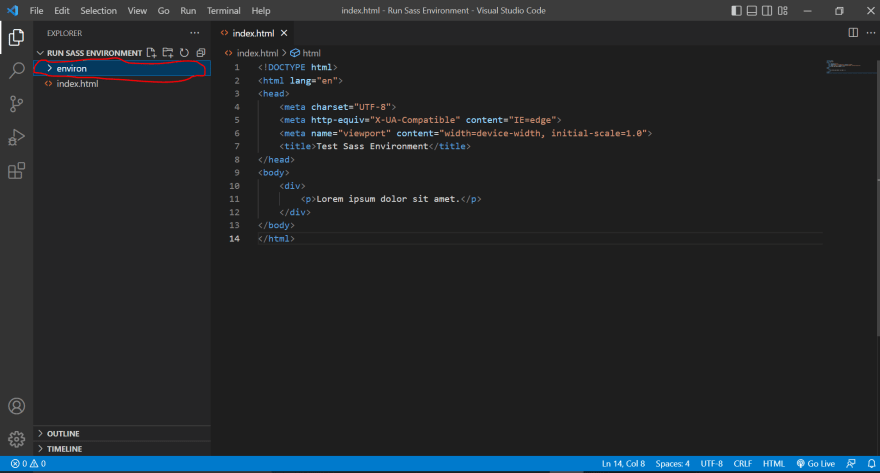
- Create and open a newly created folder of a new project
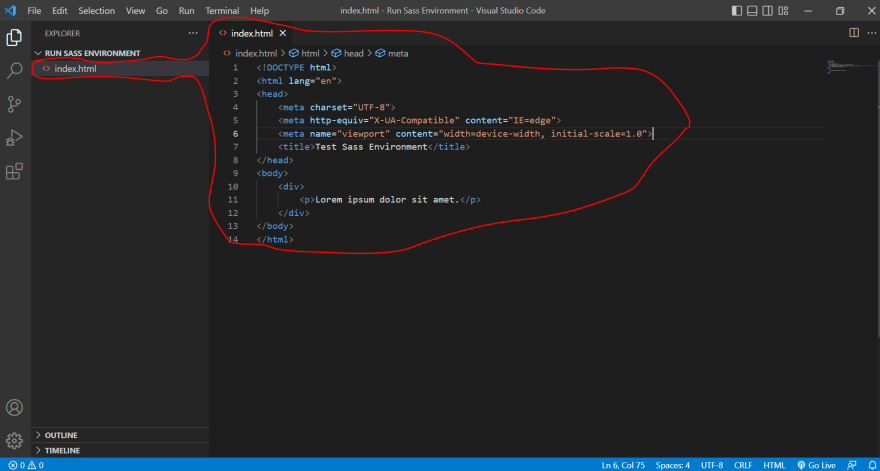
- Create the following inside the folder;
10i. An index.html file
10ii. A folder that would house a .scss file
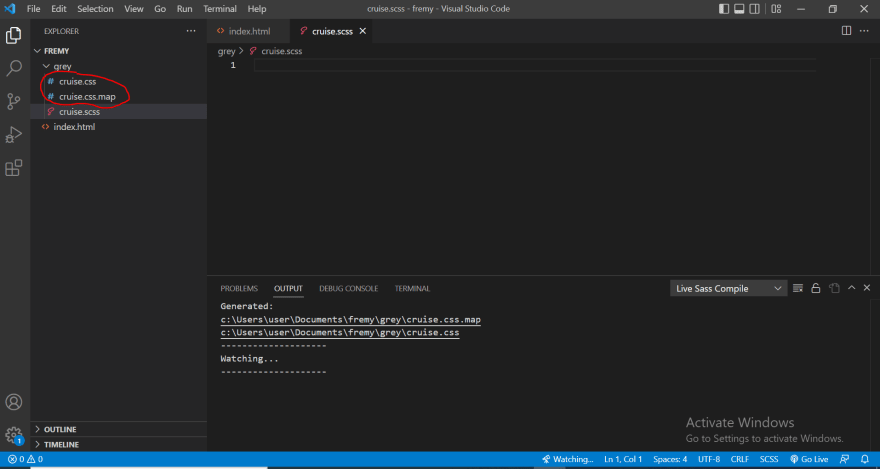
- From the .scss folder, create a .scss file where all CSS styles would be written and documented.
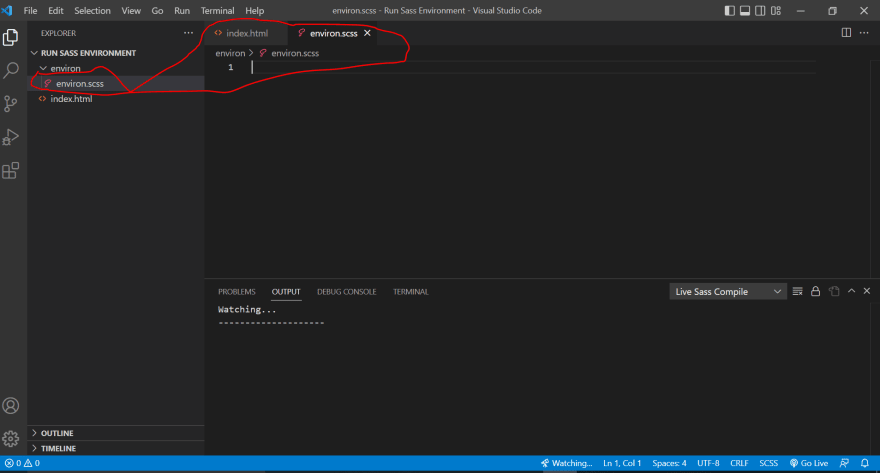
- You would notice that immediately after you had created the .scss file, a prompt showing “Watch Sass” is being popped out. From here, you can easily monitor your Sass environment.
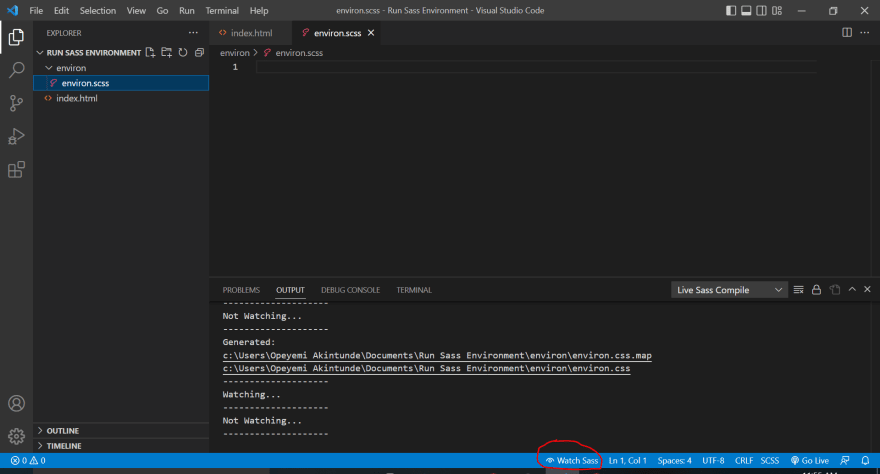
- And Voila, a new CSS folder would automatically be created alongside its file (.css) and map (.css.map) after you click “Watch Sass.”

This completes this simple and useful guide.
Kindly do not hesitate to drop a message if you have any further inquires or contact via (www.twitter.com/_desglobe)
Thank you for reading; Happy coding!!!

Top comments (0)