* Note: All the code discussed in this blog can only work on a android emulator or realtime android device
Setup
The first step is to add the Google Maps Flutter plugin as a dependency in the pubspec.yaml file.
  dependencies:
    ...
  google_maps_flutter: ^0.4.0
The next step is getting an API key for both Android and iOS but we are going to deal with Android, follow the instructions at https://developers.google.com/maps/documentation/android-sdk/get-api-key to get API Key. Once you have your API key, add it to your Flutter app in the application manifest (android/app/src/main/AndroidManifest.xml), as follows:
  <manifest ...

    <application ...

      <meta-data android:name="com.google.android.geo.API_KEY"

                 android:value="YOUR ANDROID API KEY HERE"/>
Adding a GoogleMap widget
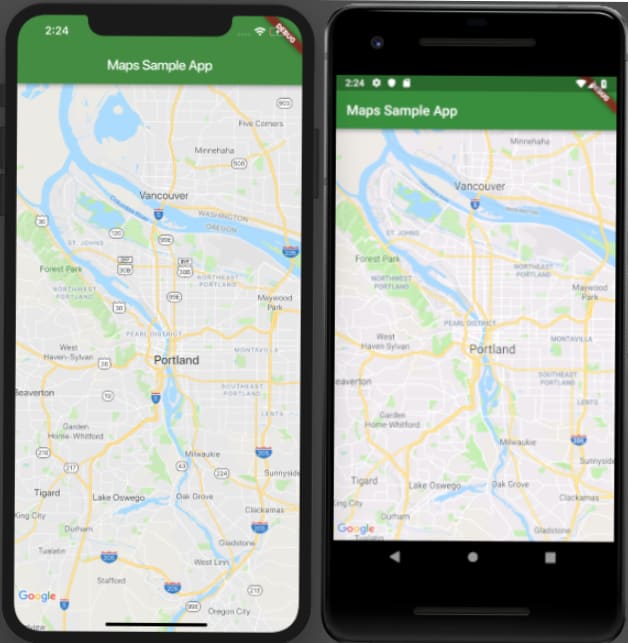
Now you are ready to add a GoogleMap widget! Run flutter clean to make sure the API key changes are picked up on the next build. Then, add a GoogleMap widget that covers the entire screen:
import 'dart:async';

import 'package:flutter/material.dart';

import 'package:google_maps_flutter/google_maps_flutter.dart';

void main() => runApp(MyApp());

class MyApp extends StatefulWidget {

@override

_MyAppState createState() => _MyAppState();

}

class _MyAppState extends State<MyApp> {

  Completer<GoogleMapController> _controller = Completer();

static const LatLng _center = const LatLng(45.521563, -122.677433);

void _onMapCreated(GoogleMapController controller) {

_controller.complete(controller);

}

@override

  Widget build(BuildContext context) {

     return MaterialApp(

       home: Scaffold(

         appBar: AppBar(

           title: Text('Maps Sample App'),

           backgroundColor: Colors.green[700],

           ),

           body: GoogleMap(

             onMapCreated: _onMapCreated,

             initialCameraPosition: CameraPosition(

               target: _center,

               zoom: 11.0,

          ),

        ),

      ),

    );

  }

}
Testing the app
After you have completed doing all this stuff type "flutter run" to run your app.


Top comments (2)
ty
means?