
I buy waaaaayyy too many domains. Once you start buying them, it's pretty hard to stop. Each new great (or so I think) idea deserves a parking spot on the web. Domains aren't that expensive -- only about $10 dollars a year. I spend more than that on a couple of cups of coffee.
What if someone comes up with the same idea and buys the domain first? - Me, at 3AM
I initially thought https://drewb.tech was an excellent spot to park my blog. I named it "Tech Stuff" and moved on to writing content. Turns out "Tech Stuff" isn't that great of a name. It also didn't cover the broad list of topics I talk about. Soooo...
I bought another domain.
My new domain, developerspin.com, has a better ring to it. It also has branding potential, and I could probably come up with a pretty sick logo (with the help of my creative girlfriend). I picked it up on Netlify for $9.99 for the first year.
Time to switch over domains
Typically, dealing with all these domain DNS settings is a pain. Usually, you have to set a bunch of records on your DNS host and hope you're doing things the right way.
With Netlify, this is all much simpler.
Buy the new domain
I highly recommend buying your domain on Netlify. Yes, it might be a bit more expensive in the long haul, but everything just works. Head on over to the Domains tab on Netlify and search for the domain you want. I generally browse domains on domains.google.com and then buy it on Netlify after I've found the one I want.

Change site settings
Go to the new site that you want to change, add the domain alias in the Settings tab under Domain Management. After you've done that, click Set as primary domain.
Adding forwarding rules
This part is important. If you don't do this, your traffic WILL NOT be forwarded to the new domain. Adding 301 redirects is also super important for SEO. Google needs to know that your site changed domains; otherwise, you lose all your SEO hard work. On Netlify, you can set redirect rules in a couple of ways. I recommend the netlify.toml approach. Add the following section to the file:

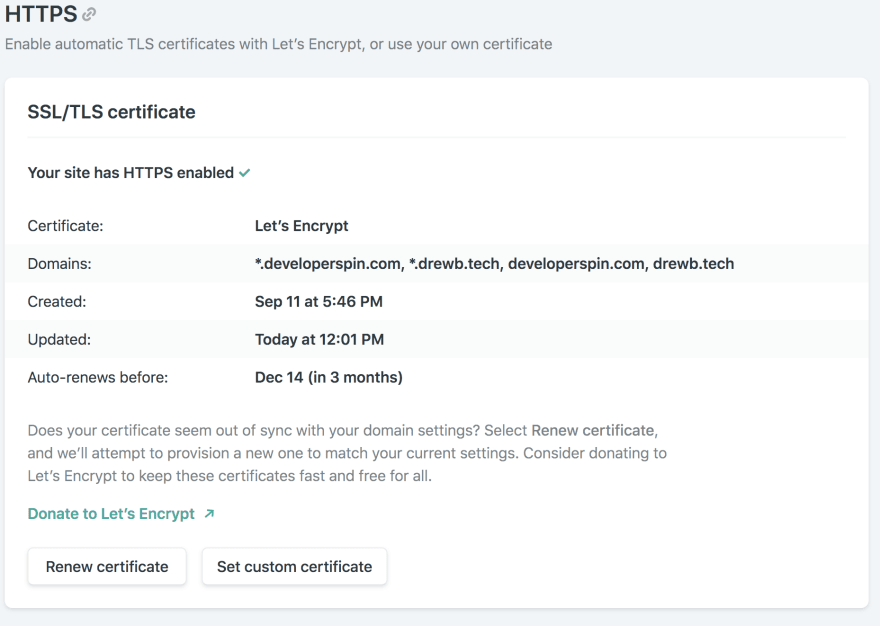
HTTPS
Let's face it; every site needs HTTPS. Netlify by default ships with free wildcard certificates using Let's Encrypt, which makes life very simple for us. After switching domains, you only need to click the Renew certificate button. It's that easy.
Test it out
Wait a few minutes (about 15 max), open up a few different browsers, and check to make sure that both HTTPS and the redirects are working. Congrats on moving domains!

Having problems?
Follow me on Twitter and send me a Tweet or DM and I'll help you out.
Tweet to @dbredvick
originally posted on developerspin.com/posts/2019-09-15-moving-domains-on-netlify/

Top comments (0)