
Many people might think that python is not for the web, but that's actually not the case. We can use Python to make a backend server with the help of Django and Flask. Today, we are going to look over the basic installation process of Django and a quick guide on writing your first Django app.
For this project, I will use goormIDE and upload my container link down below so anyone could check out the code and see how it works.
I'm going to set up my project using goormIDE's python stack (which already has python and Django installed), but for those who are using another IDE, feel free to see my previous tutorial on how to set up a Python development environment: https://dev.to/daniel2231/a-python-ide-that-you-can-use-anywhere-26cg
You can also directly use the Django stack on the right side of the Python stack, and skip this part of the tutorial.
For Django, all you have to do (if you have Python installed) is to type the following commands on your terminal.
$ python -m pip install Django
If you want to check whether if you already have Django installed, use the following commands.
python -m django --version
Let's begin!
Setting up
Assuming you already have Django installed, lets begin with making a new Django project. Type this on your terminal.
django-admin startproject myblog
You can change example to anything, preferably your project name. For this tutorial, I'm going to name my project 'myblog'.
This will create an 'myblog' project directory that will contain the necessary files you are going to need. The default project directory will look like this.
myblog/
    manage.py
    myblog/
        __init__.py
        settings.py
        urls.py
        asgi.py
        wsgi.py
Let's go over the files.
myblog/ is your root folder for your project. Django doesn't care about this file. You can rename this to whatever you want.
manage.py will help you create applications, start your development web server, and help you work with databases.
/myblog/ ,that is inside your project folder will be your actual Python package for your project. You will need to use its name when trying to import anything inside it (e.g. Instagram.urls).
__init__.py will instruct Python to treat this directory as a Python package.
settings.py will contain your website's information. This is where you will store the location of our static files, databse configuration settings, and register any application that you create.
urls.py is where you store the URL declarations for this Django project.
asgi.py is an entry point for ASGI-compatible web servers to server your project.
wsgi.py is used to help your Django application communicate with the webserver.
Now, let's try running your server. Before we run anything, we must set up goormIDE so that we can run our project in a custom url goorm provides us with.
On your settings.py, edit this part:
ALLOWED_HOSTS = []
to this:
ALLOWED_HOSTS = ['*']
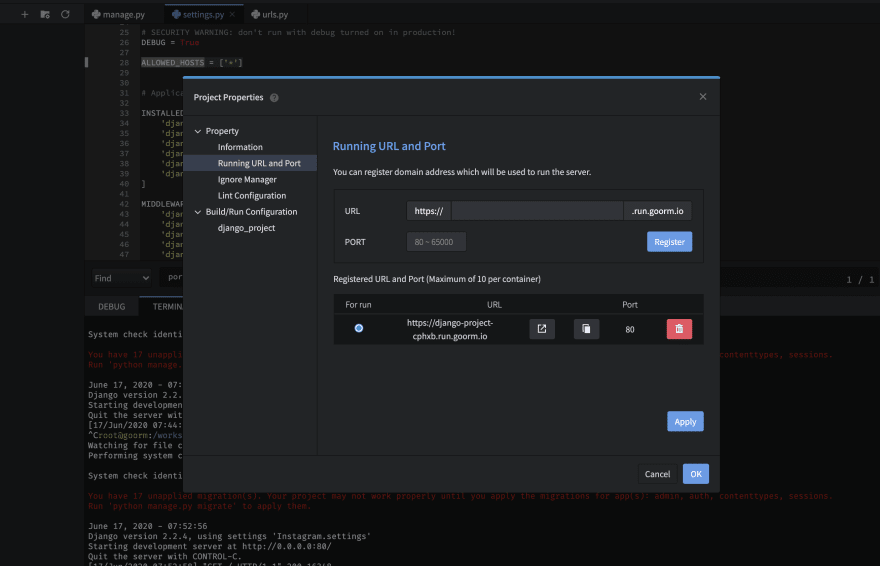
Go to Project > Running URL and Port and copy the url that is provided. If the port is not on 80, change the port to 80.
Run the following code in your terminal.
python manage.py runserver 0:80
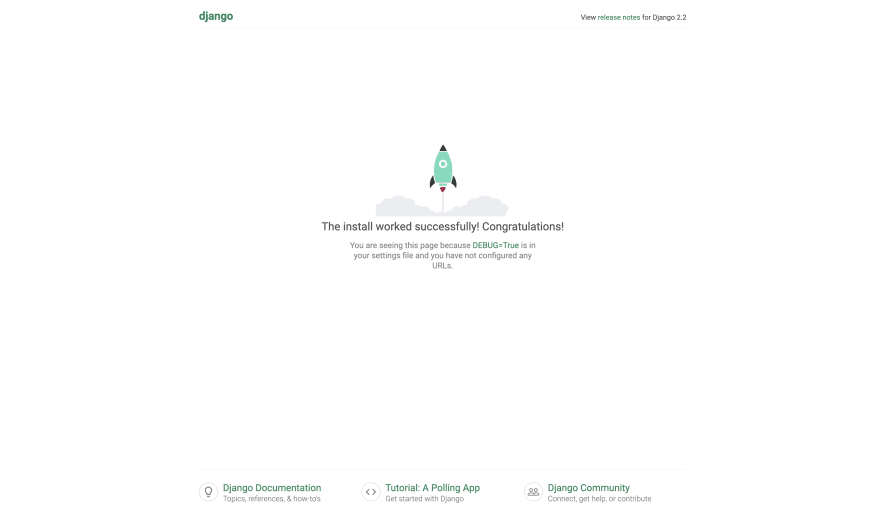
Now try accessing the custom goorm link. If successful, You will see this screen:
Part 2 Coming soon...


Top comments (0)