
So you've just written your first Deno module and now you want to make it available to the community. Here's how you can publish your module to the two most popular Deno registries:
Deno Land Registry
The main and likely most popular Deno registry is the official Deno Land registry itself. Here's how to add a GitHub repo to the registry:
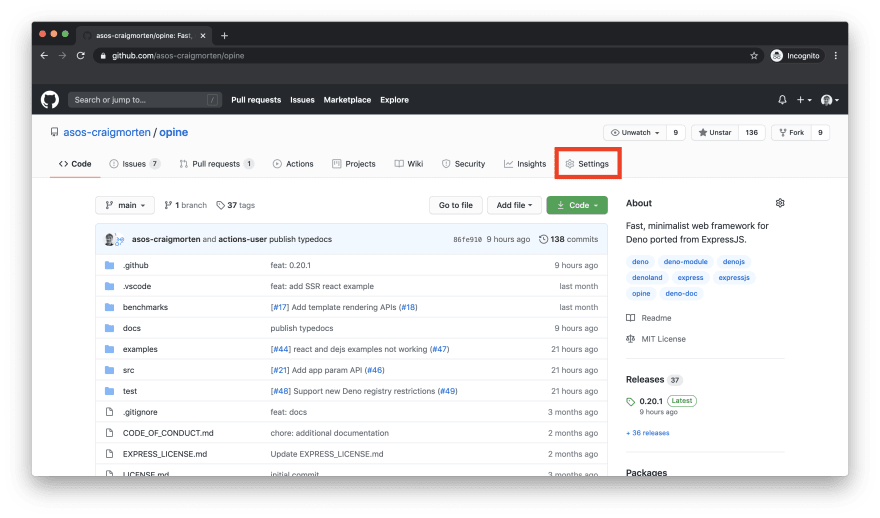
Navigate to the repository you want to add.
-
Go to the Settings tab.
-
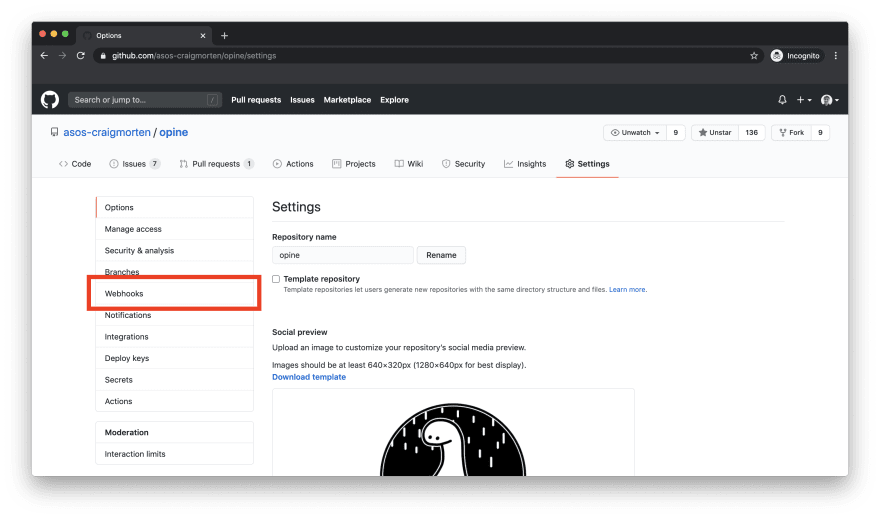
Click on the Webhooks tab.
-
Click on the
Add webhookbutton.
-
Enter the URL
https://api.deno.land/webhook/gh/<moduleName>in thePayload URLfield, making sure to replace the<moduleName>part with the name of your module.
-
Select
application/jsonas the content type.
-
Select the
Let me select individual eventsradio button.
-
Select only the
Branch or tag creationcheckbox.
-
Click on the
Add webhookbutton.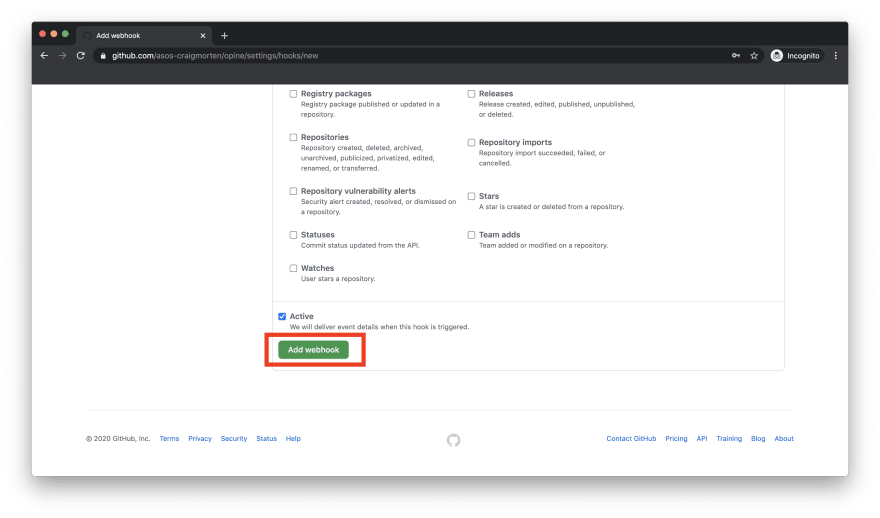
-
Confirm that your webhook has been added on the Webhook screen.

Once these steps have been completed, all that is left is to create a release / tag in you GitHub repo. Here's one way you can create a release in GitHub:
Navigate to the repository you want to create a release for.
-
Click on the
Releaseslink on the right hand side menu.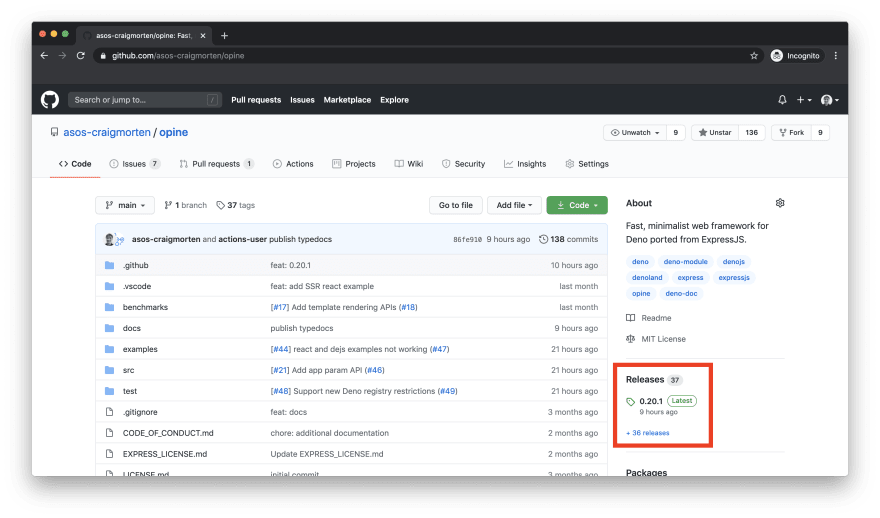
-
Click on the
Draft a new releasebutton.
-
Fill out the
Tag versionfield,Release titlefield andDescribe this releasetextbox.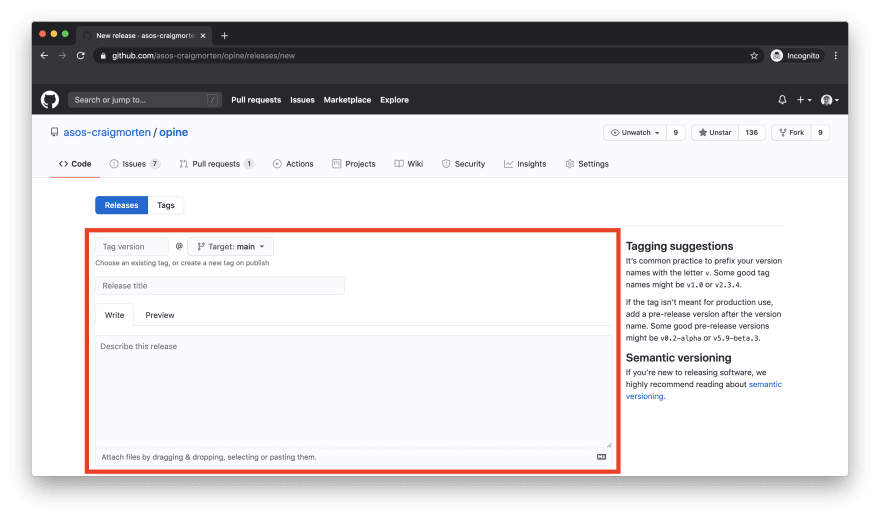
-
Click on the
Publish releasebutton.
You should now be able to navigate to https://deno.land/x/ and search for your module, or navigate directly to your hosted module via https://deno.land/x/<moduleName>, again replacing <moduleName> with the name of your module. If it doesn't appear at first, try refreshing a couple of times - the registration and upload of a new module and tag can take a few seconds some times.
If after some time your module is still not appearing in the Deno registry some good things to try are:
- Navigate to your repo's Releases page and check that you successfully created the release.
- Navigate to your Webhooks settings page and check that you created the webhook exactly as described - clicking
Editor on the webhook link will take you to a page where you can edit your webhook. - On the webhook edit page, navigate to the
Recent Deliveriessection at the bottom and click on the last on the delivery ids to expand out detailed information on the recent webhook requests and responses which can be useful for debugging. - If all else fails, reach out to the Deno maintainers either by opening an issue on the deno_registry2 repository or by messaging on the #help channel of the Deno Discord.
For more information about the Deno registry, head over to it's landing page at https://deno.land/x/ (which also has usage guides) and check out this blog post on the v2 registry.
nest.land Registry
Another popular registry is the nest.land registry, a Deno registry on the blockchain. This registry has several nice features around security, immutability and being independent of any source code management system, i.e. it doesn't require you to be using git or GitHub.
Here's how you can upload to the nest.land registry:
Navigate to the https://nest.land/ page in a browser.
-
Click on the
Get Startedlink.
-
Click on the
No account? Sign uplink.
-
Fill out the
Usernamefield with a new, unique username for your account and enter a secret password into thePasswordandConfirm Passwordfields.
-
Click on the
Create Account and Generate an API Keybutton.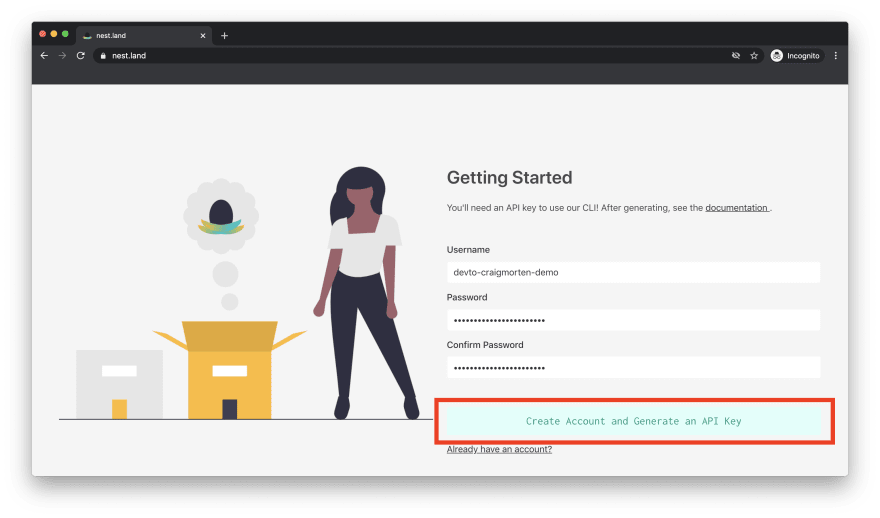
-
You will be provided with your own unique API key. Note this and keep it secret and safe.

In an IDE / terminal of your choice, navigate to the root directory of the code you wish to publish as a module.
Install the nest.land
eggsCLI by executingdeno install -A -f --unstable -n eggs https://x.nest.land/eggs@0.2.1/mod.tsin your terminal. Further details are available on the nest.land installation docs page.In your terminal execute
eggs link <key>, making sure to replace<key>with the nest.land API key you generated earlier. This will save your API key on your local machine meaning you will be able to publish modules to nest.land without having to log in ever again. Further details are available in the nest.land docs.Initialize your module (similar to
npm init) to configure it for nest.land by executingeggs init. This will prompt you to enter a series of information regarding the module such as the name, description, version etc. The outcome will be a newly createdegg.jsonin the root directory of your project which is very similar to apackage.json. See the nest.land docs for more information on initializing a module and details on the egg.json configuration.Publish your module by executing
eggs publish. See the nest.land publish docs for further information.Confirm your module published successfully by navigating to the nest.land gallery and searching for your module.
-
Clicking on your module should open a dedicated page including your module's readme and information on how to import your module from nest.land.

If you have any issues, the nest.land docs are a good place to start. Alternatively you can reach out to the community and maintainers via the nest.land GitHub discussions or by raising an issue on the nest.land GitHub.
That's all folks! 🎉
Please drop any questions, queries and comments below. If your using a registry not mentioned in this article I would love to hear about it as well!
Till next time! 🚀


Top comments (2)
Am I right in thinking then the Deno Land registry is no longer using that JSON config file?
Hey Rob 👋
Yes you are correct - the Deno Land registry is now not using the old
database.jsonfile. In fact the file was deleted completely 3 days ago by the core team in this PR --> github.com/denoland/deno_website2/...If you had a module previously on the registry using the
database.jsonfile then it should still be available provided it had a tagged version. I believe modules without tags / versions which were on the registry will be removed within the next 30 days if a new version is not published using the webhook approach - so it is advised you migrate modules to using the webhook asap! See below for an example warning message from the registry:The official (and afaik only) way to now upload modules to the Deno Land registry is via webhooks as per this article (and instructions also available on the deno.land/x page itself).