
Storing text in the Database is one of the most current operations that we, as developers, are going to do. Sometimes we need to save the data from the server so the users can open the app and if there's data already stored we can show that first, or if we want to implement an have an offline mode.
Today we're going to see how to store data in Flutter. Our app is going to be a Todo app, where we store these todos to watch them later.
What we're going to need:
- A Todo Class.
- A Screen, which let us create the Todo.
- Add the dependency for Sqflite.
- A DatabaseHelper which is a class that contains the logic of the Database.
First, we're going to create our Todo class:
class Todo {
  final int id;
  final String content;
  final String title;
  static const String TABLENAME = "todos";

  Todo({this.id, this.content, this.title});

  Map<String, dynamic> toMap() {
    return {'id': id, 'content': content, 'title': title};
  }
}
This is the Todo Class which has a content and a title as properties.
Before creating our DatabaseHelper, we're going to add our dependencies to the pubspec.yml to do that we need to add the following lines below the flutter dependency.
dependencies:
  flutter:
    sdk: flutter
  sqflite:
  path:
Now we're going to create our DatabaseHelper, which is going to manage the Database for us.
class DatabaseHelper {
  //Create a private constructor
  DatabaseHelper._();

  static const databaseName = 'todos_database.db';
  static final DatabaseHelper instance = DatabaseHelper._();
  static Database _database;

  Future<Database> get database async {
    if (_database == null) {
      return await initializeDatabase();
    }
    return _database;
  }

  initializeDatabase() async {
    return await openDatabase(join(await getDatabasesPath(), databaseName),
        version: 1, onCreate: (Database db, int version) async {
      await db.execute(
          "CREATE TABLE todos(id INTEGER PRIMARY KEY AUTOINCREMENT NOT NULL, title TEXT, content TEXT)");
    });
  }
}
There's a lot of things going on there. Let's explain them. Accessing a database is an asynchronous operation, which means we must use Futures to initialize the database property. In the function InitializeDatabase, we're going to create a database using the openDatabase function from the Sqlite library we added before, and we must pass the following parameters.
- A join function with the databasesPath(), which is the path of the Database in their respective OS (Android, iOS) and the database name, which is a constant we already defined.
- An anonymous function that is going to be executed when the onCreate status is reached and inside of that function a query to be executed. In this example a query to create a Table.
The insertTodo() function is a function that takes a Todo as a parameter and retrieves our previously created Database.
Then we call the insert() function, which takes three parameters:
- The name of the table in which it's going to insert that data, in our case is already defined in our Todo class.
- A map, which is the data we want to insert. For this, we have our toMap function, which converts our Todo object to a Map.
- A constant to decide which algorithm to use when the Database found the same Todo twice, in our case, we're going to use the replace one.
Finally, we can create our Screen to fill our Todo object. Since the fields are editable, the Widget must be a StatefulWidget, so we create our StatefulWidget with its respective State. The widgets that we're going to use are the TextFields and a FloatingActionButton to save the Todo.
class CreateTodoScreen extends StatefulWidget {

  @override
  State<StatefulWidget> createState() {
    return _CreateTodoState();
  }
}

class CreateTodoScreen extends StatefulWidget {

  @override
  State<StatefulWidget> createState() {
    return _CreateTodoState();
  }
}

class _CreateTodoState extends State<CreateTodoScreen> {
  final descriptionTextController = TextEditingController();
  final titleTextController = TextEditingController();

  @override
  void dispose() {
    super.dispose();
    descriptionTextController.dispose();
    titleTextController.dispose();
  }

  @override
  Widget build(BuildContext context) {
    return Scaffold(
      appBar: AppBar(
        title: Text('Retrieve Text Input'),
      ),
      body: Column(
        children: <Widget>[
          Padding(
            padding: const EdgeInsets.all(16.0),
            child: TextField(
              decoration: InputDecoration(
                  border: OutlineInputBorder(), labelText: "Title"),
              maxLines: 1,
              controller: titleTextController,
            ),
          ),
          Padding(
            padding: const EdgeInsets.all(16.0),
            child: TextField(
              decoration: InputDecoration(
                  border: OutlineInputBorder(), labelText: "Description"),
              maxLines: 10,
              controller: descriptionTextController,
            ),
          ),
        ],
      ),
      floatingActionButton: FloatingActionButton(
          child: Icon(Icons.check),
          onPressed: () {
            DatabaseHelper().insertTodo(Todo(
                title: titleTextController.text,
                content: descriptionTextController.text));
            Navigator.pop(context, "Your todo has been saved.");
          }),
    );
  }
}
To retrieve the data from the TextField, we're going to use TextEditingControllers, which we initialize in the CreateTodoState after that we override the function dispose of the CreateTodoState and call the dispose function of each controller.
Lately, when we create our TextField, we pass their respective controller as a parameter. Finally, in the FloatingActionButton onPressed parameter, we pass an anonymous function, which calls our DatabaseHelper and inserts the Todo object.

Retrieving the Todo's from the database.
What we're going to do first is to add another Button to our HomeScreen. For that, let's create a new Widget called ReadTodoButton. This Widget returns a RaisedButtonWidget, which has an onPressed function that uses the Navigator to send us to the next screen, which is the ReadTodoScreen, we're going to create this screen in the future.
The ReadTodoButton Widget is going to look like this:
class ReadTodoButton extends StatelessWidget {
  @override
  Widget build(BuildContext context) {
    return RaisedButton(
      onPressed: () {
        _navigateToReadTodoScreen(context);
      },
      child: Text("Read Todo"),
    );
  }

  _navigateToReadTodoScreen(BuildContext context) async {
    Navigator.push(
      context,
      MaterialPageRoute(builder: (context) => ReadTodoScreen()),
    );
  }
}
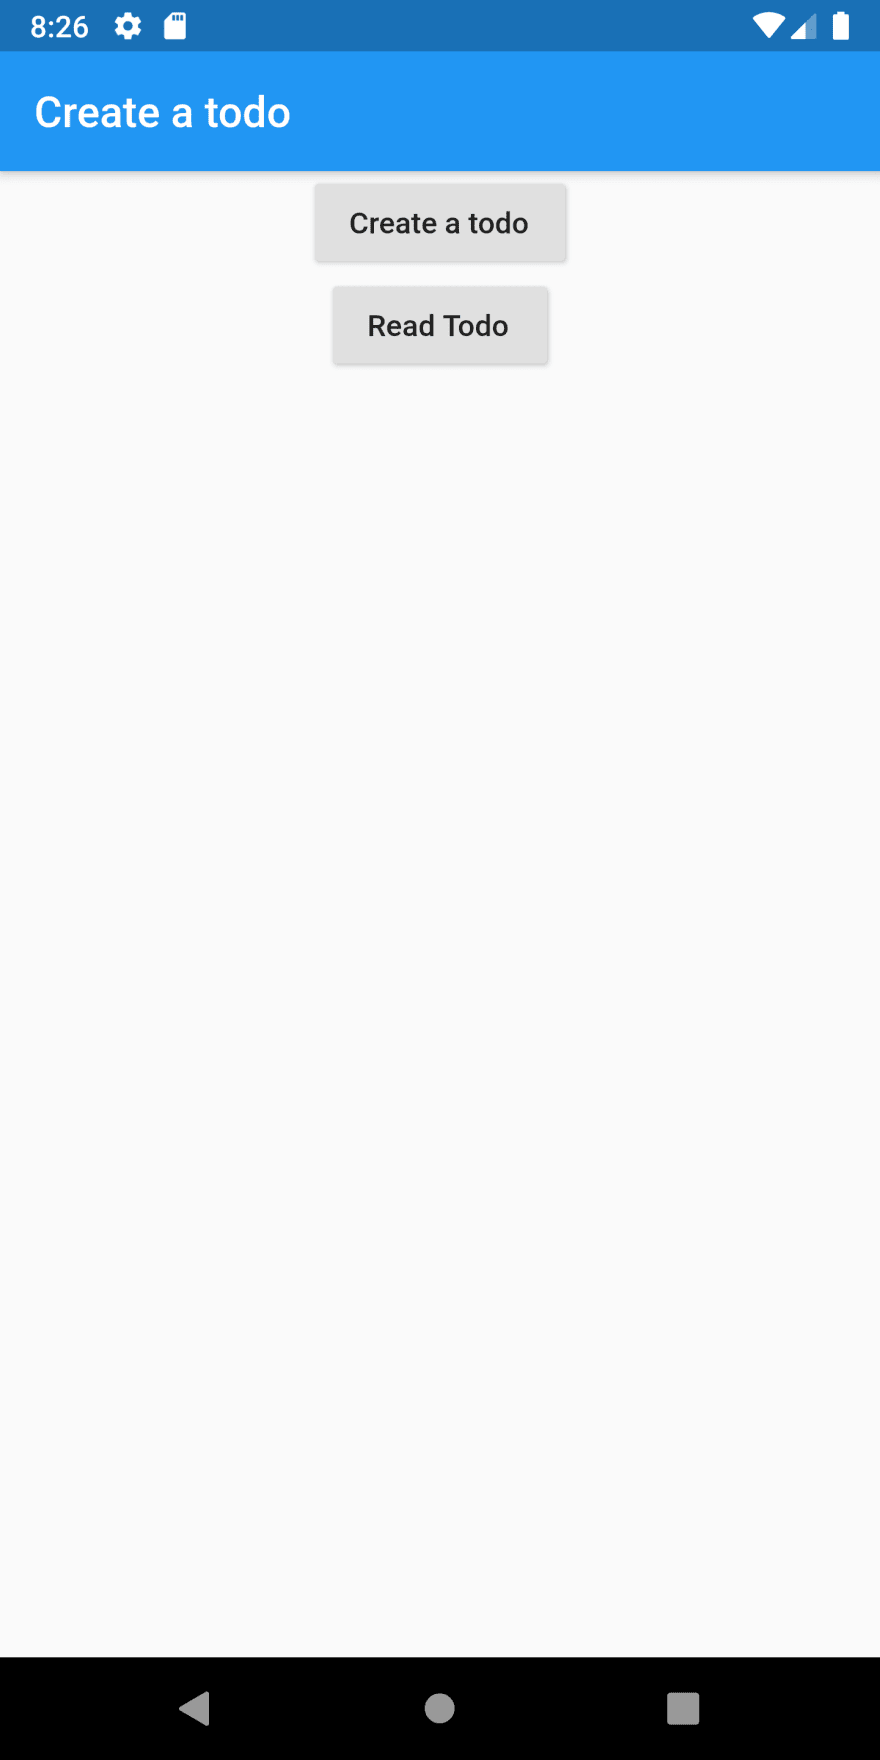
Then we're going to add it to the children's array of our HomeScreen Widget. And the result would be this:
class HomeScreen extends StatelessWidget {
  @override
  Widget build(BuildContext context) {
    return Scaffold(
      appBar: AppBar(
        title: Text('Create a todo'),
      ),
      body: Column(
        children: <Widget>[
          Center(child: CreateTodoButton()),
          Center(child: ReadTodoButton())
        ],
      ),
    );
  }
}
Now we're going to add a new function in our DatabaseHelper class, which is going to return the previously saved Todo's. First, we're going to create a function that returns a list of Todo items wrapped in a Future object, and since it returns a Future, that function should include the async reserved keyword in their signature.
Future<List<Todo>> retrieveTodos() async {
    // Logic we will add later
}
Then we will retrieve our Database object, and since it is an async operation, we're going to use the await keyword.
final Database db = await database;
The next step we're going to do is create a list of maps that have a key which is a String and a value that is going to be dynamic, we obtain that value from a query function of the database. It will look as follows.
final List<Map<String, dynamic>> maps = await db.query(Todo.TABLENAME);
In the database query function, we're going to pass the name of the table, which is defined in our Todo object.
In the last step we need to convert that List of maps into a List of Todos. To do that, we need to create a list using the generate function which takes two parameters, the size of the List and an anonymous function.
In the last step, we need to convert that list of maps into a List of Todos. For that we would need to create a list using the generate function which takes two parameters, the size of the list and an anonymous function.
For the size of the list we can use the maps.length, which gives us the length that we're going to need. For the anonymous function, we need to create a function that returns a Todo for each element of the list.
The code will look like this:
return List.generate(maps.length, (i) {
      return Todo(
        id: maps[i]['id'],
        title: maps[i]['title'],
        content: maps[i]['content'],
      );
    });
We take the id, title, and content from the maps variable, then we assign it to our new Todo object.
With that function, we finally have a function that returns our Todo's object. The only thing left is creating a new screen, which shows the Todo's.
To create our ReadTodoScreen, we're going to create a Stateless Widget, which has a List as a Body . But since we're going to retrieve the data from a Future, we need to wrap our list in a FutureBuilder.
A FutureBuilder is a widget that requires a generic which is declared inside angle brackets, and requires as a parameter a Future and the Builder.
We're going to pass as a Future the function of our Database Helper, and as a builder, an anonymous function that needs the context and a snapshot, and the anonymous function return a Widget.
Inside the anonymous function, we must check if the snapshot (The object which contains the Todo's) has data using the .hasData() function. If it has, we're going to return a new ListView widget, otherwise, we're going to show a text with a message that says, "Oops!".
We must also return a CircularProgressIndicator to show while the operation is ongoing.
The code of the screen is the following:
class ReadTodoScreen extends StatelessWidget {
  @override
  Widget build(BuildContext context) {
    return Scaffold(
      appBar: AppBar(
        title: Text('Saved Todos'),
      ),
      body: FutureBuilder<List<Todo>>(
        future: DatabaseHelper().retrieveTodos(),
        builder: (context, snapshot) {
          if (snapshot.hasData) {
            return ListView.builder(
              itemCount: snapshot.data.length,
              itemBuilder: (BuildContext context, int index) {
                return ListTile(
                  title: Text(snapshot.data[index].title),
                  subtitle: Text(snapshot.data[index].content),
                );
              },
            );
          } else if (snapshot.hasError) {
            return Text("Oops!");
          }
          return CircularProgressIndicator();
        },
      ),
    );
  }
}
Note: The ListView.Builder function requires the size of the list that is going to be displayed and a Widget that is each tile of the list.
Updating the Todo's
To update our Todo's, we need to make certain modifications. First, we're going to add this new function to the DatabaseHelper.
updateTodo(Todo todo) async {
    final db = await database;

    await db.update(Todo.TABLENAME, todo.toMap(),
        where: 'id = ?',
        whereArgs: [todo.id],
        conflictAlgorithm: ConflictAlgorithm.replace);
  }
In this function, we obtain the Database, then we call the function update() from the Database, and we pass the next parameters.
- The tablename we previously defined in our Todo object.
- The Todo object converted into a map using the toMap function.
- The where parameter. Which is the clause to apply the changes. In our case, we want to use the id.
- The whereArgs parameter which is going to replace the "?" sign in the where clause.
- And finally, a Constant that specifies the algorithm to use in case there is a conflict.
At this time, we need to update our UI. First, we're going to modify our DetailTodoScreen to allow us to edit our Todo. We need to add a Todo as an optional parameter in our DetailTodoScreen constructor, then create a final Todo property in our Widget, and since it is a StatefulWidget, pass it to the State.
class DetailTodoScreen extends StatefulWidget {
    final Todo todo;

  const DetailTodoScreen({Key key, this.todo}) : super(key: key);

  @override
  State<StatefulWidget> createState() => _CreateTodoState(todo);
}
In our State we need to add the Todo as a parameter in the constructor, create the Todo property and override the initState in which we're going to set the title and the description if the Todo exists.
class _CreateTodoState extends State<DetailTodoScreen> {
  Todo todo;
  final descriptionTextController = TextEditingController();
  final titleTextController = TextEditingController();

  _CreateTodoState(this.todo);

  @override
  void initState() {
    super.initState();
    if (todo != null) {
      descriptionTextController.text = todo.content;
      titleTextController.text = todo.title;
    }
  }
Finally, in the onPressed anonymous function, we need to call a new function, which is saveTodo, that is going to call the DatabaseHelper updateTodo function if we passed a previously created Todo. Otherwise, it will insert a new Todo in our Database. Finally, in the same onPressed anonymous function, we're going to call the setState function.
This is how our State is going to look.
class _CreateTodoState extends State<DetailTodoScreen> {
  Todo todo;
  final descriptionTextController = TextEditingController();
  final titleTextController = TextEditingController();

  _CreateTodoState(this.todo);

  @override
  void initState() {
    super.initState();
    if (todo != null) {
      descriptionTextController.text = todo.content;
      titleTextController.text = todo.title;
    }
  }

  @override
  void dispose() {
    super.dispose();
    descriptionTextController.dispose();
    titleTextController.dispose();
  }

  @override
  Widget build(BuildContext context) {
    return Scaffold(
      appBar: AppBar(
        title: Text('Retrieve Text Input'),
      ),
      body: Column(
        children: <Widget>[
          Padding(
            padding: const EdgeInsets.all(16.0),
            child: TextField(
              decoration: InputDecoration(
                  border: OutlineInputBorder(), labelText: "Title"),
              maxLines: 1,
              controller: titleTextController,
            ),
          ),
          Padding(
            padding: const EdgeInsets.all(16.0),
            child: TextField(
              decoration: InputDecoration(
                  border: OutlineInputBorder(), labelText: "Description"),
              maxLines: 10,
              controller: descriptionTextController,
            ),
          ),
        ],
      ),
      floatingActionButton: FloatingActionButton(
          child: Icon(Icons.check),
          onPressed: () async {
            _saveTodo(titleTextController.text, descriptionTextController.text);
            setState(() {});
          }),
    );
  }

  _saveTodo(String title, String content) async {
    if (todo == null) {
      DatabaseHelper.instance.insertTodo(Todo(
          title: titleTextController.text,
          content: descriptionTextController.text));
      Navigator.pop(context, "Your todo has been saved.");
    } else {
      await DatabaseHelper.instance
          .updateTodo(Todo(id: todo.id, title: title, content: content));
      Navigator.pop(context);
    }
  }
}
Deleting a Todo
To delete a Todo, we need to add the delete function to our DatabaseHelper.
deleteTodo(int id) async {
    var db = await database;
    db.delete(Todo.TABLENAME, where: 'id = ?', whereArgs: [id]);
  }
This function calls the delete function from the Sqflite library in which we pass the table name, the where clause, and the id of the Todo.
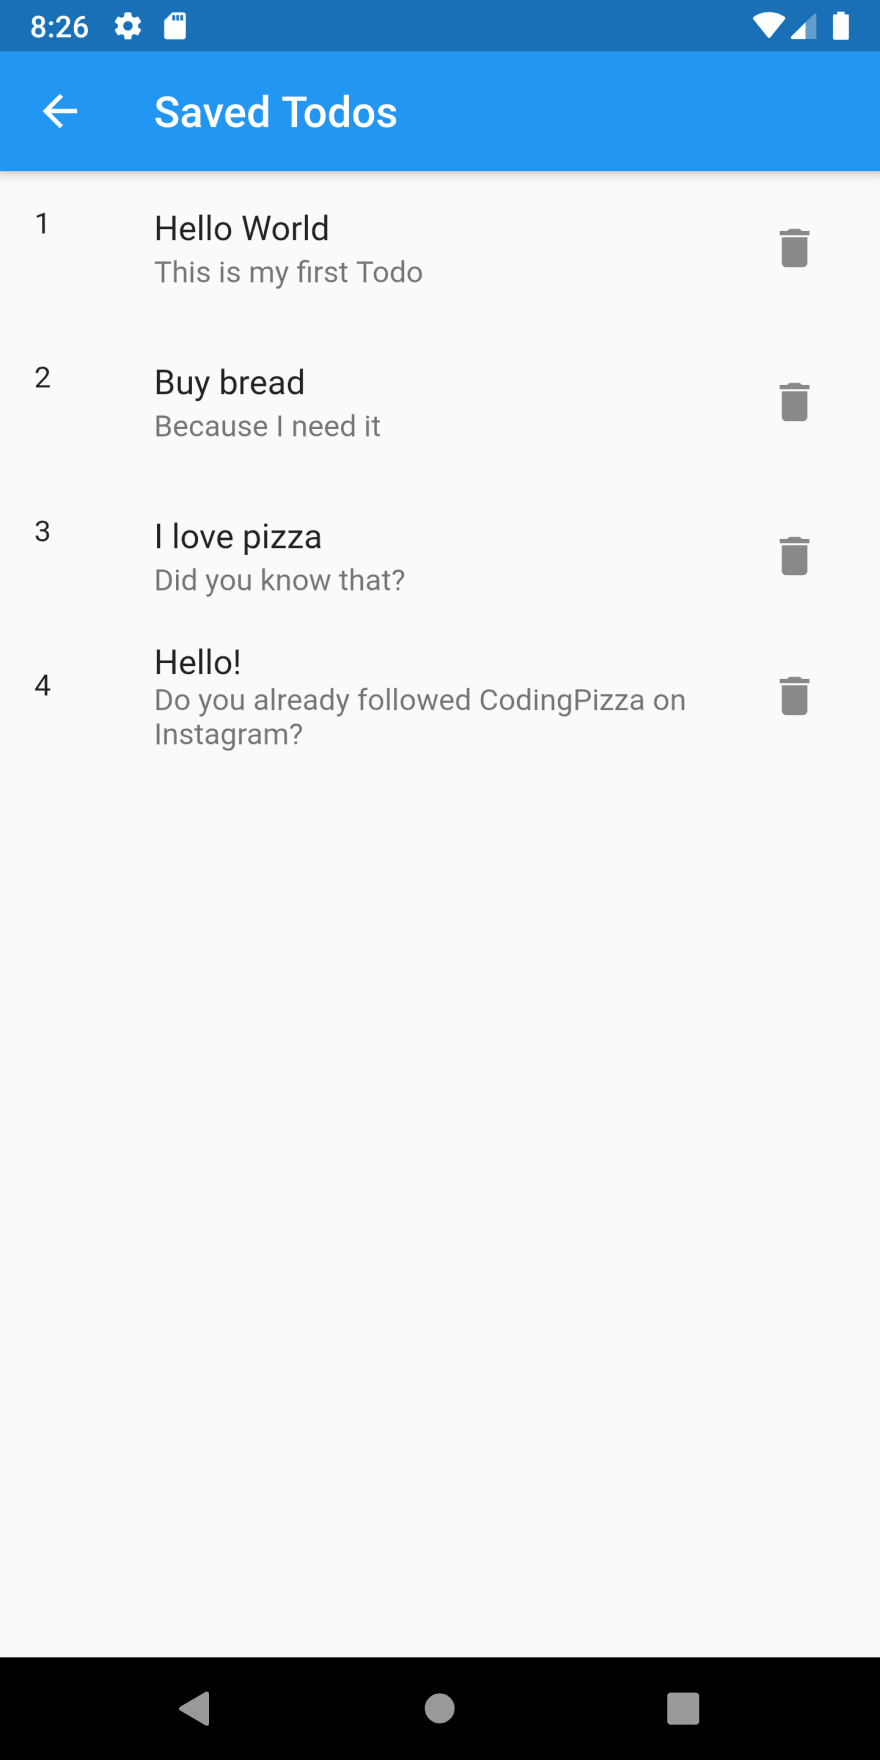
Then in our UI, we're going to add a delete button in our Todo List. In our ListTile Widget, we're going to pass as a trailing parameter an IconButton Widget. Finally, in the onPressed parameter, we're going to add an anonymous function that calls the deleteTodo from the DatabaseHelper class.
class  ReadTodoScreen extends StatefulWidget {
  @override
  _ReadTodoScreenState createState() => _ReadTodoScreenState();
}

class _ReadTodoScreenState extends State<ReadTodoScreen> {
  @override
  Widget build(BuildContext context) {
    return Scaffold(
      appBar: AppBar(
        title: Text('Saved Todos'),
      ),
      body: FutureBuilder<List<Todo>>(
        future: DatabaseHelper.instance.retrieveTodos(),
        builder: (context, snapshot) {
          if (snapshot.hasData) {
            return ListView.builder(
              itemCount: snapshot.data.length,
              itemBuilder: (BuildContext context, int index) {
                return ListTile(
                  title: Text(snapshot.data[index].title),
                  leading: Text(snapshot.data[index].id.toString()),
                  subtitle: Text(snapshot.data[index].content),
                  onTap: () => _navigateToDetail(context, snapshot.data[index]),
                  trailing: IconButton(
                      alignment: Alignment.center,
                      icon: Icon(Icons.delete),
                      onPressed: () async {
                        _deleteTodo(snapshot.data[index]);
                        setState(() {});
                      }),
                );
              },
            );
          } else if (snapshot.hasError) {
            return Text("Oops!");
          }
          return Center(child: CircularProgressIndicator());
        },
      ),
    );
  }
}

_deleteTodo(Todo todo) {
  DatabaseHelper.instance.deleteTodo(todo.id);
}

_navigateToDetail(BuildContext context, Todo todo) async {
  Navigator.push(
    context,
    MaterialPageRoute(builder: (context) => DetailTodoScreen(todo: todo)),
  );
}
That's it! We now have an app that can store a Todo, read it from the database, update it, and delete it.
The code is available here. Thanks for reading! If you don't want to miss any of this post, don't forget to follow me!
Instagram: www.instagram.com/codingpizza
Twitter: www.twitter.com/coding__pizza
Facebook: www.facebook.com/codingpizza
Site: www.codingpizza.com


Top comments (0)