Angular CLI Deploying Fast
Deploying Fast
So you have a conference or perhaps a JAMStackGR meeting that you created an Angular app for and need to show it to the world. How do you deploy this out to a CDN (Content Delivery Network) so that the world can access your new app? There are many ways that you can deploy your site, but one of note is the Angular CLI, it allows you to deploy to 6 different platforms.
First lets make sure you have already covered a couple of things.
- Create app command
ng new - Serve command
ng serve - Test full build using
ng build --prodcommand locally and lite-server and try out on local browser
Create Your App
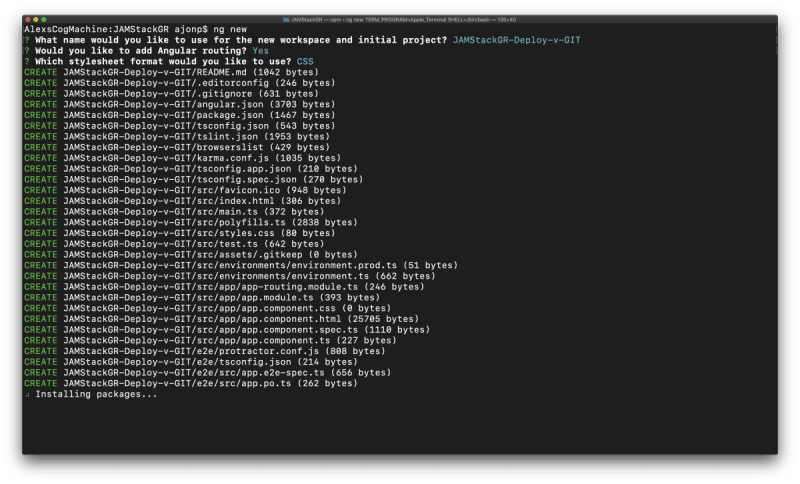
We are keeping this one simple and running the default Angular New command, pick a name and then answer yes to everything
ng new
Serve Locally
We are going to make one simple change and use a different default image on our app. To do this we are going to open VSCode (Visual Studio Code).
code JAMStackGR-Deploy-v-GIT
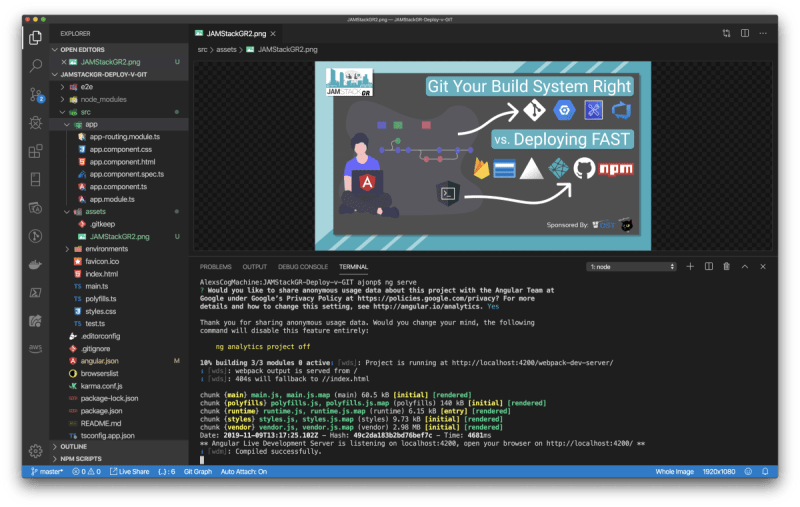
Now that VSCode is open add your favorite image to the src/assets/ so that we can access it within our app.
You can do this in your favorite terminal or within VSCode ctrl+~ will open the terminal within VSCode
First try out the default application by running the below command.
ng serve
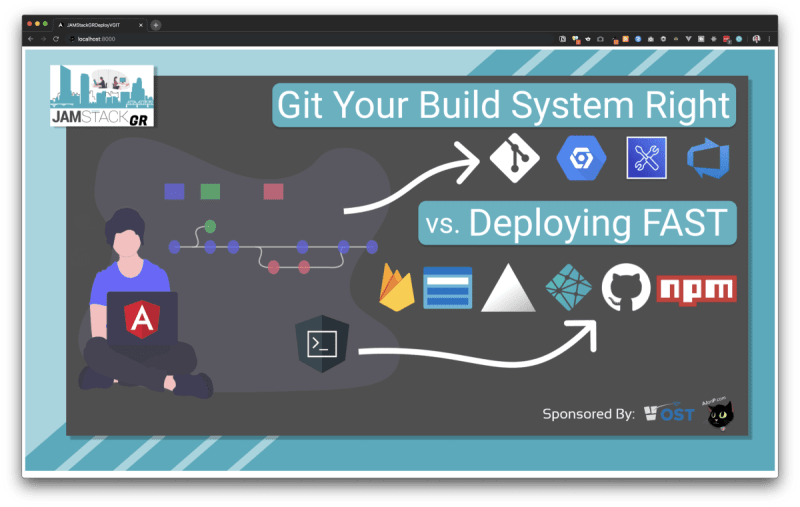
Open the browser to see the default Angular Application
Now we will remove all of this and just put our picture on the page. There should be a bunch of html in between the two comments below. You can remove all of this!
app.component.html
<!-- * * * * * * * * * * * * * * * * * * * * * * * * * * * * * * * -->
<!-- * * * * * * * * * * * The content below * * * * * * * * * * * -->
<!-- * * * * * * * * * * is only a placeholder * * * * * * * * * * -->
<!-- * * * * * * * * * * and can be replaced. * * * * * * * * * * * -->
<!-- * * * * * * * * * * * * * * * * * * * * * * * * * * * * * * * -->
<!-- * * * * * * * * * Delete the template below * * * * * * * * * * -->
<!-- * * * * * * * to get started with your project! * * * * * * * * -->
<!-- * * * * * * * * * * * * * * * * * * * * * * * * * * * * * * * -->

<!-- * * * * * * * * * * * * * * * * * * * * * * * * * * * * * * * -->
<!-- * * * * * * * * * * * The content above * * * * * * * * * * * -->
<!-- * * * * * * * * * * is only a placeholder * * * * * * * * * * -->
<!-- * * * * * * * * * * and can be replaced. * * * * * * * * * * * -->
<!-- * * * * * * * * * * * * * * * * * * * * * * * * * * * * * * * -->
<!-- * * * * * * * * * * End of Placeholder * * * * * * * * * * * -->
<!-- * * * * * * * * * * * * * * * * * * * * * * * * * * * * * * * -->
When angular serves the asset folder you can find the above added picture in the directory /assets/. We will wrap our picture in a simple flex layout and add leave the <router-outlet></router-outlet> in case this app gets modules added later.
<div style="display: flex; justify-content: center; width: '100%';">
  <img src="assets/JAMStackGR2.png" alt="JAMStackGR 2 Logo" style="width: 100%;" />
</div>
<router-outlet></router-outlet>
Production Build
Once your picture is showing in the browser this means that we are ready to make a production version of our application. To do this we are going to execute the below command.
ng build --prod
Once this completes it will have compiled the complete app and you will find it in a new folder within the dist/ directory. This is the full application and at this point we can serve this locally with a server. A simple one that I like to use is lite-server which is also recommended in the Angular deploy documentation, I like to install this globally.
npm i -g lite-server@latest
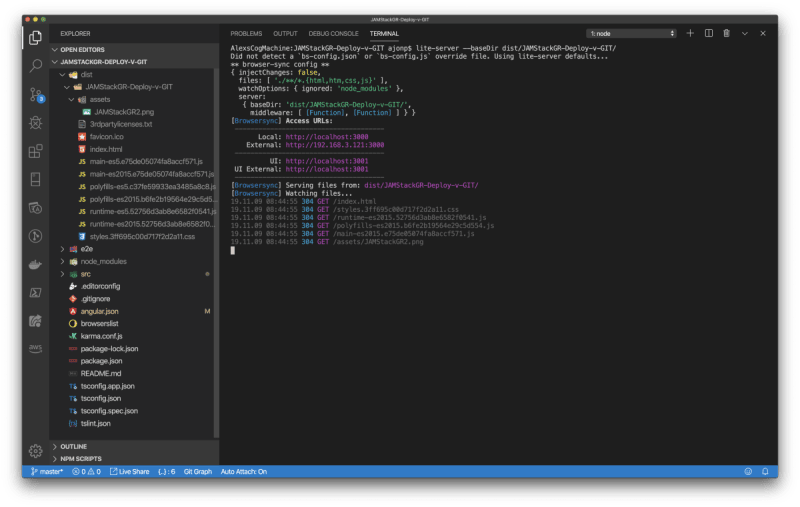
An example to serve from our base directory is the command below
lite-server --baseDir dist/JAMStackGR-Deploy-v-GIT/
You can see the production site on https://localhost:3000
This might seem the same as using ng serve, but this is running the production code!
Angular Deploy Platforms
The Angular CLI command
ng deploy(introduced in version 8.3.0) executes thedeployCLI builder associated with your project. A number of third-party builders implement deployment capabilities to different platforms. You can add any of them to your project by runningng add [package name].
~ Angular GuidePlease also note that I am in now way suggesting you should use the quick deploy methods with public repos (as there are keys all over) or that they are ready for true production use. This method is best used as demos.
- Firebase Hosting https://www.npmjs.com/package/@angular/fire
- Azure https://www.npmjs.com/package/@azure/ng-deploy
- Now https://www.npmjs.com/package/@zeit/ng-deploy
- Netlify https://www.npmjs.com/package/@netlify-builder/deploy
- GitHub pages https://www.npmjs.com/package/angular-cli-ghpages
- NPM https://www.npmjs.com/package/ngx-deploy-npm
Firebase Hosting
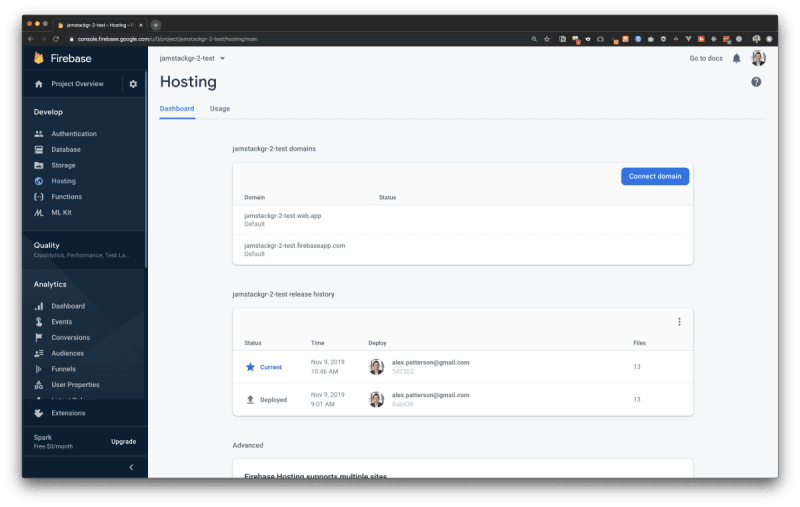
Firebase Hosting is hosting on CDN edge servers around the world. There are several products in the Firebase suite including Firestore which offers a Backend as a Service. You will need a firebase account (google user account) in order to use this service, and a firebase project created.
Creating a Firebase project https://console.firebase.google.com/ login and select Add Project, give it a unique name.
Deploy command
ng add @angular/fire
This command has added the correct npm packages
"@angular/fire": "^5.2.1",
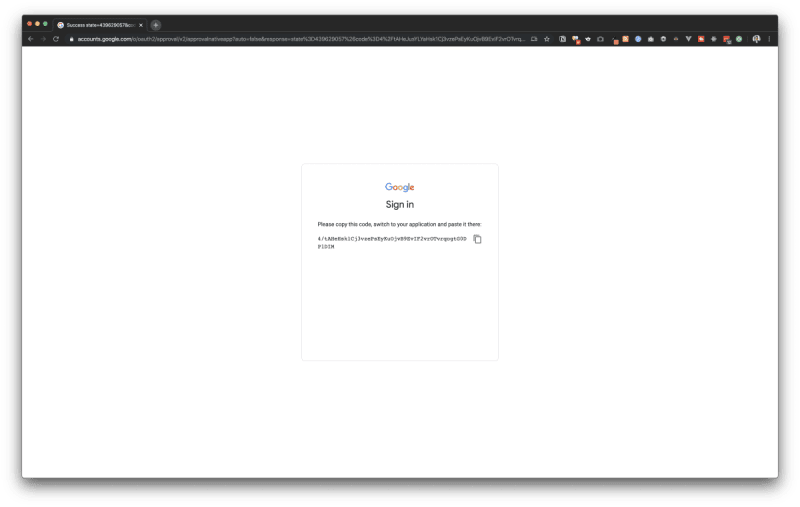
Login using the CLI, this will direct you to login so that the CLI can be granted to act on your behalf.
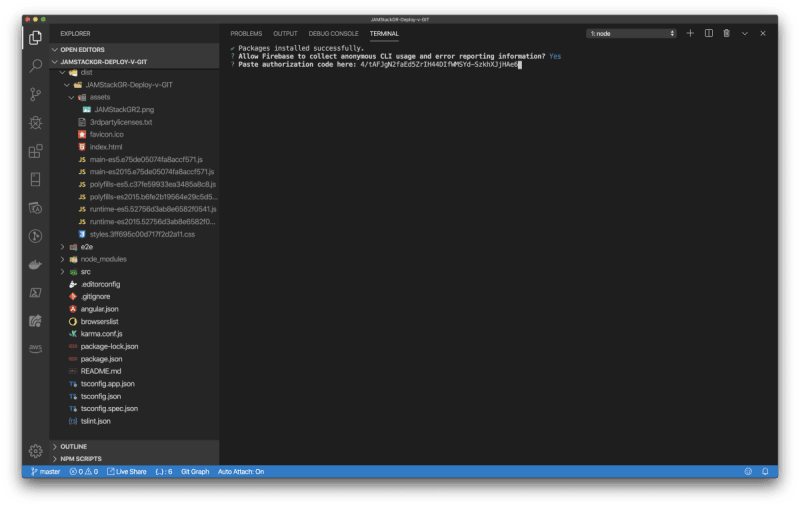
You will then need to copy the login token so that you can paste it back in the CLI.
Paste the code like below
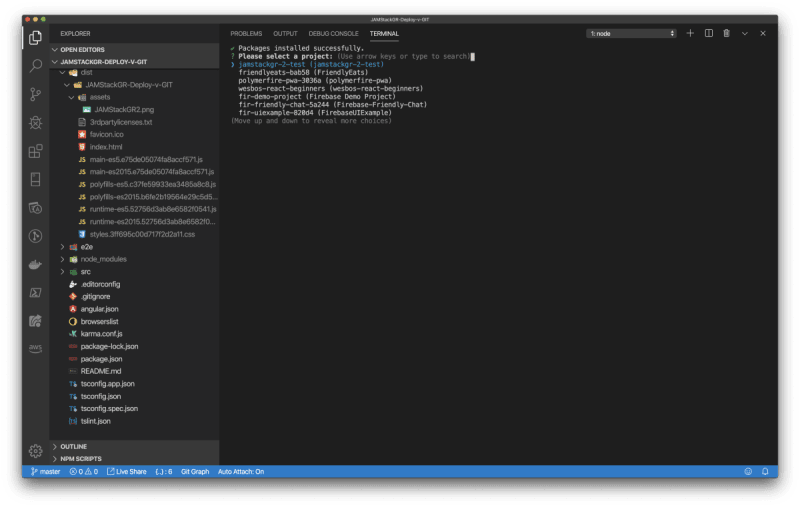
Now that the CLI can access your projects it will have them in a list. Select your Firebase project that you have created.
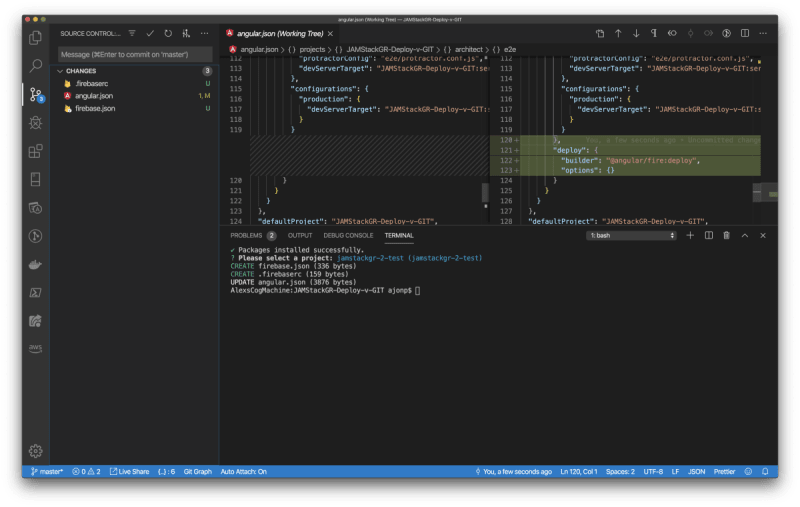
If you take a look at angular.json you will now see that there is an entry for this deploy option listed
"deploy": {
  "builder": "@angular/fire:deploy",
  "options": {}
}
The CLI also created some default firebase files in your project .firebaserc and firebase.json. See below.
Now that everything is setup you can run the deploy command below
ng deploy
This will build your project and deploy it to Firebase Hosting
Demo site: https://jamstackgr-2-test.firebaseapp.com/
Continue Reading on ajonp.com
You can see the rest of the deployment methods!






Top comments (0)