I love Premiere Pro. It's the best video editor. And today in 2023 demand for creating video content is greater than ever! In this tutorial we'll take a look at how to create fade in and fade out effects in Premiere Pro.
So guys! The fastest way to learn is by watching this video.
You can also do the same thing by animating opacity.
Fading screen to black is one of the easiest effects to create.
However it's not called Fade In OR Fade Out in Premiere.
It is called Film Dissolve. Sounds more professional, I guess.
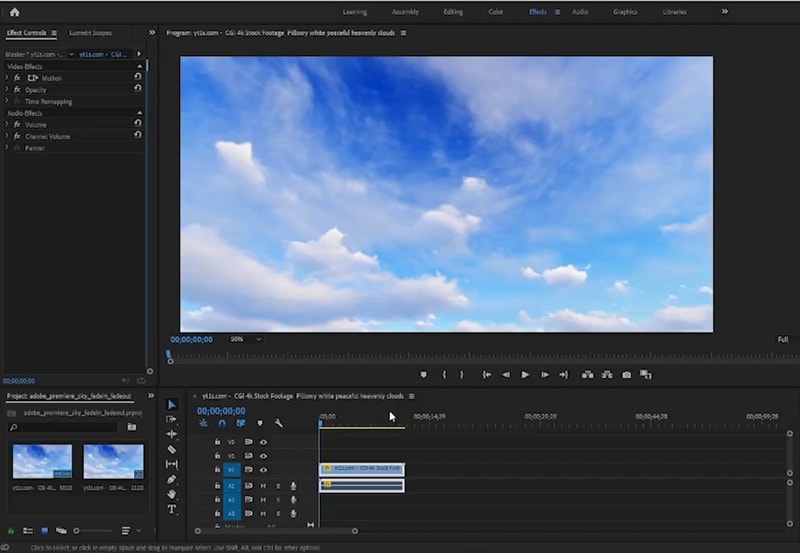
Here's an example of a video loaded into Premiere:
A simple video of clouds fading in and out of background. It's a short clip but it's a perfect setup for demonstrating how to fade out a video in Premiere.
So how do we actually do this?
You have to split your clip into two parts.
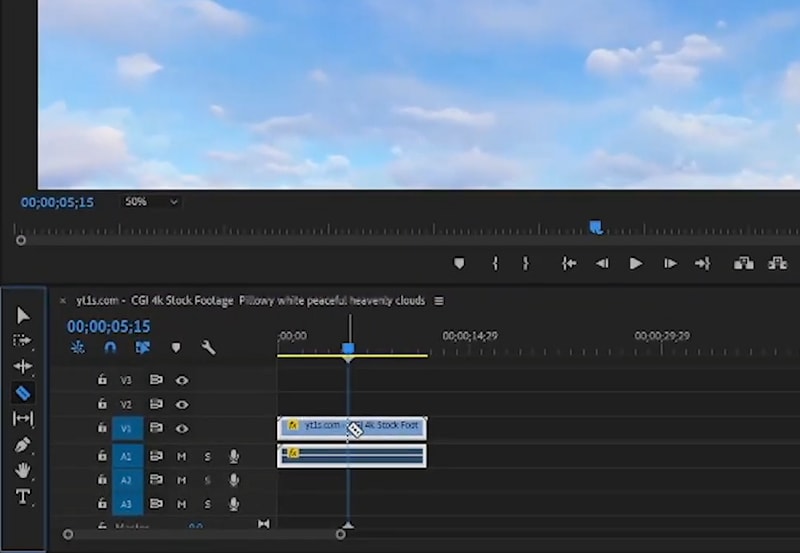
This can be done by using razor tool.
Just divide the clip into two halves. The split point is where you want to insert your fade out effect. (In other words where you want it to start.)
Once you click anywhere on the clip with razor it will split it into two parts at that point.
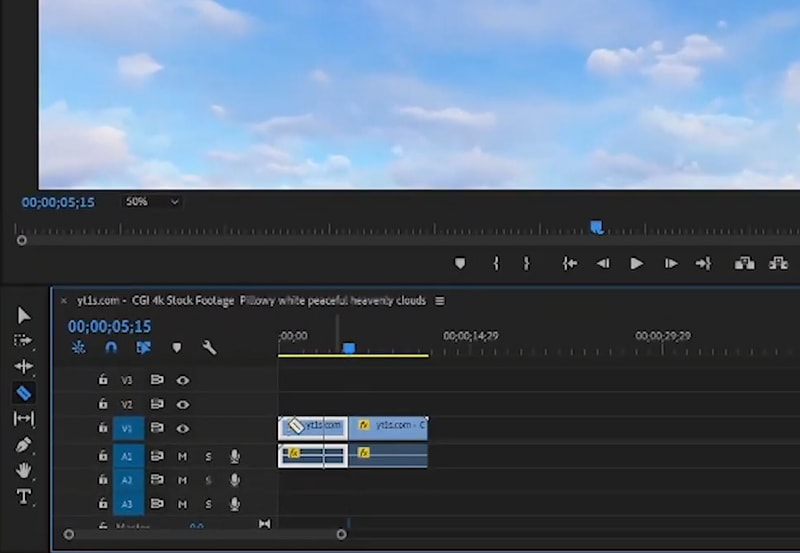
Here's the clip split into two parts:
How to split a clip into two parts with razor tool.Film Dissolve can be applied in two ways:
1 Drag it directly onto the split line between two clips.
2 Separate clips with enough space or move to different lanes. And then apply Film Dissolve to any of the loose ends of the clips.
Now the case 2. produces physically different results.
If you apply Film Dissolve to the starting edge of a clip it creates fade in.
If you apply Film Dissolve to the ending edge of a clip fade out is created.
We're going to choose #2 because it gives us more control.
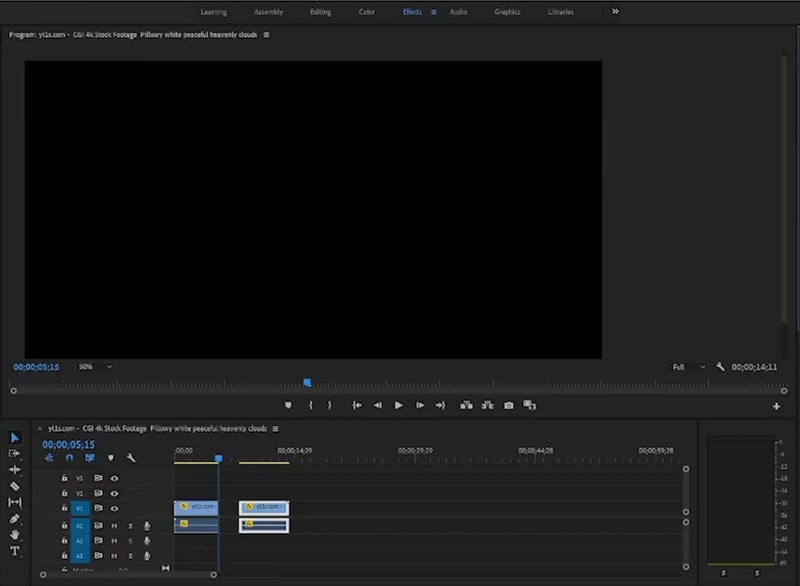
So here I separated the clip by moving them apart:
Notice that the clip was split.
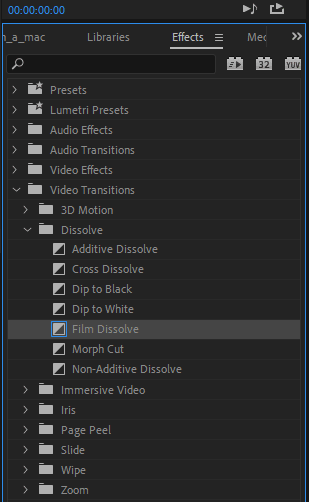
(Image above: Selecting Film Dissolve from Effects tab.)
Now go to your Effects Tab (Shift 7) and select:
- Video Transitions
- Dissolve
- Film Dissolve
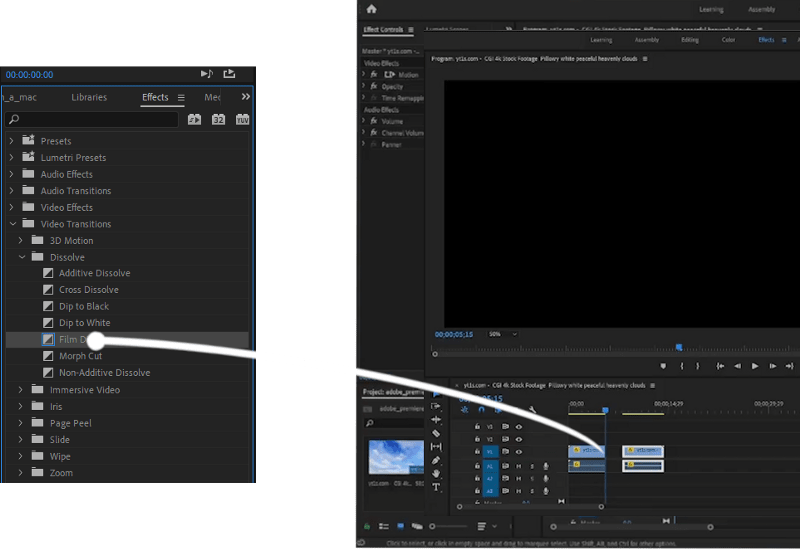
Now drag and drop Film Dissolve onto an end of a clip.
(This is also how you can apply many other effects in Effects tab.)
Adding Film Dissolve to end of clip will apply fade to black effect.
Adding Film Dissolve to start of a clip will create fade in.
This is pretty much all there is to applying fade to black effects.
Fade Out By Animating Opacity Keyframes
There is another way to do a slightly the same thing.
And it's often discovered first by premiere newbies.
To animate opacity watch this video.
So this is the other way to do fade in effects in Premiere Pro!



Top comments (0)