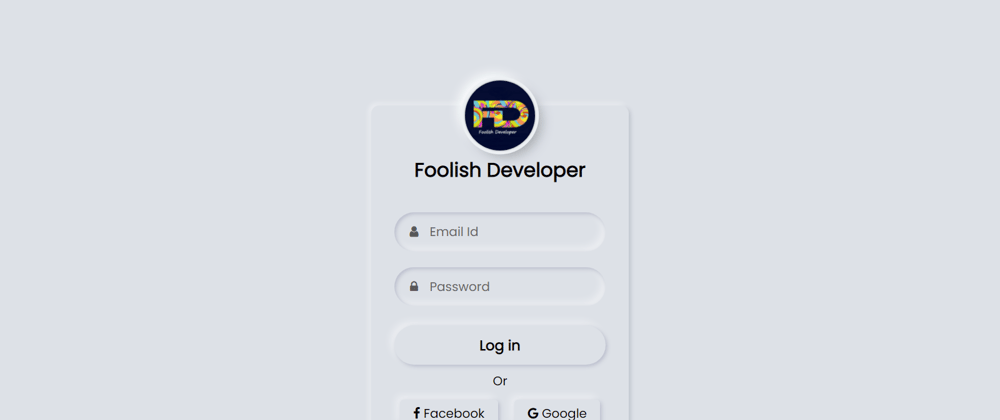
In this article I will show you how to create a login form of neumorphism design. I know everyone knows how to make this kind of design. However, I think there are many beginners who do not know how to create a neumorphism login form. Hopefully this article will help them.
Neumorphism is a modern design that is currently in great demand. It is much more beautiful and attractive than the general design. The color of the background and the color of the background of the content are completely the same. However, in this case, some color effect is created using css programming code to shape the login form. Like the normal login form, it has everything like input email ID and password, login button, and profile image.
If you want a live demo, you can watch the live demo with this link. You can also download the source code.
If you are a beginner, please follow this tutorial below. Below I have shown step by step which code I have used to create an element.
Step 1: Basic HTML Code
First of all add the basic html code to create this login form.
<!--font-awesome icon CDN link-->

<link rel="stylesheet" href="https://cdnjs.cloudflare.com/ajax/libs/font-awesome/4.7.0/css/font-awesome.min.css">

  <div class="content">
 <!--Image & Title-->
      <form action="#">
        <!--Email & password input place-->

       <!--login & outer button-->
      </form>
  </div>
*{
  margin:0;
  padding: 0;
  box-sizing: border-box;
  font-family: 'Poppins', sans-serif;
}

html,body{
  height: 100%;
}

body{
  display: grid;
  place-items: center;
  text-align: center;
  background: #dde1e7;
}
Step 2: basic neumorphism structure
Using the following programming codes I have created the basic structure of this neumorphism design.
.content{
  width: 330px;
  background: #dde1e7;
  border-radius: 10px;
  padding: 40px 30px;
  box-shadow: -3px -3px 7px #ffffff73,
              2px 2px 5px rgba(94, 104, 121, 0.288);
}
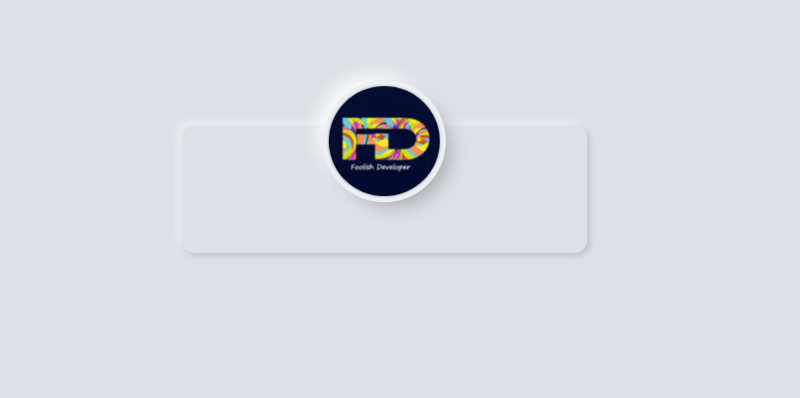
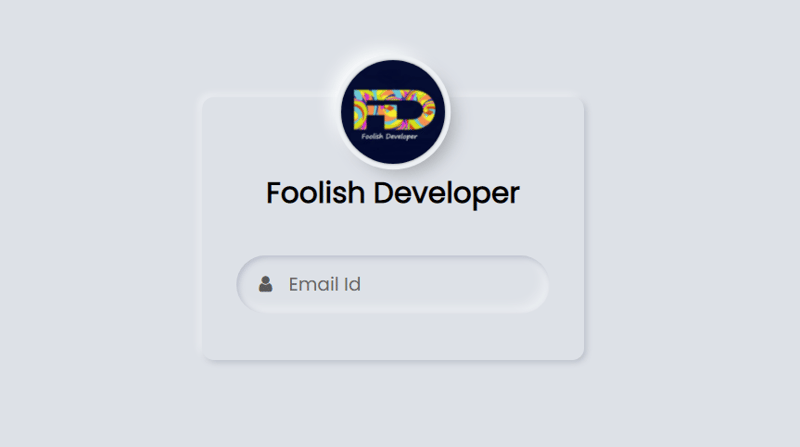
Step 3: Add profile image
I have added the profile image in this neumorphism box using the following HTML and CSS programming. I have placed this profile image a bit above the login form so that it looks more beautiful.
<img src="https://lh3.googleusercontent.com/a-/AOh14Gj99VObFyE8W_h8RrcwZO_aYiIHu5AAa_XpnOym=s600-k-no-rp-mo">
.content img{
  width: 90px;
  height: 90px;
  margin-top: -100px;
  border-radius: 50px;
  box-shadow:

  0px 0px 2px #5f5f5f,
  0px 0px 0px 5px #ecf0f3,
  8px 8px 15px #a7aaaf,
  -8px -8px 15px #ffffff
  ;
}
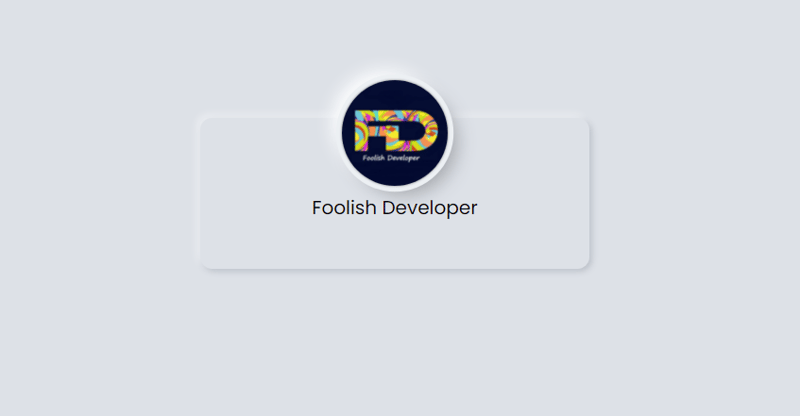
Step 5: Add Title
I have used the title below the profile image.
<div class="text">Foolish Developer</div>
.content .text{
  font-size: 25px;
  font-weight: 600;
  margin-bottom: 35px;
  color: #000;
}
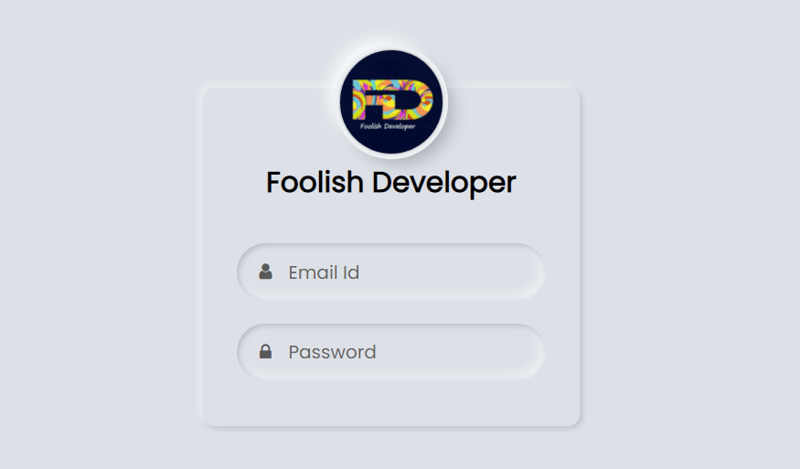
Step 6: Email ID input
The most important thing in the login form is the place to input the email ID and password. I used the following programming codes to make room for everyone's first email ID input. In this case, by inputting the email ID, the place is slightly inward. This design must have been made using css programming code.
<div class="field">
          <span class="fa fa-user"></span>
          <input type="text" required>
          <label>Email Id</label>
        </div>
.content .field{
  height: 50px;
  width: 100%;
  display: flex;
  position: relative;
}

.field input{
  height: 100%;
  width: 100%;
  padding-left: 45px;
  font-size: 18px;
  outline: none;
  border: none;
  color: #595959;
  background: #dde1e7;
  border-radius: 25px;
  box-shadow: inset 2px 2px 5px #babecc,
              inset -5px -5px 10px #ffffff73;
}

.field input:focus ~ label{
  box-shadow: inset 2px 2px 5px #babecc,
              inset -1px -1px 2px #ffffff73;
}

.field:nth-child(2){
  margin-top: 20px;
}

.field span{
  position: absolute;
  width: 50px;
  line-height: 50px;
  color: #595959;
}

.field label{
  position: absolute;
  top: 50%;
  left: 45px;
  pointer-events: none;
  color: #666666;
  transform: translateY(-50%);
}


.field input:focus ~ label{
  opacity: 0;
}
Step 7: Password input
This is how I created a place to import passwords. I used placeholds and icons for the place to import email IDs and passwords.
<div class="field">
          <span class="fa fa-lock"></span>
          <input type="password">
          <label>Password</label>
        </div>
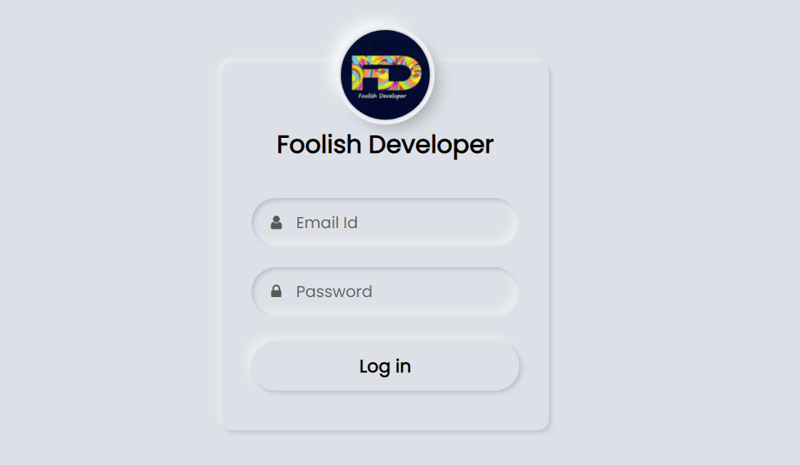
Step 8: Create the login button
I have used Below programming code to create the login button in this neumorphism login form. This login button rises slightly above the normal page. I have done this design with the help of css programming code which is given below.
<button>Log in</button>
button{
  margin: 25px 0 0 0;
  width: 100%;
  height: 50px;
  color: #000;
  font-size: 18px;
  font-weight: 600;
  background: #dde1e7;
  border: none;
  outline: none;
  cursor: pointer;
  border-radius: 25px;
  box-shadow: 2px 2px 5px #babecc,
              -5px -5px 10px #ffffff73;
}

button:focus{
  color: #3498db;
  box-shadow: inset 2px 2px 5px #babecc,
              inset -5px -5px 10px #ffffff73;
}
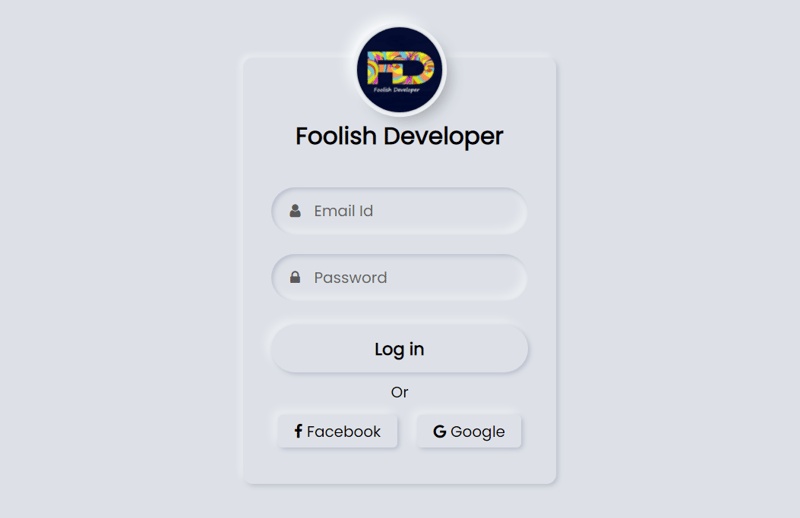
Step 10: Buttons of Facebook and Google
The latest element of this neumorphism design is the buttons of Facebook and Google. These two buttons are slightly upwards like the login button.
<div class="or">Or</div>
        <div class="icon-button">

          <span class="facebook"><i class="fa fa-facebook"></i>  Facebook</span>

          <span><i class="fa fa-google"></i>  Google</span>


        </div>
.content .or{
  color: black;
  margin-top: 9px;
}

.icon-button{
  margin-top: 15px;
}
.icon-button span{
  padding-left: 17px;
  padding-right: 17px;
  padding-top: 6px;
  padding-bottom: 6px;

 border-radius: 5px;
  line-height: 30px;

  background: #dde1e7;
  box-shadow: 2px 2px 5px #babecc,
              -5px -5px 10px #ffffff73;
}
.icon-button span.facebook{
  margin-right: 17px;

}
.icon-button span:hover{
  color: #3498db;
  box-shadow: inset 2px 2px 5px #babecc,
              inset -5px -5px 10px #ffffff73;
}
Hope you like this design and you have learned how to make Neumorphism Toggle Button with HTML you can follow this article. You can watch the live demo of this design if you want and download the source code if necessary. You can also see the designs I have made many more.
If there is any difficulty, of course you can comment.
You can visit my blog for more tutorials like this.
https://groundtutorial.com/


Top comments (9)
Visually this is very nice except you are using label as a placeholder for the inputs. The problem with this is that once there is a value in the input field the label bleeds through.
What solution do have to problem please share🙌
I'm not a CSS guru so I don't have a solution I just was stating what appears to be a cosmetic bug.
Awesome
Looks really cool!
Thank You
Pretty nice and simple
Thank You
nice!