There's a new social network on the market and it's called Polywork.

Trying out @PolyworkHQ. Linkedin meets Myspace meets Twitter? Let's see if this is any fun! #polywork
— Jet Weevers (@jetweevers) June 24, 2021
This post is for you if you already have an idea of how Polywork works and want to quickly set up a subdomain. Especially if your provider is Dreamhost.
If the only thing standing in your way is a code, use mine clearlythuydoan.

Setting Up Your Dreamhost Domain
On the whole, Polywork has a good guide for most domain providers.
However, unfortunately for me, my domain provider was not listed.
For the first three steps, you can follow the steps that are depicted when you go to your Profile Settings. Skip to Step 4 if you've already done those steps.
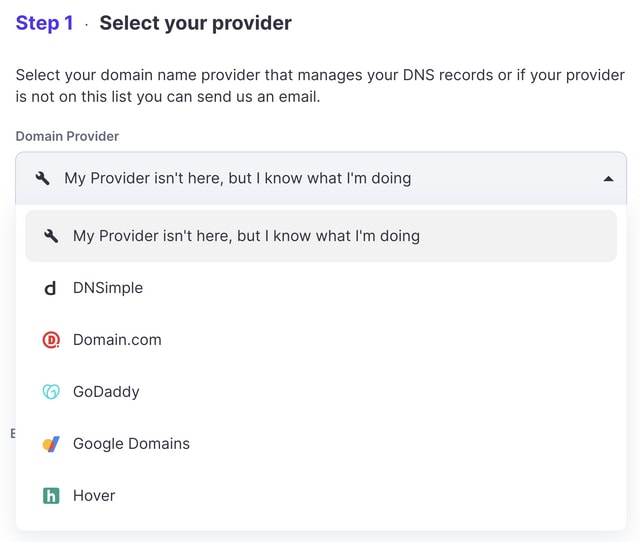
Step 1. Select your non-provider
In the dropdown for your provider, select, "My Provider isn't here, but I know what I'm doing."
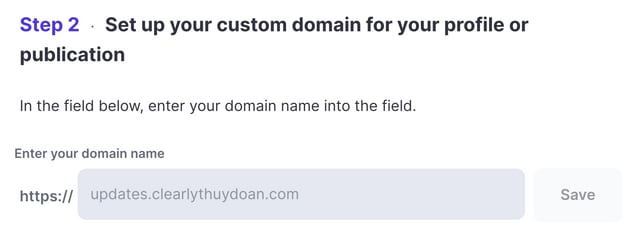
Step 2. Setup your custom domain
Input your intended subdomain. For me, I chose updates as my subdomain but you could also choose something like timeline.
Step 3. Generate your custom DNS target
Because this step is custom, I can't show a screenshot of mine but the custom DNS generated for you will generally look like this:
adjective-noun-h4sH3D5tr1nG.herokudns.com
Step 4. Direct Dreamhost subdomain to custom DNS
Go to your Dreamhost dashboard and navigate through Domain > Manage Domains. Click the blue button that says, "Add Hosting to a Domain/Sub-Domain" above the section titled "Hosted Domains".

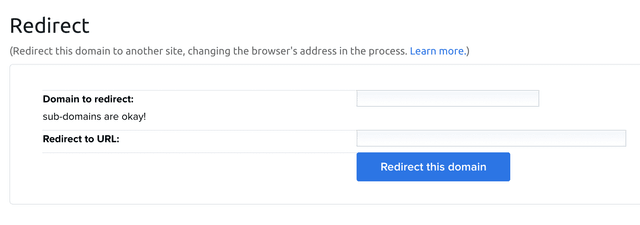
In the first form field, input your subdomain from Step 2.
In the second form field, input your custom DNS from Step 3.
If your domain is with Dreamhost but you are hosting somewhere else, like Netlify, continue onto Step 5 for additional configuration.
Step 5. Configure Netlify (if applicable)
Note: This step assumes you already have your main domain pointing at Netlify name servers. If you don't, follow these steps first.
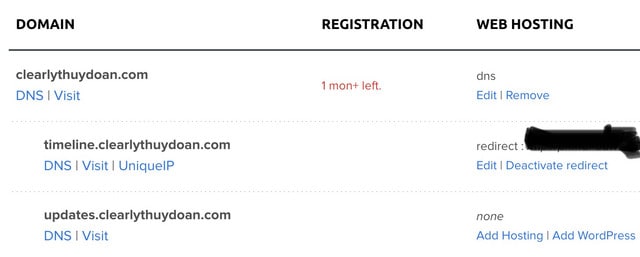
After completing Step 4, refresh your Dreamhost domain DNS settings page until you see your subdomains listed in an indented fashion beneath your main domain. You should see the subdomain you just created along with the action, "Deactivate redirect". Doing this will replace the settings with the name servers your main domain is pointing to (which should be Netlify's).
Click, "Deactivate redirect".
From here, log into your Netlify account and go to Domains. Then click the domain you want to add a subdomain for.
Under "DNS Settings", click "Add new record".
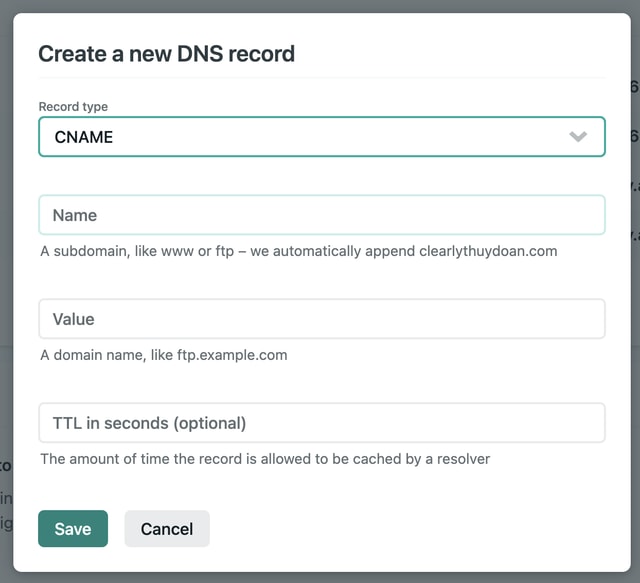
Create your new subdomain record on Netlify by choosing "CNAME" as the type. Type the prefix of your subdomain in the "Name" field i.e. "updates" or "timeline". Then fill out the value with the custom DNS generated in Step 3.
Then wait 24 hours and VOILA, it should work! 🎉

If you have questions or encounter any difficulties, let me know and I'll try my best to help. Polywork - as great as they are - had trouble helping me too 😁

And if you so fancy, follow me on Polywork 🙋🏻♀️

Latest comments (0)