
This article deals with three tasks — creating a WordPress Instance on AWS, A form to add photos and comments and the Security aspects of the website.
This article is divided into three parts. References at the end.
- Creation of a Wordpress Instance on AWS
- Adding Photos and Comments
- Brief instructions on-
- How the website is secured
- How users will be provided secure access to website
- Creation of a Wordpress Instance on AWS
- Login to the AWS console and go to the Instances menu under EC2 services of AWS console. Click on the “launch instance” option to create the new Wordpress instance. (WPBeginners-WordPress-Tutorials) (Zen)
Figure 1
- Click on the “AWS Marketplace” in the left window and search for the “Wordpress certified by Bitnami and Automatic option”. Select it and proceed.

Figure 2
- Select the “t2.micro” option which is eligible for free tier and proceed.

Figure 3
- Set the Network to the default VPC, give no preferences to the Subnet and use the subnet setting for the Auto-Assign IP

Figure 4
- Configure the security group to allow HTTP and HTTPS traffic, so that any user can enter and submit the comments

Figure 5
- Review the instance before it’s launched

Figure 6
- Download the new key pair after naming it and proceed to create the instance.

Figure 7
- Wait as the instance is being created.

Figure 8
- Now the instance is seen on the list of the instances in our EC2 menu.

Figure 9
- Click on Actions, Instance Settings and System Log as shown in the figure.

Figure 10
- Scroll down to the bottom of the System log page until you see the Setting Bitnami application password. Select it, copy and paste it to a notepad file. This is for future reference.

Figure 11
- Copy the public IP of the instance and save it again, for future reference.

Figure 12
Now copy paste the public IP of that instance and see the default Wordpress website that is hosted.

Figure 13
- Scroll down to the bottom of the page and click on the “Login option”
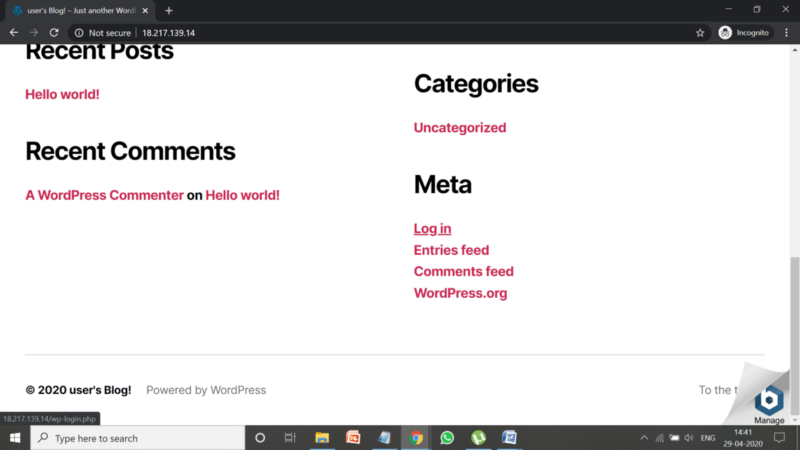
Figure 14
- Enter “user” in the username and the saved password into the password box.

Figure 15
- The login is successful!

Figure 16
- Adding photos and comments under a post.
Wordpress generally allows the user to accept ordinary string comments from the public. This can be subjected to moderation or approval. Follow these steps to accept picture comments. (WPBeginner-WordPress-Tutorials)
- Click on “plug-in” and then search for the DCO Comment Attachment plug-in. Install and activate it.

Figure 17
- Check its progress in the plug-in list. Now, it has to be configured.

Figure 18
- Go to “Settings” and select the DCO Comment Attachment Settings. The settings have to be configured now.

Figure 19
- We must allow only images to be posted. Hence, uncheck all the other formats.

Figure 20
- Don’t forget to save the settings

Figure 21
- Now go to the page and edit the layout, caption etc. Under the “Discussion” menu in the right, enable “Allow Comments”.

Figure 22
- Now, let’s test the page. Go to the URL after logging out as the administrator.

Figure 23
- This is the page to add the comment and a photo. Once this is done,
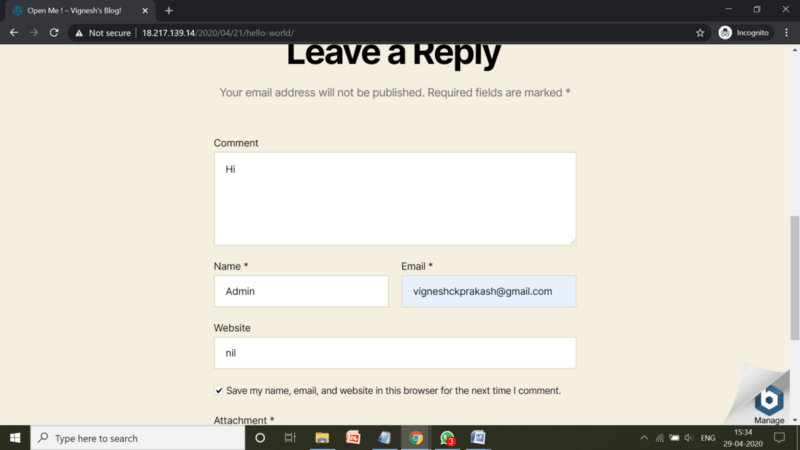
Figure 24
- Once it’s completed, click on the “Submit” option.

Figure 25
- Now, the uploaded picture and the text of the comment have been submitted for moderation.

Figure 26
- The comment which was submitted is seen in the bottom, along with the name of the user who sent it.

Figure 27
- Click on the “Media Library” on the left side to see the media submitted by the user. This gets stored on the Wordpress website.

Figure 28
- Brief instructions on-
- How the website is secured
- How users will be provided secure access to website
- How the website is secured:
The Website has a registration page where the user can request the admin for an account. There is no way for any user to create an ID without the permission of the Administrator. This by itself is the biggest check to prevent the intrusion attempts. The administrator has set strong password policies for the root account and for the user accounts.
The Wordpress Hosting service provides an inbuilt firewall which keeps out most of the unnecessary traffic and ensures scalability along with the security apparatus. Therefore, the identity of the users and the administrator is safe.
- How users will be provided secure access to website:
This will be done by the Administrator creating a new user ID for the user to enter. Follow the steps to do it. (Balkhi) (WPBeginner-Wordpress-Tutorials)
- Search for a user registration plug-in and download it.

Figure 29
- Go to the General settings under the user registration tab (in left menu) and review the default settings.

Figure 30
- The Admin is the default user. Click on “Add new” on top to add a new user.
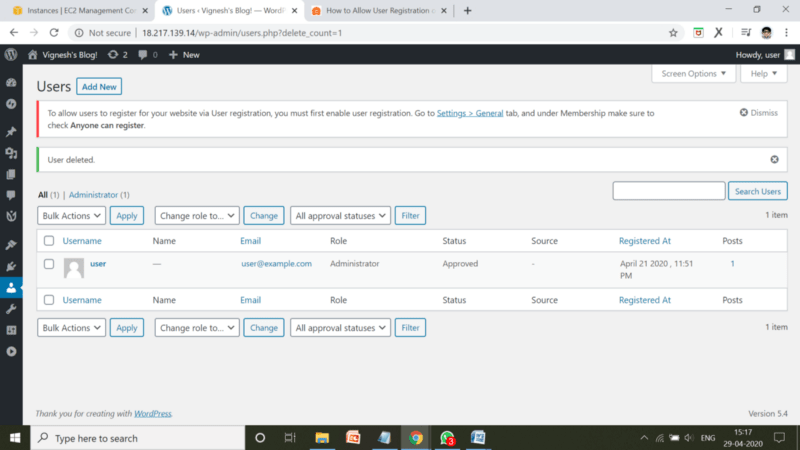
Figure 31
- Set username, their email ID (for password reset), name and password (auto generated). Tick the “send user notification” which sends an email to the user with the creation of the account, where password is encrypted and sent. Confirm and proceed. The

Figure 32
- Now the new user is added to the list.

Figure 33
- The user has now been able to successfully login to his ID with the credentials provided.

Figure 34
References
Balkhi, S. (n.d.). HOW TO ALLOW USER REGISTRATION ON YOUR WORDPRESS SITE. Retrieved from WPBeginner: https://www.wpbeginner.com/beginners-guide/how-to-allow-user-registration-on-your-wordpress-site/
WPBeginners-WordPress-Tutorials. (n.d.). How to Install a WordPress Plugin (3 Different Methods). Retrieved from YouTube: https://www.youtube.com/watch?v=QXbrdVjWaME&feature=youtu.be
WPBeginner-Wordpress-Tutorials. (n.d.). How to Allow User Registration on Your WordPress Site. Retrieved from YouTube: https://www.youtube.com/watch?v=TuCX5W32Hvg&feature=youtu.be
WPBeginner-WordPress-Tutorials. (n.d.). How to Allow Users to Upload Images in WordPress Comments. Retrieved from YouTube: https://www.youtube.com/watch?v=UGLj3gt65QU&feature=youtu.be
Zen, O. P. (n.d.). How to Install WordPress on AWS. Retrieved from YouTube: https://www.youtube.com/watch?v=4WR7EFFLF04&feature=youtu.be

Top comments (0)