In this post you will learn how to setup a DynamoDB table with infrastructure as code using the serverless framework which will act as a base for the future posts.
let's begin
Project set up
- first checkout to your project directory and run the below command create a serverless project.
serverless create -t aws-nodejs
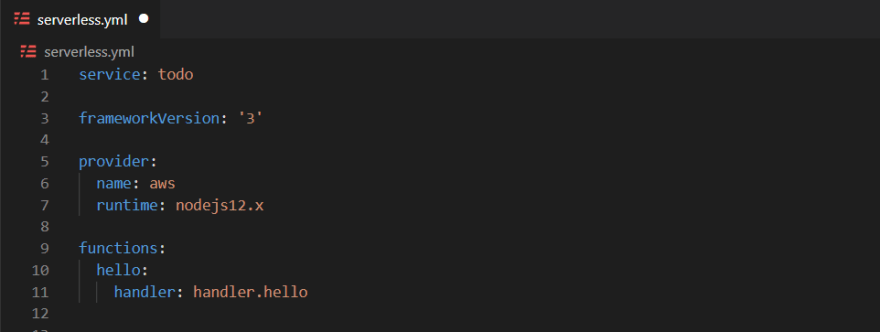
now you should have a simple boilerplate with a serverless.yml and handler which allows us to setup everything from the API gateway to DynamoDB by ourselves.
Adding an API Gateway to your handler
Under the handler property add another key called events which accepts an array of events you can learn more about events here
we are going to use the http api event to trigger the function so add httpApi as the first event and under httpApi add 2 more properties one called
methodand another calledpathwhere method is the request method Type and path specifies your endpoint.

- now if you run
sls deploy -va lambda function with an api gateway must be created.
Setting up DynamoDB
There is something called AWS cloudformation which is an IAC solution provided by AWS which allows you to setup and manage your AWS services,
The serverless framework follows the cloudformation template to create and manage services and that's the reason you won't find a detailed docs for setting up AWS resources on the serverless's website.
So, let's begin by creating out DynamoDB table:
- At the end of your
serverless.ymlfile add the properties down below, this is where you will define all the AWS resources you are going to use in your serverless project.
resources:
  Resources:
- Now under
Resourcesdefine a new property give this property a name of your choice (This is like a service name for your resources)
resources:
  Resources:
    TodoTable:
- Now just remember the key value pair data below this property will change depending on the AWS resource you are using, but all your services will have one property in common called
Typewhere you will have to tell serverless which service from AWS you want to create here we are creating aDynamoDB table
resources:
  Resources:
    TodoTable:
      Type: AWS::DynamoDB::Table
- if you have followed my previous post you would know that we have to define the primary key for every table and that's we are doing under
AttributeDefinitionsandKeySchema
AttributeDefinitionsis used to define the column by giving it a name and datatype here we are giving it a name of userId and type of stringKeySchemais used to tell which column we are going to use as a primary key and define the type ashashorrange
resources:
  Resources:
    TodoTable:
      Type: AWS::DynamoDB::Table
      Properties:
        AttributeDefinitions:
          - AttributeName: userId
            AttributeType: S
        KeySchema:
          - AttributeName: userId
            KeyType: HASH
- Finally, we are going to add las 2 properties called
TableNameandBillingModewhere both are self-explanatory.
resources:
  Resources:
    TodoTable:
      Type: AWS::DynamoDB::Table
      Properties:
        AttributeDefinitions:
          - AttributeName: userId
            AttributeType: S
        KeySchema:
          - AttributeName: userId
            KeyType: HASH
        BillingMode: PAY_PER_REQUEST
        TableName: ${self:custom.TableName}
- now if you run the deploy script it will create you an DynamoDB table.
Adding IAM role
If you remember from a previous post in the series your functions don't have permission to access DynamoDB, so we need to create a IAM role and assign it to your function, we also automate that task using the serverless framework.
We need to add all the IAM related properties under the provider block of your
serverless.ymlfileAdd the following line under the provider block, and under statements you are going to define all the permissions your IAM user is going to have.
iam:
    role:
      statements:
- Add a new property under
statementscalledEffectsit's an array element you can have multiple effects and under effects define a new key called actions which accepts an array here you will define all the actions your IAM user can perform.
iam:
    role:
      statements:
        - Effect: 'Allow'
          Action:
            - dynamodb:Query
            - dynamodb:Scan
            - dynamodb:GetItem
            - dynamodb:PutItem
            - dynamodb:UpdateItem
            - dynamodb:DeleteItem
- Finally, you have to specify which resource will your function have access to under the
Resourceproperty
Here you have 2 options
- Directly copy paste you table ARN here

- Or you can follow the method mentioned below where you will pass the Table Service name you have created under resources as the first element in the array and serverless framework will automatically fetch the ARN for your specified resource.
provider:
  name: aws
  runtime: nodejs12.x
  region: us-east-1
  iam:
    role:
      statements:
        - Effect: 'Allow'
          Action:
            - dynamodb:Query
            - dynamodb:Scan
            - dynamodb:GetItem
            - dynamodb:PutItem
            - dynamodb:UpdateItem
            - dynamodb:DeleteItem
          Resource:
            - Fn::GetAtt: [ TodoTable, Arn]
- Now if you run the deploy command, you'll see a new IAM user has been created and now your function will be able to access the DynamoDB table created.
Stay tuned in the next post we will build our first CRUD app and use it's as a base to explore other AWS services.

Top comments (0)