
Dyson just announced the v15, an upgrade to their vacuum series, and one of the most notable additions was a new laser feature that would help you see all the dust that you were too lazy to vacuum up. Honestly this would have seemed like a really cool idea and somewhat magical to me. Except that a previous cheap vacuum I owned achieved this same effect by placing some LEDs on the front of the device and it worked pretty well too.
Now I do own a Dyson v7, and I believe it’s possible to upgrade just the head without having to fork over 700 bucks to Dyson for a completely new vacuum. It would only be 120, but that is still an expense that I wasn’t willing to pay for what was effectively a green LED. (Also it's sold out right now.) So I figured I’d do it myself. After all, if I insist that all it is is an LED, what’s stopping me from sticking an LED strip to my current vacuum?

The planning process
Step 1: LED strip, batteries and wires I reckon.
Step 2: Hot glue
Step 3: ???
Step 4: Profit
Build process
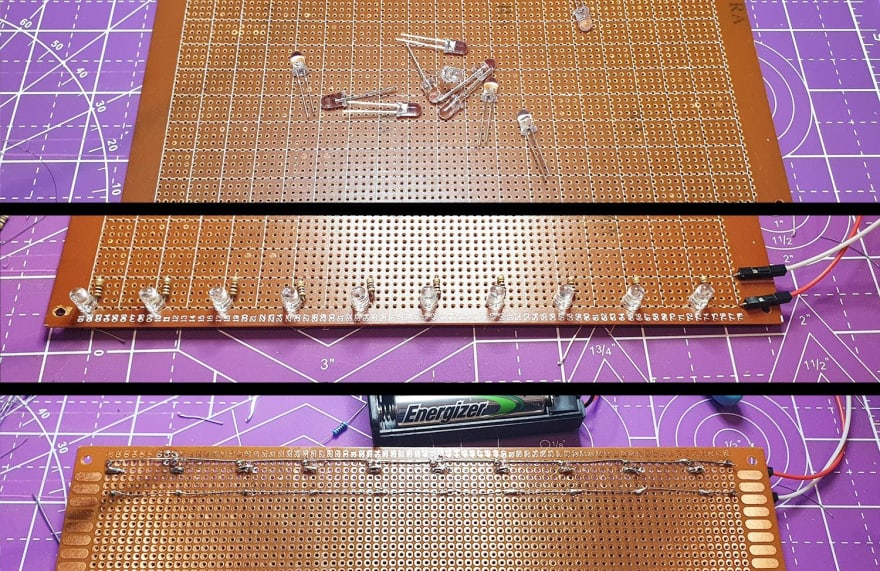
Not that I really needed to test this, but I threw some LEDs I had lying around onto a breadboard and wired them up in parallel. Then I found a spare battery housing I had lying around the house. Finally I stuck 4 rechargeable AA batteries in it and turned it on.

Next I needed to find a way to make a strip of LEDs. I could have just gotten a cheap 5050 5v LED strip off eBay or Aliexpress, but I was not in a spending money sort of mood today. Instead, I had this perfboard lying around which happened to be just about the right size for my vacuum head. The next step was just soldering the bits together. I used the excess of the LED legs as wires.
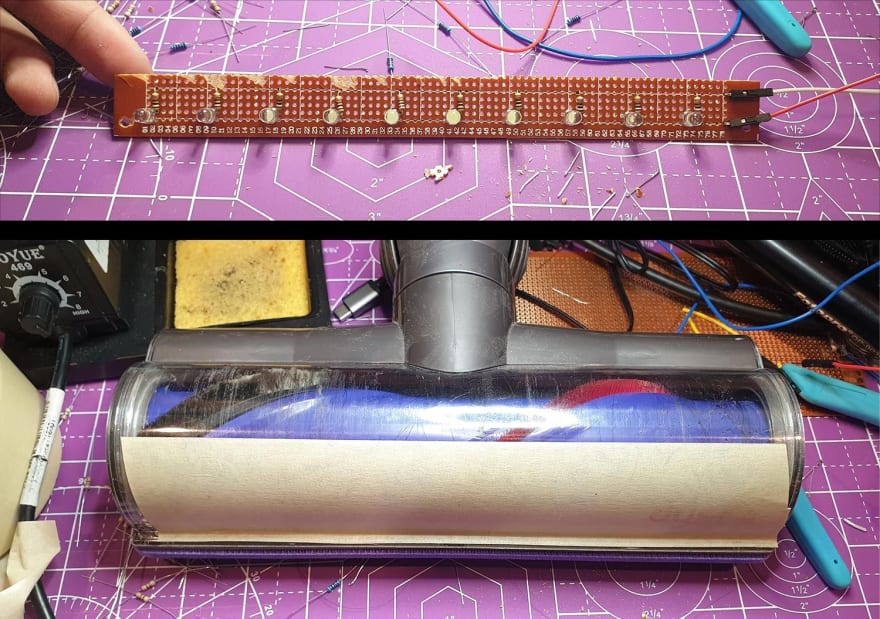
Next up is to cut the perfboard to size and put some masking tape on the front of my dyson so that I don’t actually damage it by sticking this abomination to it.
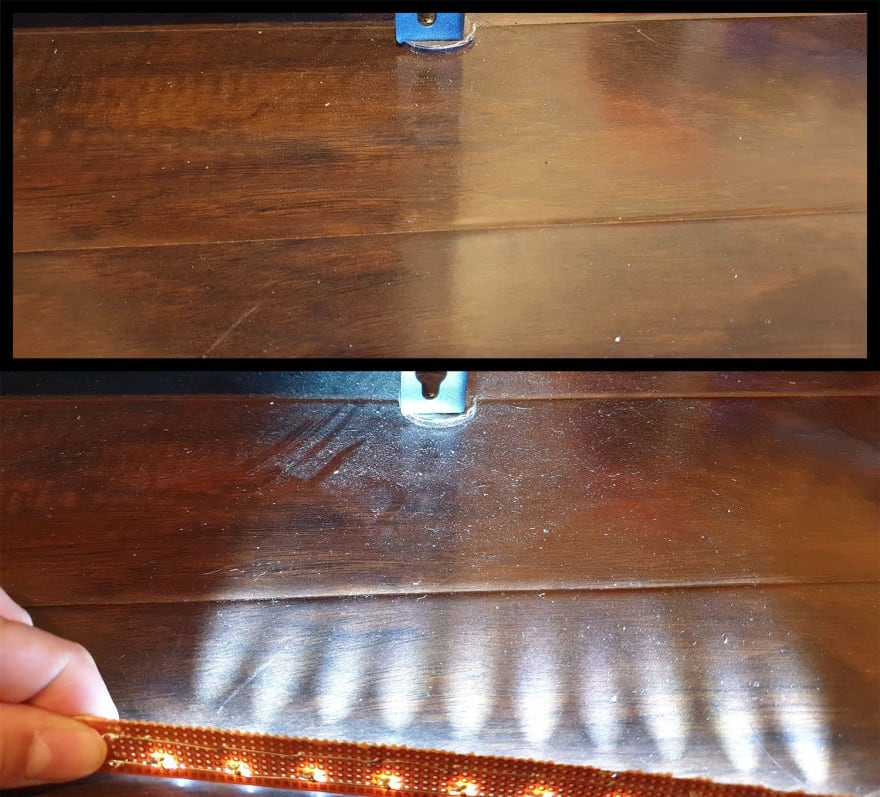
Finally, we test the light and see how well it illuminates the dust.
Step ???, Hot glue gun
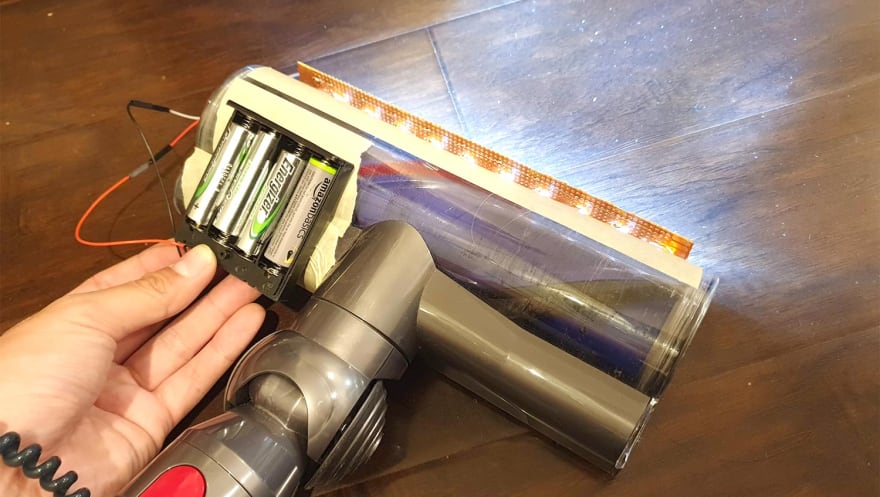
Luckily for me, the battery holder had a built in switch, so I didn't need to install a switch, but that would have been pretty easy to fix as well.

Conclusion
Cost : effectively $0 and 1 hour.
This works just as well as the $120 version that Dyson provides on their website. I guess I get to keep my money.


Top comments (0)