
For a blog this week, I figured I'd do something to help me learn more about algorithms and prepare for coding interviews. However, in typical me fashion, I thought I'd try and visualize it to do something different to make this interesting to read and put a spin on this. So let's get started.
Partitioning the image
At first I thought it'd be interesting to partition the image into it's disparate pixels using P5 and just shuffle those up to be located in different areas of the image. But, as it turns out the P5 library in javascript and processing in Java deal with pixels in two separate ways. Java, when using the loadPixels() function will return back an array that contains all the pixels as single elements in the array where each pixel is read left to right line by line over the whole image.
Now in javascript this is not the case. P5 will actually give you back a pixels array where each pixel will actually split into three different elements in the array. The very element of the array will actually be the amount of red in the first image pixel, the second element how much green, and the third will be how much blue.
So rather than exactly one pixel being mapped into one single element of the pixels array, each single pixel will split into three elements on the array each representing their respective rgb value.
This makes swapping pixels and traversing the pixels array that much more complicated than its processing counterpart. Also, considering a pixel amounts are normally in the hundreds or thousands, sorting this array would be really computationally taxing and not that instructive to watch.
So I decided that partitioning according to arbitrary blocks of the image suited better for the task. The problem here was that the image had to be divided up according to a specified amount in the x and y directions. In P5 that looked like:
const sketch = (p) => {
    let img, loc, array = [], amountX = 30, amountY = 30;
    let blockWidth, blockHeight;

...

p.setup = () => {
        img.resize(img.width - img.width % amountX, img.height - img.height % amountY)
        blockWidth = img.width / amountX
        blockHeight = img.height / amountY

        ...

    }

p.partition = (img) => {
        let array = []
        let newBlock
        for (let j = 0; j < amountY; j++) {
            for (let i = 0; i < amountX; i++) {
                newBlock = img.get(i * blockWidth, j * blockHeight, blockWidth, blockHeight)
                array.push({img: newBlock, index: i + j * amountX})
            }
        }
        return array
    }
}
If the p notation is a little confusing it's just P5 in instance mode as I had to run a server to use it for image processing. Unfortunately P5 can't use images unless the code is on a server. And, I wanted to make something that would be deployed and shows how the different sorting algorithms compete against one another so used React. I have a post about using React and P5 together if you're curious.
Anyways, the code above includes everything in my sketch function except for a draw function (get to that in a sec). The partitioning function uses scoped variables in the sketch function to take the img and use amountX and amountY to break the image up into a grid. Also useful is to divide the image width by amountX and the image height by amount Y, called blockWidth and blockHeight, respectively, to know how wide each column and each row will be.
Important: I resized the image in my setup function so there'd be no percentage width or height values to cause problems later on.
So the grid creation happens in a nested for loop
p.partition = (img) => {
        let array = []
        let newBlock
        for (let j = 0; j < amountY; j++) {
            for (let i = 0; i < amountX; i++) {
                newBlock = img.get(i * blockWidth, j * blockHeight, blockWidth, blockHeight)
                array.push({img: newBlock, index: i + j * amountX})
            }
        }
        return array
    }
We know that there will be amountY blocks in the vertical direction and amountX blocks in the horizontal direction so having two variables counting in the vertical and horizontal directions is key. Once at some block for arbitrary i and j, we use the get() in P5 that will copy some specified part of an image.
The get() function just takes what starting x and y value of the image you want and a width and height. This carves out a nice rectangle or block of our image. The starting x and y will just be i times the width of our block and j times the height of our block. Then the ending values will just be our blockWidth and blockHeight. Then you just put this value into an array and return that. However, I had in mind sorting this later on so pushed each image along with its proper place in the image to properly sort it later.
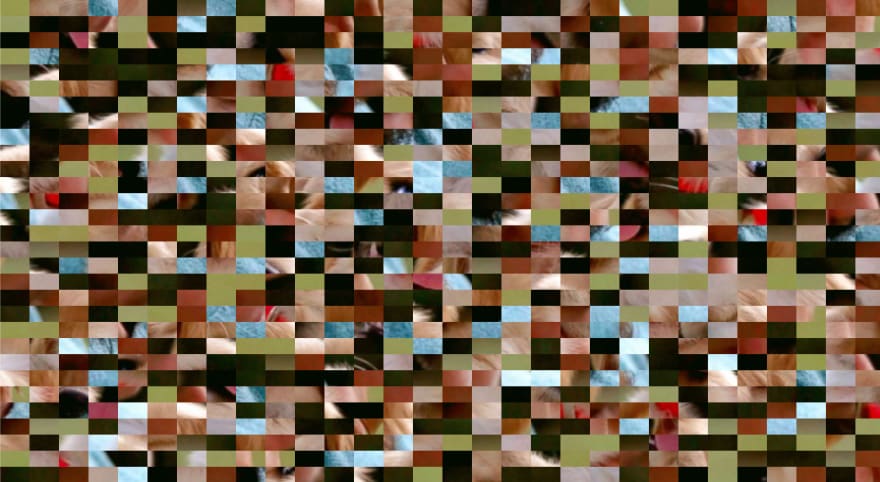
Now Do the Shuffle
Once we have our array of image blocks, the important thing to do before we sort is to properly shuffle our array. For this I'd read that this bit of code is sufficient to shuffle an array randomly.
array.sort((a,b) => Math.random() - 0.5)
However I read an article by the creator of D3 that this algorithm is no good at all. The reason seems to be that Math.random constantly returns a random value and thus doesn't obey transitivity for comparing things (a < b and b < c implies a < c). Mike Bostock, the author of the article, does a good job visualizing the bias in this algorithm when a random algorithm should have absolutely no bias for any point whatsoever. Instead he suggests this algorithm:
function shuffle(array) {
  var n = array.length, t, i;
  while (n) {
    i = Math.random() * n-- | 0; // 0 ≤ i < n
    t = array[n];
    array[n] = array[i];
    array[i] = t;
  }
  return array;
}
This one actually does a significantly better job of not showing bias for certain points, fulfilling our idea of being truly random. This one just loops through the array and at each index randomly chooses an element to swap with it. Sure you'll maybe swap elements more than once but it does the job as seen here:
Now the Sorting
This is where the first step of partitioning the image and adding a correct index property is important. The tricky thing of visualizing the sort as it's being performed is that you will use the draw function as the outer for loop iterator. Since this function is called over and over again we'll have to initialize the iterator variable in the sketch scope so it persists. My whole sketch looks like this:
const sketch = (p) => {
    let img, loc, array = [], amountX = 50, amountY = 50;
    let i = 0;
    let blockWidth, blockHeight;
    const path = './puppy.jpg'

    p.preload = () => {
        img = p.loadImage(path)
    }

    p.setup = () => {
        img.resize(img.width - img.width % amountX, img.height - img.height % amountY)
        blockWidth = img.width / amountX
        blockHeight = img.height / amountY
        p.createCanvas(img.width * 2,img.height);
        array = p.partition(img);
        p.background(255);
        p.image(img, img.width, 0);
        shuffle(array)
    }

    p.draw = () => {
        if (i < array.length) {
            for (let j = 0; j < array.length - i - 1; j++) {
                if (array[j + 1].index < array[j].index) {
                    let t = array[j];
                    array[j] = array[j + 1];
                    array[j + 1] = t;
                }
            }
            i++;
        } else {
            p.noLoop()
        }
        for (let i = 0; i < amountX; i++) {
            for (let j = 0; j < amountY; j++) {
                p.image(array[i + j * amountX].img, i * blockWidth, j * blockHeight)
            }
        }
    }

    p.partition = (img) => {
        ...
    }
}
The important is the i variable declared in the first few lines of the sketch and the draw function. i is just our iterator and then the lines:
if (i < array.length) {
            for (let j = 0; j < array.length - i - 1; j++) {
                if (array[j + 1].index < array[j].index) {
                    let t = array[j];
                    array[j] = array[j + 1];
                    array[j + 1] = t;
                }
            }
            i++;
        } else {
            p.noLoop()
        }
Are a very standard implementation of bubble sort. I haven't gotten to implementing the other sorting algorithms yet but I definitely plan on it. I'm not gonna talk about bubble sort here as I think there's a wealth of information about this algorithm as it's the simplest to implement.
Then for every time that we iterate on our sort, I cycle through the image array and output it in the correct location on the canvas with this right here:
for (let i = 0; i < amountX; i++) {
            for (let j = 0; j < amountY; j++) {
                p.image(array[i + j * amountX].img, i * blockWidth, j * blockHeight)
            }
        }
This is the same double for loop to make the partitions but is used to display each image.
And that's pretty much it for the foundation. Check back later for additions to the visualizer. You can see it in action here and the repository for the code can be found here.

Top comments (0)