Hashnode is one of the first places to go to for tutorials, developer articles, and news. It is without a doubt that using its API is the coolest thing one can ever do.
If you haven't created an account with Hashnode, don't hesitate to do so
Demo and Source Code
https://github.com/ChrisAchinga/hashnode-api
https://hashnode-api-self.vercel.app/
Let's Code
In this article, I will take you through Displaying blog articles from hashnode on a Next JS website.
To do that, you will need to have the following checked:
- Hashnode Account
- NodeJS
- Text Editor (visual studio code)
I will be using Apollo graphQL to help querying data in NextJS
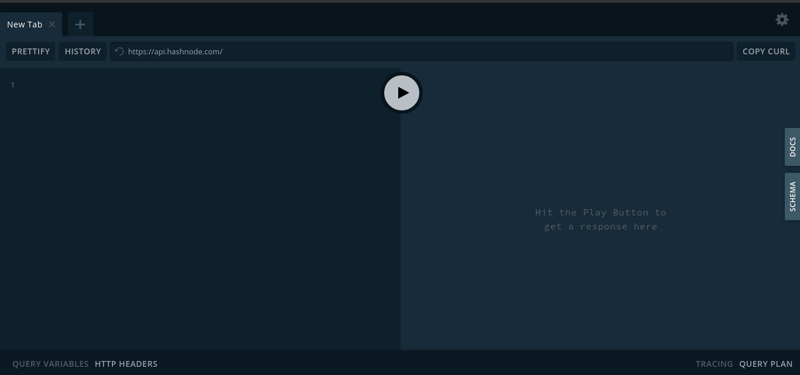
Hashnode API
Hashnode API used graphQL. It's pretty and fast in getting data.
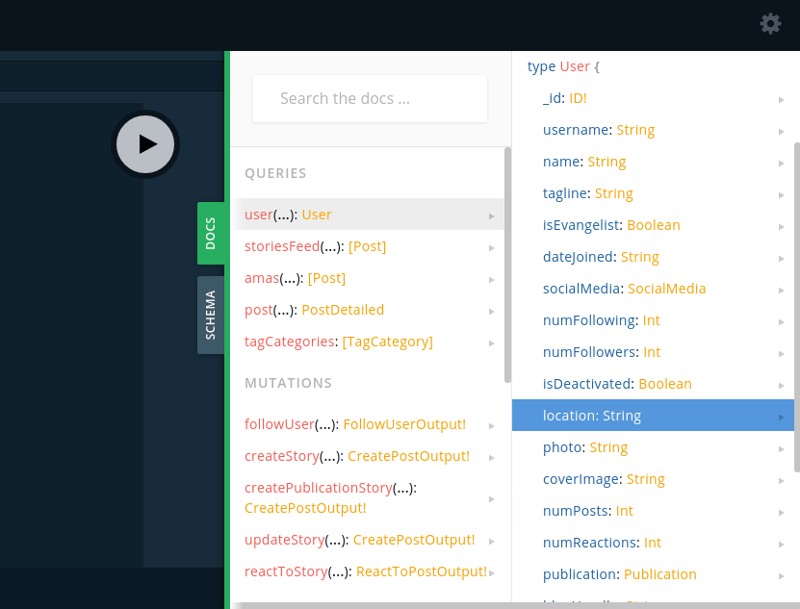
To learn more about queries for fetching data can be found in the docs drawer on the right side of the browser:
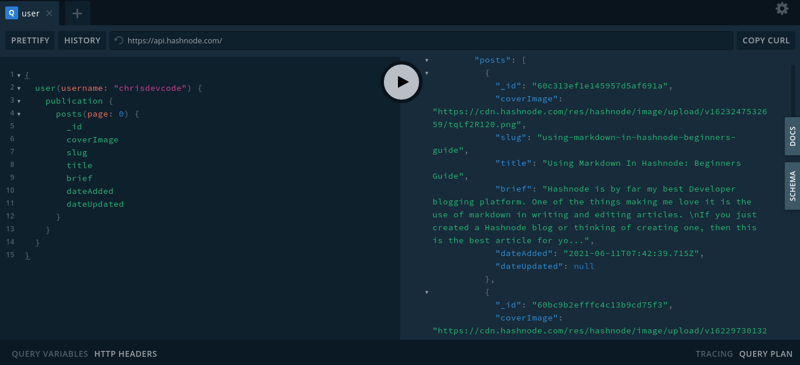
Let's test out some queries for getting your blog post publications:
{
  user(username: "chrisdevcode") {
    publication {
      posts(page: 0) {
        _id
        coverImage
        slug
        title
        brief
        dateAdded
        dateUpdated
      }
    }
  }
}
Change the chrisdevcode to your hashnode username:
user(username: "hashnode_user_name")
Note that in the publication query object, we have to specify the page number, 0 is the page that loads first when someone visits your blog home, i.e it is where the most recent articles appear.
 publication {
      posts(page: 0) {
       //
      }
    }
Back to the playground, paste in the query and run it:
{
  user(username: "chrisdevcode") {
    publication {
      posts(page: 0) {
        _id
        coverImage
        slug
        title
        brief
        dateAdded
        dateUpdated
      }
    }
  }
}
The data fetched :
{
  "data": {
    "user": {
      "publication": {
        "posts": [
          {
            "_id": "60c313ef1e145957d5af691a",
            "coverImage": "https://cdn.hashnode.com/res/hashnode/image/upload/v1623247532659/tqLf2R120.png",
            "slug": "using-markdown-in-hashnode-beginners-guide",
            "title": "Using Markdown In Hashnode: Beginners Guide",
            "brief": "Hashnode is by far my best Developer blogging platform. One of the things making me love it is the use of markdown in writing and editing articles. \nIf you just created a Hashnode blog or thinking of creating one, then this is the best article for yo...",
            "dateAdded": "2021-06-11T07:42:39.715Z",
            "dateUpdated": null
          }
        ]
      }
    }
  }
}
And that's it, now let's do this on a Next website/app.
Next APP
Creating a next app:
Open your terminal/CMD and create a next app:
npx create-next-app hashnode-api
Installing Apollo and GraphQL
npm install @apollo/client graphql
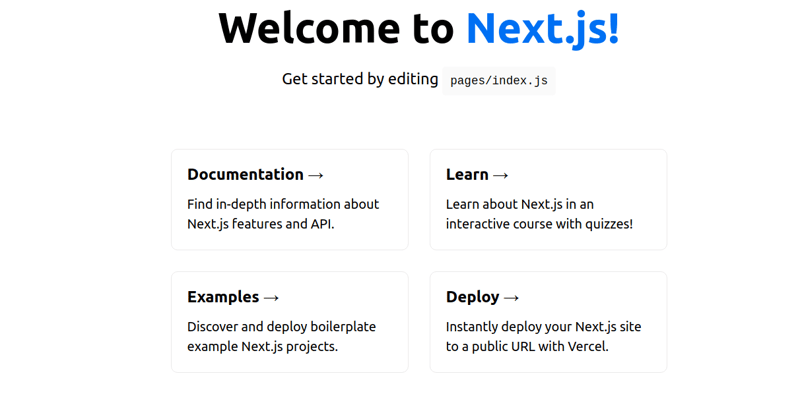
Test the application:
npm run dev
Open your browser and go to: http://localhost:3000/
We will only edit one file for the purpose of demonstration i.e
index.js
Open the index file i.e pages/index.js and clean the code into:
export default function Home() {
  return (
    <div>
      <h1>My Hashnode Articles</h1>
    </div>
  )
}
Fetching Data
I will be using third parties to fetch data from the hashnode API using graphQL.
NextJS provides built-in data fetching methods, I will be using getStaticProps"
export async function getStaticProps(context) {
  return {
    props: {}, // will be passed to the page component as props
  }
}
https://nextjs.org/docs/basic-features/data-fetching
In the current file, add the getStaticProps() at the bottom of the file:
export default function Home() {
  return (
    <div>
      <h1>My Hashnode Articles</h1>
    </div>
  )
}

export async function getStaticProps(context) {
  return {
    props: {}, // will be passed to the page component as props
  }
}
Inside the getStaticProps function, we’re going to be ultimately returning our props to the page, in this case, we will be returning posts, so our props will be posts
export async function getStaticProps(context) {
  return {
    props: {
      posts: []
    },
  }
}
We will pass in posts as a prop to our page:
export default function Home({ posts }) {
  return (
    <div>
      <h1>My Hashnode Articles</h1>
    </div>
  )
}
We can test our results by logging the prop in the console:
console.log('POSTS', posts)
Our File now:
export default function Home({ posts }) {
  console.log('POSTS', posts)
  return (
    <div>
      <h1>My Hashnode Articles</h1>
    </div>
  )
}

export async function getStaticProps(context) {
  return {
    props: {
      posts: [],
    },
  }
}
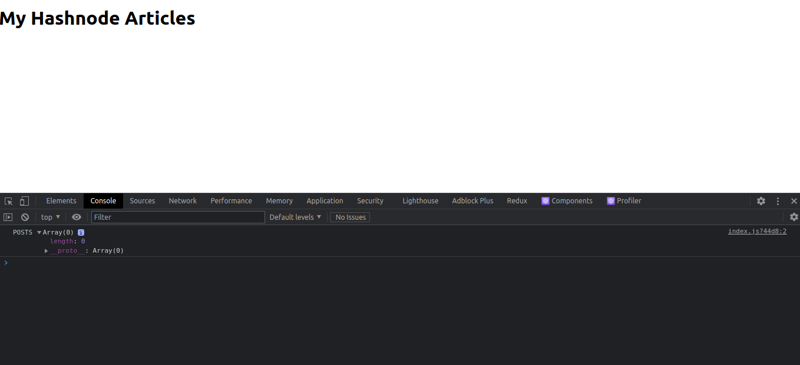
If you open your web console, you should see this:
Fetching and Querying with GraphQL
Now that everything is set up, we can comfortably get data from the hashnode API.
First, we import the apollo client:
import { ApolloClient, InMemoryCache, gql } from '@apollo/client';
We are importing Apollo client and InMemoryCache that optimizes apollo reading from cache and gql that will be used to create the GraphQL query.
Inside the top of the getStaticProps() function, let's create an instance of apollo with the Hashnode API endpoint:
  const client = new ApolloClient({
    uri: 'https://api.hashnode.com/',
    cache: new InMemoryCache(),
  })
Our getStaticProps() function should now be like:
export async function getStaticProps(context) {
  const client = new ApolloClient({
    uri: 'https://api.hashnode.com/',
    cache: new InMemoryCache(),
  })

  return {
    props: {
      posts: [],
    },
  }
}
Now let's make the query, the query syntax looks more like:
const { data } = await client.query({
  query: gql`
    query GetPosts {
      // write query here
    }
  `,
})
From the API playground, lets get the query:
const { data } = await client.query({
    query: gql`
      query GetPosts {
        user(username: "chrisdevcode") {
          publication {
            posts(page: 0) {
              _id
              coverImage
              slug
              title
              brief
            }
          }
        }
      }
    `,
  })
We then add data to the prop in the getStaticProp();
return {
    props: {
      posts: data.user.publication.posts,
    },
  }
You can just pass in
data, but I have the long tree in the array, so I just useddata.user.publication.posts, either way, you'll get the same results.
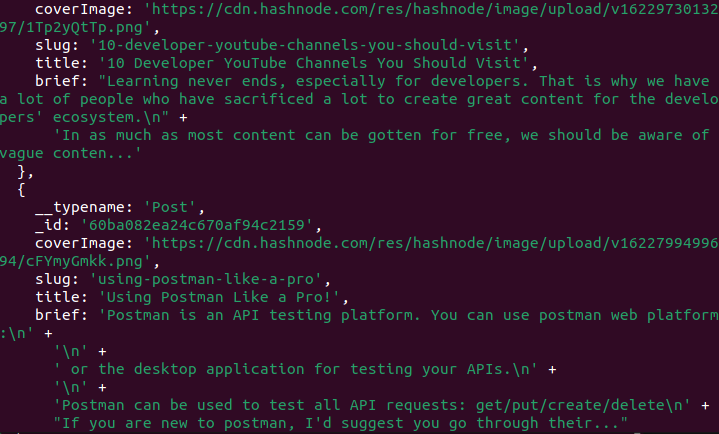
With the server still running, let's have a quick look into the web console:
Hey! check out your terminal too:
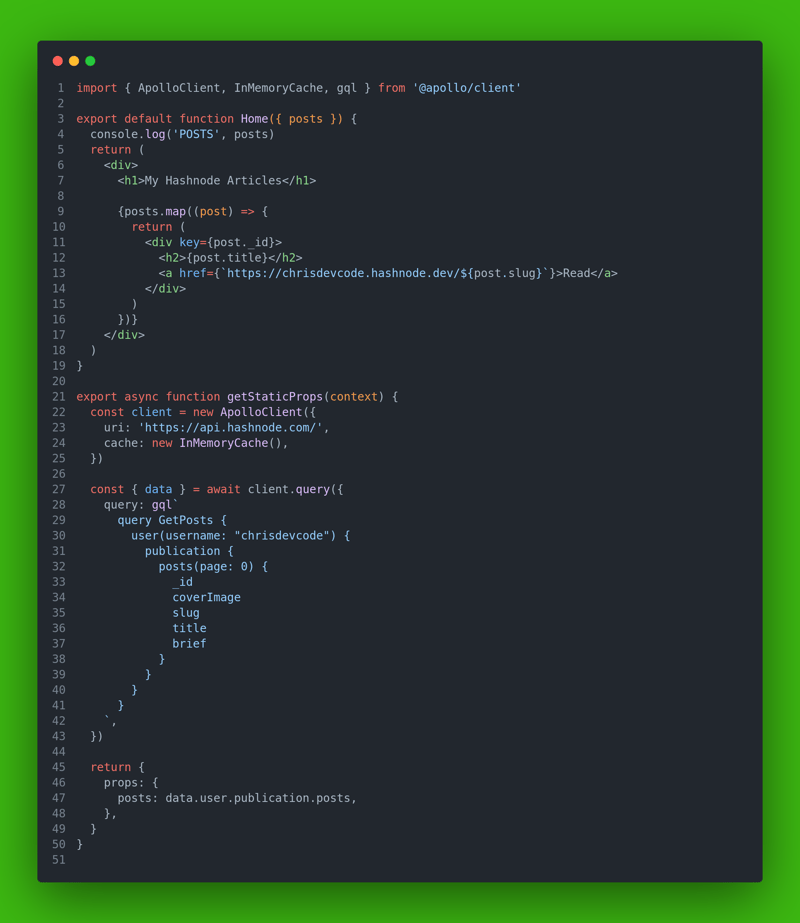
Updated full file:
import { ApolloClient, InMemoryCache, gql } from '@apollo/client';

export default function Home({ posts }) {
  console.log('POSTS', posts)
  return (
    <div>
      <h1>My Hashnode Articles</h1>
    </div>
  )
}

export async function getStaticProps(context) {
  const client = new ApolloClient({
    uri: 'https://api.hashnode.com/',
    cache: new InMemoryCache(),
  })

  const { data } = await client.query({
    query: gql`
      query GetPosts {
        user(username: "chrisdevcode") {
          publication {
            posts(page: 0) {
              _id
              coverImage
              slug
              title
              brief
            }
          }
        }
      }
    `,
  })

  return {
    props: {
      posts: data.user.publication.posts,
    },
  }
}
Adding data to a webpage:
The final part:
To display the posts from the API, we simply map through the data and display each post.
{posts.map((post) => {
  return (
    // output here
  )
})}
We will loop through the data and for every post we display the title and the link to the full post:
{posts.map((post) => {
        return (
          <div key={post._id}>
            <h1>{post.title}</h1>
            <a href={`https://chrisdevcode.hashnode.dev/${post.slug}`}>Read</a>
          </div>
        )
})}
So the whole file:
import { ApolloClient, InMemoryCache, gql } from '@apollo/client'

export default function Home({ posts }) {
  console.log('POSTS', posts)
  return (
    <div>
      <h1>My Hashnode Articles</h1>

      {posts.map((post) => {
        return (
          <div key={post._id}>
            <h2>{post.title}</h2>
            <a href={`https://chrisdevcode.hashnode.dev/${post.slug}`}>Read</a>
          </div>
        )
      })}
    </div>
  )
}

export async function getStaticProps(context) {
  const client = new ApolloClient({
    uri: 'https://api.hashnode.com/',
    cache: new InMemoryCache(),
  })

  const { data } = await client.query({
    query: gql`
      query GetPosts {
        user(username: "chrisdevcode") {
          publication {
            posts(page: 0) {
              _id
              coverImage
              slug
              title
              brief
            }
          }
        }
      }
    `,
  })

  return {
    props: {
      posts: data.user.publication.posts,
    },
  }
}
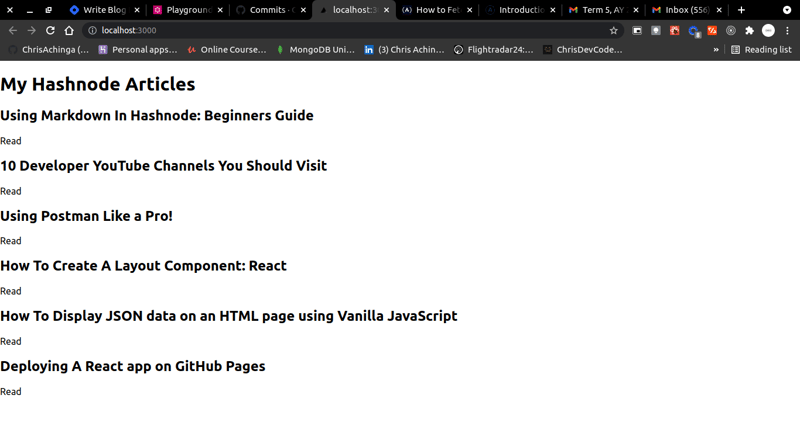
Posts should now display on the webpage:
All in ONE-SHOT!
Conclusion
It is as simple at is, view demo and source code from the links below:
https://github.com/ChrisAchinga/hashnode-api
https://hashnode-api-self.vercel.app/
Thanks to Colby Fayock who wrote an article on using graphQL on NextJS, and Catalin Pit on How on use hashnode API



Top comments (0)